- Mahotas - Home
- Mahotas - Introduction
- Mahotas - Computer Vision
- Mahotas - History
- Mahotas - Features
- Mahotas - Installation
- Mahotas Handling Images
- Mahotas - Handling Images
- Mahotas - Loading an Image
- Mahotas - Loading Image as Grey
- Mahotas - Displaying an Image
- Mahotas - Displaying Shape of an Image
- Mahotas - Saving an Image
- Mahotas - Centre of Mass of an Image
- Mahotas - Convolution of Image
- Mahotas - Creating RGB Image
- Mahotas - Euler Number of an Image
- Mahotas - Fraction of Zeros in an Image
- Mahotas - Getting Image Moments
- Mahotas - Local Maxima in an Image
- Mahotas - Image Ellipse Axes
- Mahotas - Image Stretch RGB
- Mahotas Color-Space Conversion
- Mahotas - Color-Space Conversion
- Mahotas - RGB to Gray Conversion
- Mahotas - RGB to LAB Conversion
- Mahotas - RGB to Sepia
- Mahotas - RGB to XYZ Conversion
- Mahotas - XYZ to LAB Conversion
- Mahotas - XYZ to RGB Conversion
- Mahotas - Increase Gamma Correction
- Mahotas - Stretching Gamma Correction
- Mahotas Labeled Image Functions
- Mahotas - Labeled Image Functions
- Mahotas - Labeling Images
- Mahotas - Filtering Regions
- Mahotas - Border Pixels
- Mahotas - Morphological Operations
- Mahotas - Morphological Operators
- Mahotas - Finding Image Mean
- Mahotas - Cropping an Image
- Mahotas - Eccentricity of an Image
- Mahotas - Overlaying Image
- Mahotas - Roundness of Image
- Mahotas - Resizing an Image
- Mahotas - Histogram of Image
- Mahotas - Dilating an Image
- Mahotas - Eroding Image
- Mahotas - Watershed
- Mahotas - Opening Process on Image
- Mahotas - Closing Process on Image
- Mahotas - Closing Holes in an Image
- Mahotas - Conditional Dilating Image
- Mahotas - Conditional Eroding Image
- Mahotas - Conditional Watershed of Image
- Mahotas - Local Minima in Image
- Mahotas - Regional Maxima of Image
- Mahotas - Regional Minima of Image
- Mahotas - Advanced Concepts
- Mahotas - Image Thresholding
- Mahotas - Setting Threshold
- Mahotas - Soft Threshold
- Mahotas - Bernsen Local Thresholding
- Mahotas - Wavelet Transforms
- Making Image Wavelet Center
- Mahotas - Distance Transform
- Mahotas - Polygon Utilities
- Mahotas - Local Binary Patterns
- Threshold Adjacency Statistics
- Mahotas - Haralic Features
- Weight of Labeled Region
- Mahotas - Zernike Features
- Mahotas - Zernike Moments
- Mahotas - Rank Filter
- Mahotas - 2D Laplacian Filter
- Mahotas - Majority Filter
- Mahotas - Mean Filter
- Mahotas - Median Filter
- Mahotas - Otsu's Method
- Mahotas - Gaussian Filtering
- Mahotas - Hit & Miss Transform
- Mahotas - Labeled Max Array
- Mahotas - Mean Value of Image
- Mahotas - SURF Dense Points
- Mahotas - SURF Integral
- Mahotas - Haar Transform
- Highlighting Image Maxima
- Computing Linear Binary Patterns
- Getting Border of Labels
- Reversing Haar Transform
- Riddler-Calvard Method
- Sizes of Labelled Region
- Mahotas - Template Matching
- Speeded-Up Robust Features
- Removing Bordered Labelled
- Mahotas - Daubechies Wavelet
- Mahotas - Sobel Edge Detection
Mahotas - Creating RGB Image
An RGB image is a type of digital image that uses the red, green, and blue color model to represent colors. Each pixel in an RGB image is represented by three color channels− red, green, and blue, which store the intensity values (ranging from 0 to 255) for each color.
For example, a pixel with full intensity in all three channels (255, 255, 255) represents white, while a pixel with zero intensity in all three channels (0, 0, 0) represents black.
Creating RGB Images in Mahotas
An RGB image in Mahotas is a 3−dimensional array of shape (h,w,3); where h and w are the height and width of the image, and 3 represents the three channels: red, green, and blue.
To create an RGB image using Mahotas, you need to define the dimensions of your image, create an empty numpy array with the desired dimensions, and set the pixel values for each channel.
Mahotas does not have direct functions for creating RGB images. However, you can use numpy and mahotas libraries to create RGB images.
Example
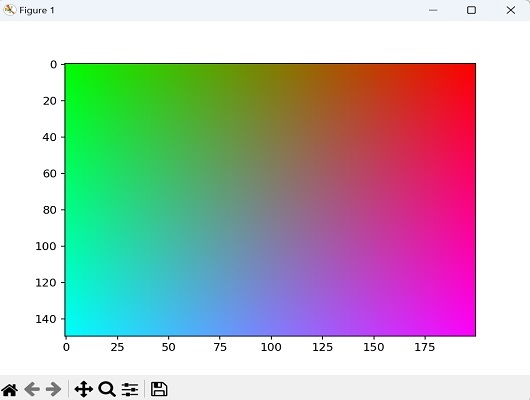
Following is an example to create a gradient RGB image from red to green horizontally and blue to white vertically in mahotas −
import mahotas as mh
import numpy as np
from pylab import imshow, show
# Define the dimensions of the image
width = 200
height = 150
# Create an empty numpy array with the desired dimensions
image = np.zeros((height, width, 3), dtype=np.uint8)
# Set the pixel values for each channel
# Here, we'll create a gradient from red to green horizontally and blue to
white vertically
for y in range(height):
   for x in range(width):
      # Red channel gradient
      r = int(255 * x / width)
      # Green channel gradient
      g = int(255 * (width - x) / width)
      # Blue channel gradient
      b = int(255 * y / height)
      # Set pixel values
      image[y, x] = [r, g, b]
# Save the image
mh.imsave('rgb_image.png', image)
# Display the image
imshow(image)
show()
Output
Following is an output of the above code −
Creating an RGB Image from Color Intensities
Color intensities refer to the values that represent the strength or magnitude of each color channel in an image. Higher intensity values result in brighter or more saturated colors, while lower intensity values result in darker or less saturated colors.
To create an RGB image from color intensities using Mahotas, you need to create separate arrays representing the intensities for the red, green, and blue color channels. These arrays should have the same dimensions as the desired output image.
Example
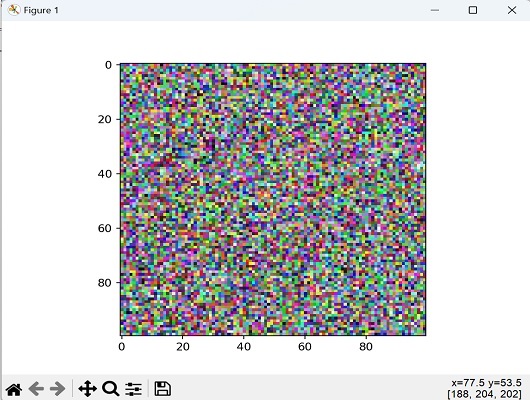
In the following example, we are creating a random RGB noise image from randomly generated color intensities −
import mahotas as mh
import numpy as np
from pylab import imshow, show
# Create arrays for red, green, and blue color intensities
red_intensity = np.random.randint(0, 256, size=(100, 100), dtype=np.uint8)
green_intensity = np.random.randint(0, 256, size=(100, 100), dtype=np.uint8)
blue_intensity = np.random.randint(0, 256, size=(100, 100), dtype=np.uint8)
# Stack color intensities to create an RGB image
rgb_image = np.dstack((red_intensity, green_intensity, blue_intensity))
# Display the RGB image
imshow(rgb_image)
show()
Output
After executing the above code, we get the following output −
Creating an RGB Image from a Single Color
To create an RGB image from a single color, you can initialize an array with the desired dimensions and assign the same RGB value to each pixel. This results in a uniform color appearance throughout the image.
Example
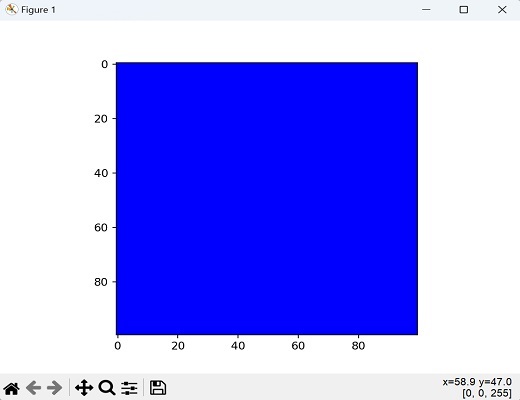
In here, we are creating a single color image by setting the color to blue using the RGB values (0, 0, 255) −
import mahotas as mh
import numpy as np
from pylab import imshow, show
# Define the dimensions of the image
width, height = 100, 100
# Create a single color image (blue in this case)
blue_image = np.full((height, width, 3), (0, 0, 255), dtype=np.uint8)
# Display the blue image
imshow(blue_image)
show()
Output
The image obtained is as follows −