Adobe RoboHelp - Working With Images
RoboHelp supports standard image formats such as GIF, JPEG, BMP, MRB, WMF, PNG, etc.
Locate images
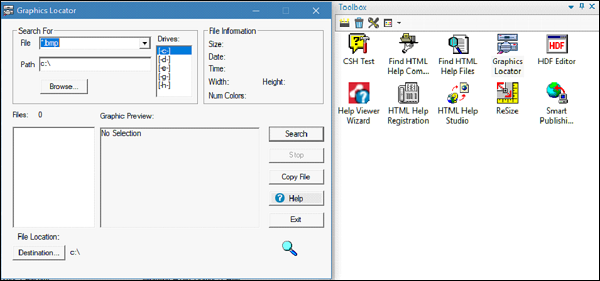
You can use the Graphics Locator to scan hard drives and folders for image files, view thumbnails, and copy files. Double-click on the Graphics Locator in the Toolbox pod and select the graphic file format that we have to search. Enter the path for the search or browse to a new location and click on Search.
Add an Image to a Topic
To add an image to a topic in RoboHelp, we should follow the steps given below.
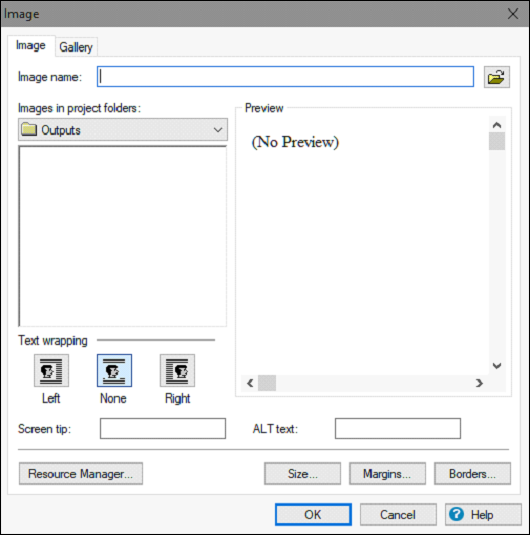
Select a location for the image in the Design Editor. In the Media section of the Insert tab, click on Image.
You can either browse to a file or insert image from a project. You can also drag images from the Images folder of the Project Manager into the topic.
Click OK to close the Image dialog box.
Edit an image in RoboHelp
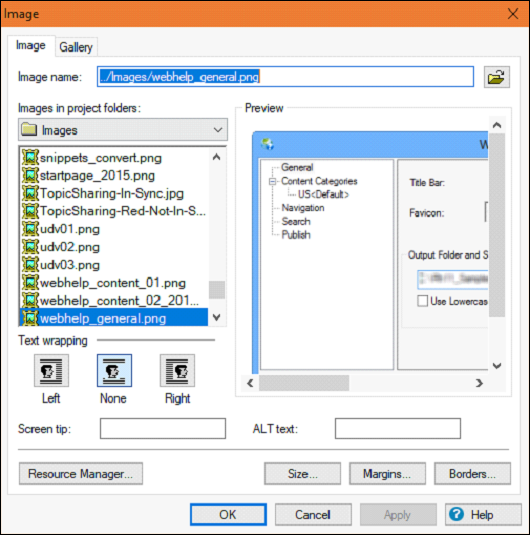
Select the image to edit In the Design Editor, right-click the image and choose Image Properties to set the following options −
Text Wrapping − Align the image with the surrounding text.
Screen Tip − Text to display when the user hovers the cursor over the image.
ALT Text − Text to display when the image cannot be displayed.
Size − Set the dimensions of the image in pixels. Select Maintain aspect ratio to maintain the height to width proportion.
Margins − Specify the space between the image and the text.
Borders − Add a border to the image and specify a style.