Creating and Managing Projects
You can create a project from scratch or by importing data from an external file such as FrameMaker, Word or PDF.
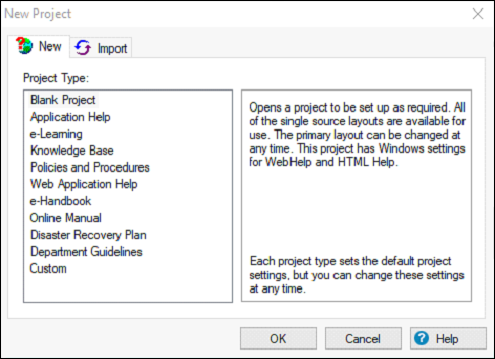
Creating a New Project
The following points describe how to create a new project in RoboHelp.
A new project can be created either by selecting File → New Project or using the More option in the Starter pod under Create New.
In the New Project dialog box, double-click a project type. You can change the project type after your project is created.
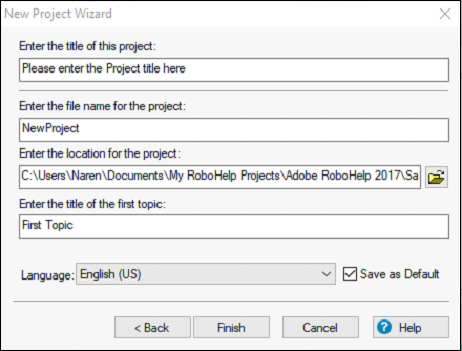
In the New Project Wizard dialog box, specify the options such as Project Title, File Name, Location on Disk and the title of first topic and click on Finish to create the project.
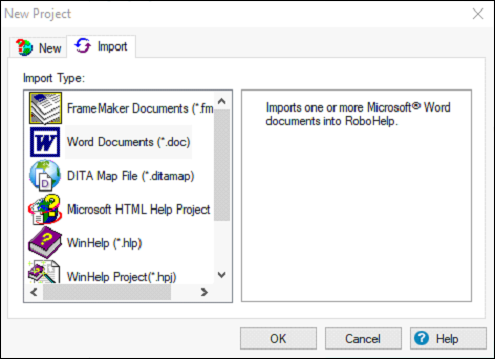
Create a Project by Importing Documents
The following steps explain how to create a project by importing documents in RoboHelp.
You can create new projects by importing content from external sources such as FrameMaker or Word documents.
Go to the New Project dialog box File → New Project or by using the More option in the Starter pod under Create New. Select the Import tab.
Choose the type of document that you need to import and click OK.
In the New Project Wizard dialog box, specify the options such as Project Title, File Name, Location on Disk and the title of the first topic and click on Finish to create the project.