Importing DITA Map and XML Files
A Darwin Information Typing Architecture (DITA) map is like a table of contents listing and linking the topics for a specific output. They assemble topics into sequence and hierarchy tailored to specific delivery requirements. A DITA map file has the extension .ditamap. You can import both DITA map and XML files to generate an XHTML output.
Importing DITA Map Files
To import DITA map files, we should follow the steps given below.
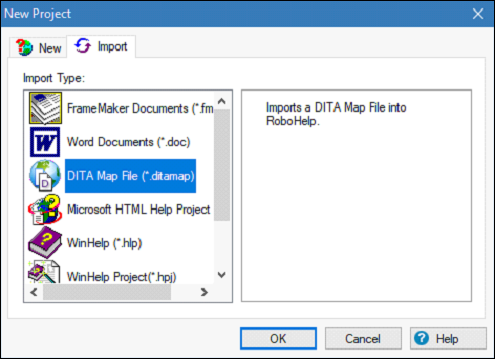
Step 1 − Go to the File menu, click on New Project and click on the Import tab. Select the PDF document in the list of file types and click OK to open the DITA Open Toolkit Processing Options dialog box.
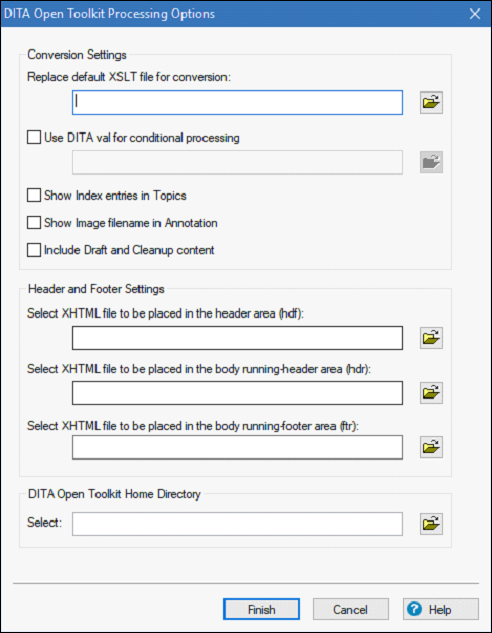
Step 2 − Review the following settings that are available in the dialog box and then click on Finish.
Replace default XSLT file for conversion − Select an XSL file to use for transforming the DITA files to XHTML instead of the default XSL file used by the DITA Open Toolkit.
Use DITA val for conditional processing − The XHTML is generated based on the Val file. A DITA Val file contains filter, flagging, and revision information. Specify a DITA Val file to use for conditional processing of the DITA files.
Show Index entries in Topics − Select to show the index entries in RoboHelp topics.
Show image filename in Annotation − Select to add annotations to images showing the filename of the image or the full path to include in the topics.
Include Draft and Cleanup content − Select to include draft and required cleanup content (items identified as left to do before publishing).
Select XHTML file to be placed in the header area (hdf) − Select the location of the file containing XHTML to place in the header area of the output file.
Select XHTML file to be placed in the body running-header area (hdr) − Select the location of the file containing the XHTML to place in the body running-header area of the output file.
Select XHTML file to be placed in the body running-footer Area (ftr) − Select the location of the file containing XHTML to place in the body running-footer area of the output file.
DITA Open Tool Kit Home Directory − Select the absolute location of the home folder of the DITA Open Toolkit. You specify this location only once. It is stored in the registry.
Importing XML files
To import XML files into a project in RoboHelp, we should follow the steps given below.
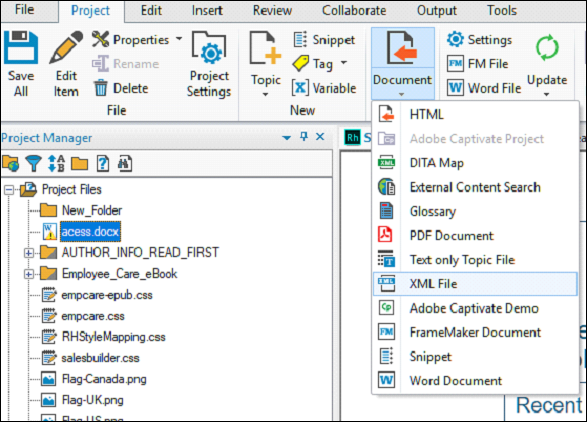
Step 1 − RoboHelp creates a topic for the XML file when imported in to the existing project. To import an XML file, in the Project Manager pod, select the file to import.
Step 2 − Go to the Import section of the Project tab and in the dropdown menu, select, the XML File. Select one or more XML files and the click on Open.
Step 3 − In the Select XML Import Handler dialog box, click on Options. You can also select Import XML (CSS/XSL) to set advanced options.
The following options are available −
Treat as text flow − Import the XML file as HTML text without formatting.
Treat as XML tree view − Import the XML file in HTML tree view. HTML imports as code.
Use customized CSS/XSL file − Select a file from the pop-up menu.
Step 4 − Click OK to import the XML file into the project.