- VersionOne - Home
- VersionOne - Introduction
- VersionOne - Features
- VersionOne - Free Trial Access
- VersionOne - Login
- VersionOne - Dashboard
- VersionOne - Invite Users
- VersionOne - Add a Project
- VersionOne - Portfolio Planner
- VersionOne - Product Planner
- VersionOne - Backlog
- VersionOne - Story
- VersionOne - Edit Story
- VersionOne - Defects
- VersionOne - Edit Defects
- VersionOne - Release Planner
- VersionOne - Sprint Planning
- VersionOne - Sprint Scheduling
- VersionOne - Detail Planning
- VersionOne - Issues
- VersionOne - Task
- VersionOne - Templates
- VersionOne - Import Data
- VersionOne - Team Rooms
- VersionOne - Storyboard
- VersionOne - Testboard
- VersionOne - Taskboard
- VersionOne - Filters
- VersionOne - Search
- VersionOne - Conversation
- VersionOne - Collaboration
- VersionOne - Notification
- VersionOne - Estimably
VersionOne - Backlog
Backlog is the list of all work items. Stories, Defects, Test sets are part of work items. Stories are primary items in backlog. Work items categorize and define all works to be done for a project and iteration/sprint level.
Access the Backlog Page
In this section, we will learn how to access the Backlog Page.
Backlog page can be accessed by navigating the Product Planner − Planning − Backlog as shown in the screenshot below. It opens the backlog page; the page consists of all available backlog items.
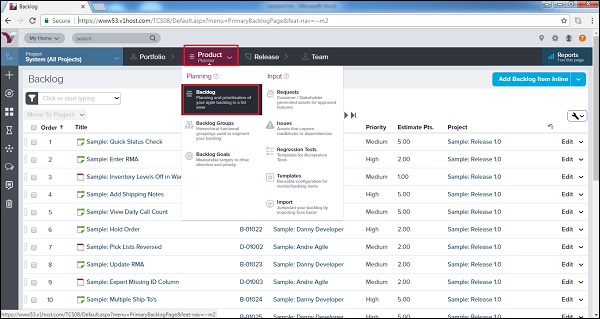
Backlog Page provides a flexible, editable grid of workitems associated with a project and all of its subprojects.
Here, a user can add new workitems, as well as edit, filter, sort, categorize, and prioritize existing items relative to one another.
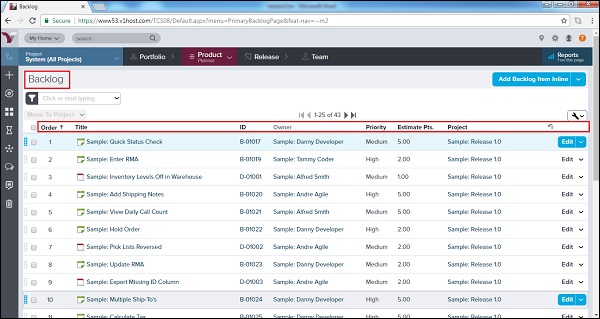
In the backlog page, a user can see the following fields for each workitem −
Order − It shows priority of the workitems.
Title − Name of each workitems.
ID − It display unique id of workitems.
Owner − The person who owns the workitem.
Priority − It shows how prior the backlog item should consider.
Estimate Pts − It provides the complexity of workitem.
Project − It displays the associated project name.
The following screenshot displays the Backlog page view −
Add Backlog Item
A user with proper role can add the Backlog Item into a project. Usually issues and defects can be added by all users having access of project. Stories can be added by the product owner. Now, we will discuss how to add a backlog item.
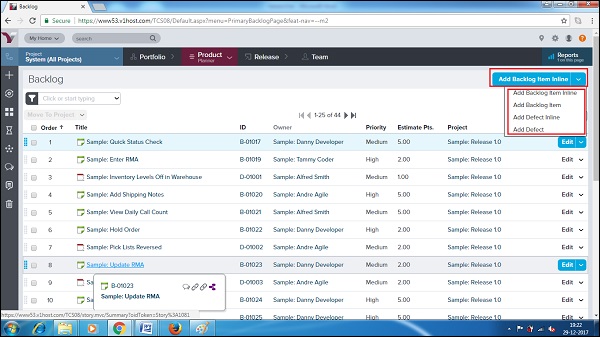
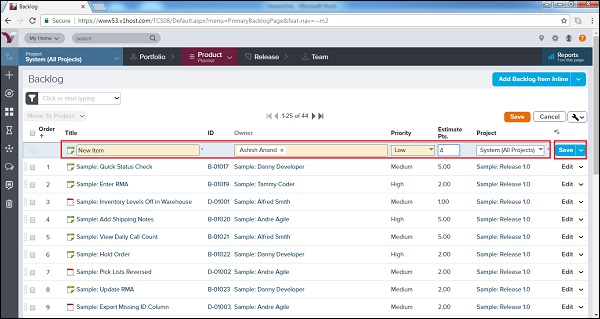
Go to the Backlog page and click on the arrow sign of the Add Backlog Item Inline button.
It provides 2 different options to add each backlog item or defect.
One option is Add Backlog/Defect Inline and the other is Add Backlog Item/Defect as shown in the screenshot below −
When a user selects the Inline option, a new row gets added as 1st row. Here, the mandatory details can be entered directly.
After that, click on the Save button present at the right side to keep the record of entered details as shown in the following screenshot −
Or,
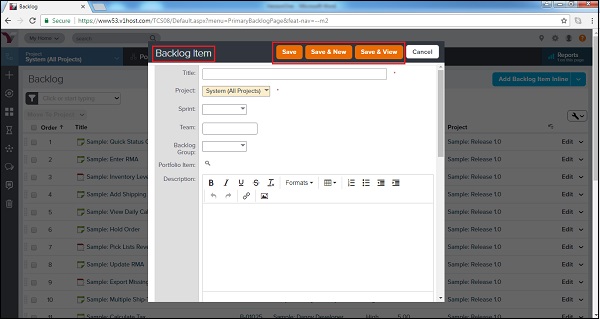
When a user clicks on Add Backlog Item/Defect, a new window opens along with the different fields to enter the details about workitem.
Once the details are entered, a user clicks on the Save/Save & View/Save & New button.
The following screenshot displays the Add Backlog Item/Defect page −
Backlog Goals
The Backlog Goal contains the group of stories or backlog items that provide the direction to the Project Team. It is usually the standard target (short and long term) to measure the direction of the project team. Consider the following important features of the backlog goal −
A Backlog Goal contains groups backlog workitems that display the progress of the project team.
It is measurable and specifies the direction and priorities of the project team.
It can have many-to-many relationship with workitems.
It allows free association between stories, defects or even portfolio items to Backlog goals.
To access the Backlog Goals, navigate to Product Planner → Planning → Backlog Goals.
To add a Backlog Goal, click on the Add Backlog Goal button present at the top right as shown in the following screenshot −
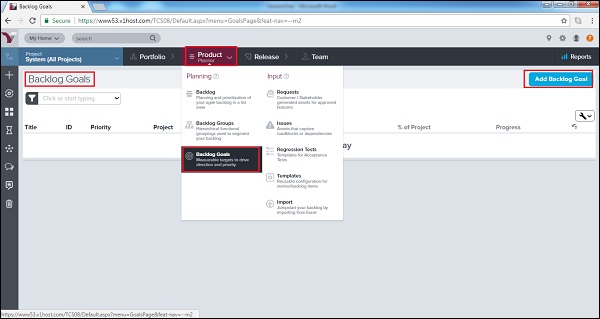
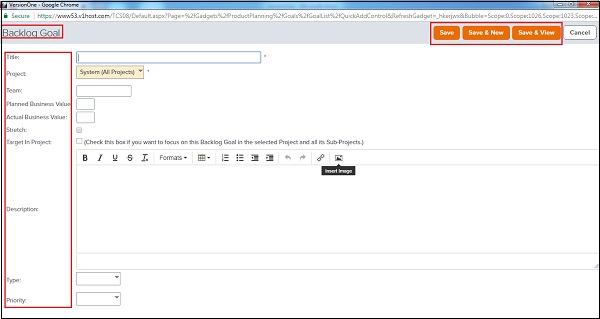
It opens a Backlog Goal form in new window.
A user enters the details as Title, Project, Team, Planned Business Value, Actual Business Value, Target in Project, Description, Type and Priority.
After that, click on the Save/Save & View/Save & New button as shown in the screenshot below. It saves the Backlog Goal. The goal can be viewed by a user at a later stage of the project to compare standard Vs actual.
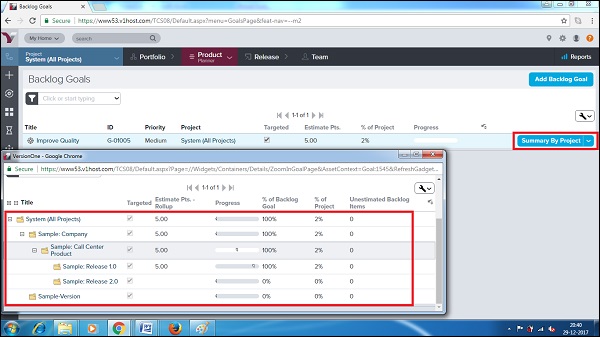
There is an option Summary by Project. When user clicks on this button, a new window opens and displays the progress of each project as % of Backlog Goal and % of Project.
The following screenshot displays the Summary by project −