Basic Image Operations
- Python Pillow - Working with Images
- Python Pillow - Resizing an Image
- Python Pillow - Flip and Rotate Images
- Python Pillow - Cropping an Image
- Python Pillow - Adding Borders to Images
- Python Pillow - Identifying Image Files
- Python Pillow - Merging Images
- Python Pillow - Cutting and Pasting Images
- Python Pillow - Rolling an Image
- Python Pillow - Writing text on image
- Python Pillow - ImageDraw Module
- Python Pillow - Concatenating two Images
- Python Pillow - Creating Thumbnails
- Python Pillow - Creating a Watermark
- Python Pillow - Image Sequences
Python Pillow Color Conversions
- Python Pillow - Colors on an Image
- Python Pillow - Creating Images With Colors
- Python Pillow - Converting Color String to RGB Color Values
- Python Pillow - Converting Color String to Grayscale Values
- Python Pillow - Change the Color by Changing the Pixel Values
Image Manipulation
- Python Pillow - Reducing Noise
- Python Pillow - Changing Image Modes
- Python Pillow - Compositing Images
- Python Pillow - Working with Alpha Channels
- Python Pillow - Applying Perspective Transforms
Image Filtering
- Python Pillow - Adding Filters to an Image
- Python Pillow - Convolution Filters
- Python Pillow - Blur an Image
- Python Pillow - Edge Detection
- Python Pillow - Embossing Images
- Python Pillow - Enhancing Edges
- Python Pillow - Unsharp Mask Filter
Image Enhancement and Correction
- Python Pillow - Enhancing Contrast
- Python Pillow - Enhancing Sharpness
- Python Pillow - Enhancing Color
- Python Pillow - Correcting Color Balance
- Python Pillow - Removing Noise
Image Analysis
Advanced Topics
- Python Pillow - Creating Animated GIFs
- Python Pillow - Batch Processing Images
- Python Pillow - Converting Image File Formats
- Python Pillow - Adding Padding to an Image
- Python Pillow - Color Inversion
- Python Pillow - M L with Numpy
- Python Pillow with Tkinter BitmapImage and PhotoImage objects
Python Pillow Useful Resources
Python Pillow - ImageOps.autocontrast() Function
The PIL.ImageOps.autocontrast function is designed to maximize (normalize) the contrast of an image. It achieves this by calculating a histogram of the input image (or a specified mask region), removing a specified percentage (cutoff) of the lightest and darkest pixels from the histogram, and then remapping the image so that the darkest pixel becomes black (0), and the lightest becomes white (255).
Syntax
Following is the syntax of the function −
PIL.ImageOps.autocontrast(image, cutoff=0, ignore=None, mask=None, preserve_tone=False)
Parameters
Here are the details of this function parameters −
image − The input image to process.
cutoff − The percent to cut off from the histogram on the low and high ends. It can be either a tuple of (low, high) or a single number for both ends.
ignore − The background pixel value; use None for no background.
mask − If provided, the histogram used in the contrast operation is computed using pixels within the specified mask. If no mask is given, the entire image is used for histogram computation.
preserve_tone − An optional parameter introduced in version 8.2.0. When set to True, it preserves image tone in a Photoshop-like style autocontrast.
Return Value
The function returns an image representing the result of the autocontrast operation.
Examples
Example 1
Here's an example of how to use the autocontrast function with default parameters.
from PIL import Image, ImageOps

# Open an image
original_image = Image.open("Images/image.jpg")

# Apply autocontrast with default parameters
result_image = ImageOps.autocontrast(original_image)

# Display the input and resulting images
original_image.show()
result_image.show()
Output
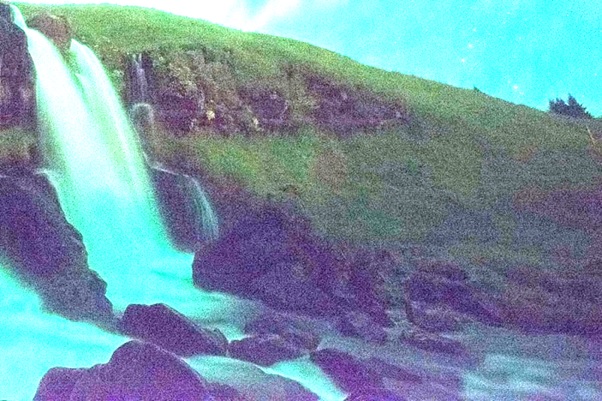
Input Image
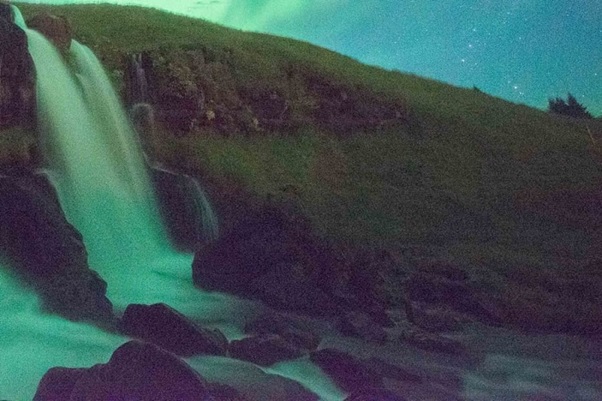
Output Image
Example 2
In this example, we set a custom cutoff percentage (5%) and specify a background pixel value to be ignored during the autocontrast operation.
from PIL import Image, ImageOps

# Open an image
original_image = Image.open("Images/image.jpg")

# Cut off 5% from both low and high ends of the histogram
cutoff_percentage = 5

# Ignore pixels with value 50 as background
ignore_pixel_value = 50

# Apply autocontrast with custom parameters
result_image = ImageOps.autocontrast(original_image, cutoff=cutoff_percentage, ignore=ignore_pixel_value)

# Display the input and resulting images
original_image.show()
result_image.show()
Output
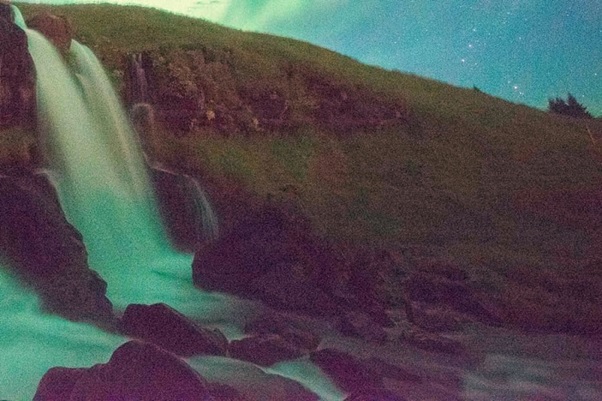
Input Image
Output Image
Example 3
Here's another example demonstrating the use of PIL.ImageOps.autocontrast with a mask. we create a circular mask and apply it to the autocontrast function.
from PIL import Image, ImageOps

# Open an image
original_image = Image.open("Images/image.jpg")

# Create a mask (an example using a circular mask)
mask_radius = 100
mask = Image.new("L", original_image.size, 0)

mask.paste(255, (original_image.width // 2 - mask_radius, original_image.height // 2 - mask_radius),
   Image.new("L", (mask_radius * 2, mask_radius * 2), 255))

# Apply autocontrast with a mask
result_image = ImageOps.autocontrast(original_image, mask=mask)

# Display the input and resulting images
original_image.show()
result_image.show()
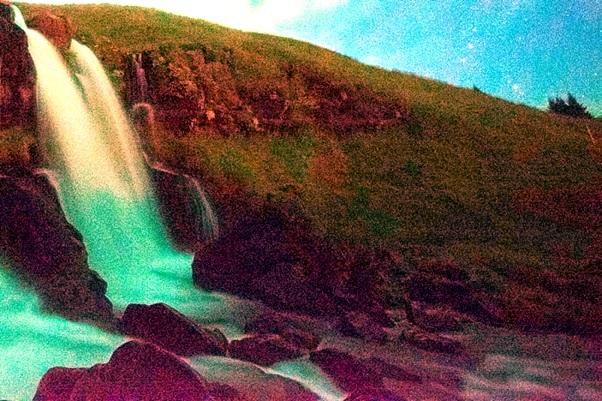
Output
Input Image
Output Image