Basic Image Operations
- Python Pillow - Working with Images
- Python Pillow - Resizing an Image
- Python Pillow - Flip and Rotate Images
- Python Pillow - Cropping an Image
- Python Pillow - Adding Borders to Images
- Python Pillow - Identifying Image Files
- Python Pillow - Merging Images
- Python Pillow - Cutting and Pasting Images
- Python Pillow - Rolling an Image
- Python Pillow - Writing text on image
- Python Pillow - ImageDraw Module
- Python Pillow - Concatenating two Images
- Python Pillow - Creating Thumbnails
- Python Pillow - Creating a Watermark
- Python Pillow - Image Sequences
Python Pillow Color Conversions
- Python Pillow - Colors on an Image
- Python Pillow - Creating Images With Colors
- Python Pillow - Converting Color String to RGB Color Values
- Python Pillow - Converting Color String to Grayscale Values
- Python Pillow - Change the Color by Changing the Pixel Values
Image Manipulation
- Python Pillow - Reducing Noise
- Python Pillow - Changing Image Modes
- Python Pillow - Compositing Images
- Python Pillow - Working with Alpha Channels
- Python Pillow - Applying Perspective Transforms
Image Filtering
- Python Pillow - Adding Filters to an Image
- Python Pillow - Convolution Filters
- Python Pillow - Blur an Image
- Python Pillow - Edge Detection
- Python Pillow - Embossing Images
- Python Pillow - Enhancing Edges
- Python Pillow - Unsharp Mask Filter
Image Enhancement and Correction
- Python Pillow - Enhancing Contrast
- Python Pillow - Enhancing Sharpness
- Python Pillow - Enhancing Color
- Python Pillow - Correcting Color Balance
- Python Pillow - Removing Noise
Image Analysis
Advanced Topics
- Python Pillow - Creating Animated GIFs
- Python Pillow - Batch Processing Images
- Python Pillow - Converting Image File Formats
- Python Pillow - Adding Padding to an Image
- Python Pillow - Color Inversion
- Python Pillow - M L with Numpy
- Python Pillow with Tkinter BitmapImage and PhotoImage objects
Python Pillow Useful Resources
Python Pillow - ImageGrab.grab()Function
The ImageGrab module in the Pillow library provides functionality to capture the contents of the screen or the clipboard and store it as a PIL image in memory.
The ImageGrab.grab() function is used to capture a screen snapshot. If a bounding box is specified, the pixels within it are retrieved as an "RGBA" image on macOS or as an "RGB" image on other platforms. In the absence of a specified bounding box, the entire screen content is copied.
Syntax
Following is the syntax of the function −
PIL.ImageGrab.grab(bbox=None, include_layered_windows=False, all_screens=False, xdisplay=None)
Parameters
Here are the details of this function parameters −
bbox − Defines the region to capture. If omitted, the function captures the entire screen. On Windows OS, the top-left point may be negative if all_screens=True is used.
include_layered_windows − If True, includes layered windows. This parameter is specific to Windows OS and was introduced in version 6.1.0.
all_screens − If True, captures all monitors. This parameter is specific to Windows OS and was introduced in version 6.2.0.
xdisplay − X11 Display address. Pass None to grab the default system screen. Pass an empty string ("") to grab the default X11 screen on Windows or macOS. To check X11 support, you can use PIL.features.check_feature() with feature="xcb".
Return Value
The function returns a PIL image containing the captured screen content.
Examples
Example 1
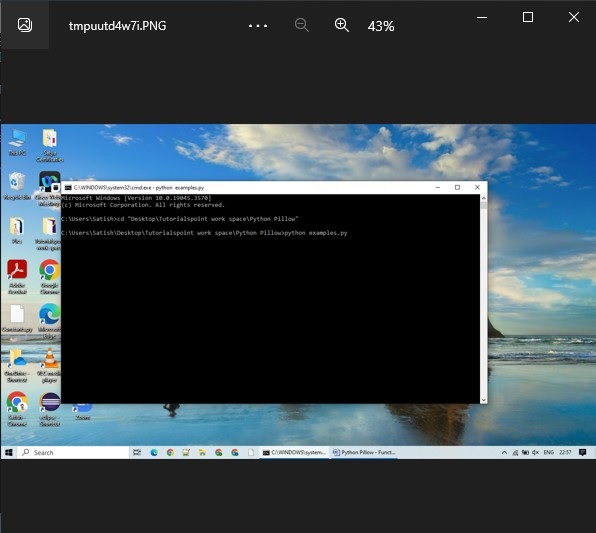
This example captures the entire screen using the ImageGrab.grab() function.
from PIL import ImageGrab

# Capture the entire screen
screen_image = ImageGrab.grab()

# Display the captured images
screen_image.show()
print('Captured the snapshot successfully...')
Output
Captured the snapshot successfully...
Output Image
Example 2
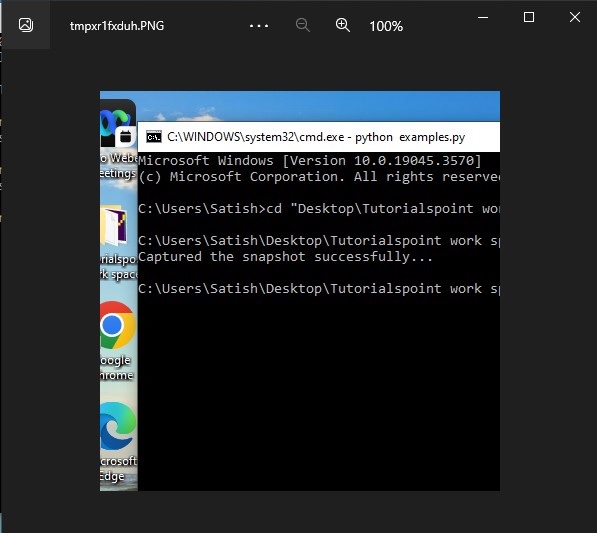
In this example, the ImageGrab.grab() function is used to capture a specific region of the screen.
from PIL import ImageGrab

# Specify bounding box
bbox = (100, 100, 500, 500)

# Capture a specific region (bbox)
captured_image = ImageGrab.grab(bbox=bbox)

# Display the captured image
captured_image.show()
print('Captured the snapshot successfully...')
Output
Captured the snapshot successfully...
Output Image
Example 3
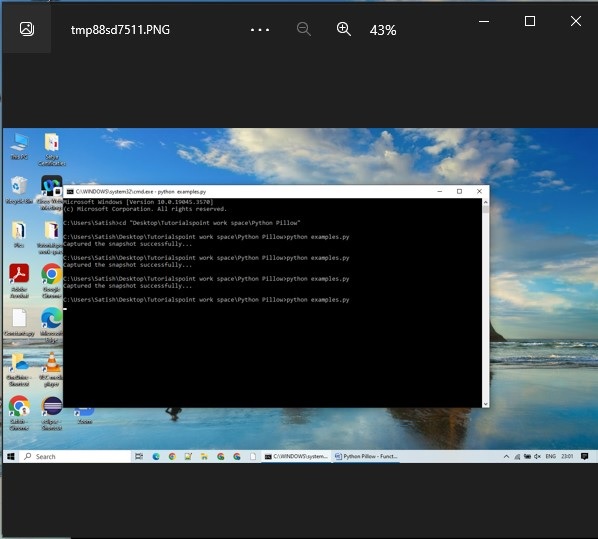
This example captures the entire screen initially, then a specific region is selected by using the bbox parameter.
from PIL import ImageGrab

# Capture the entire screen
screen_image = ImageGrab.grab()

# Capture a specific region (bbox)
bbox = (100, 100, 500, 500)
region_image = ImageGrab.grab(bbox=bbox)

# Display the captured images
screen_image.show()
region_image.show()
print('Captured the snapshot successfully...')
Output
Captured the snapshot successfully...
Entire screen
Region image
