Google Tag Manager - Set Up
For setting up Google Tag Manager, having a website is a must. For the purpose of the tutorial, we will go through the following process to set up Google Tag Manager.
- Set up a blog with Blogger.com
- Create an account with Google Tag Manager
- Install a tag on the blog
Create a Blog with Blogger.com
Step 1 − To get started with creating a blog, follow this link https://blogger.com. The homepage for blogger will pop up as shown in the following screenshot.

Step 2 − Click the button CREATE YOUR BLOG to start creating a blog.
As the next step, Blogger will ask you for your Google account. Blogger, being one of the Google products, makes your life easy by allowing Google account to create a blog online.
Step 3 − Enter your credentials for Google, and you will see the following screen for creating your blog.
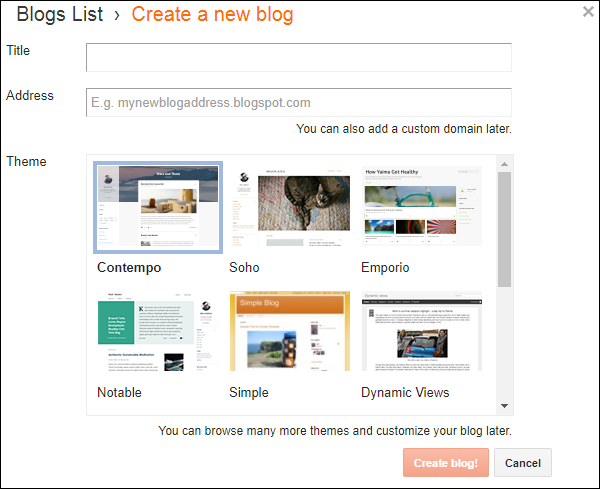
Step 4 − Choose a title, address, and blog theme of your choice.
Entering a title is pretty straight forward, you may provide any title as you like. With the address, as you start typing the desired blog address, the interface will start searching for availability. Following screenshot shows how a blog address is being searched.
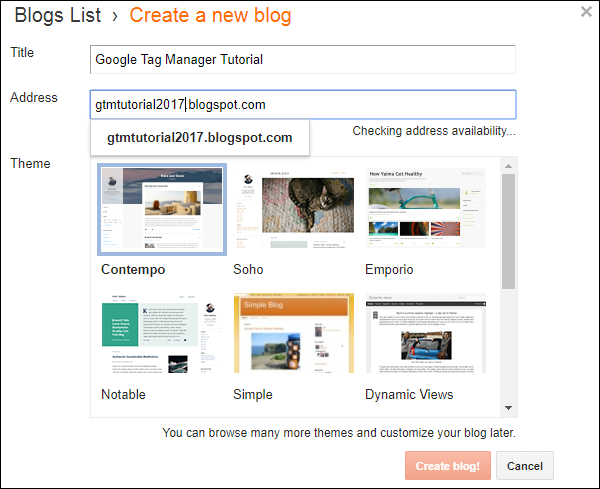
Once you are through with this process and the blog address is available, you will see the following message in the text box.

As shown in the above screenshot, the blog address https://gtmtutorial2017.blogspot.com is selected.
Step 5 − Once you have selected the required design, click the red button Create blog!
The system will take a few seconds and your new blog will be ready. Once done, you will be presented with the following interface to start writing a blog.
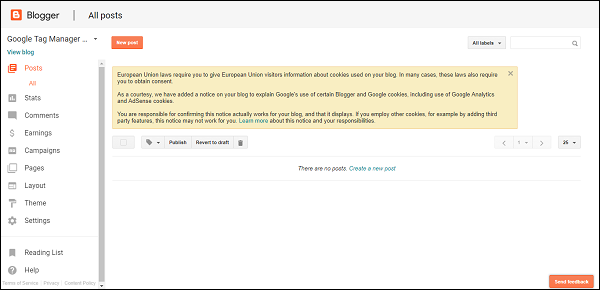
At least one post is required to see Google Tag Manager working effectively.
Step 6 − Create your first post on the blog by clicking the link button in blue Create a new post.
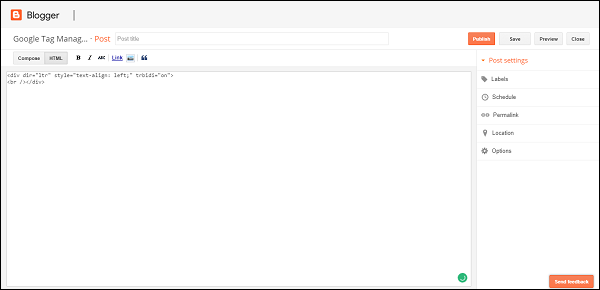
Step 7 − You can start writing the contents of your first blog post. Provide a post title as required at the top of the screen.
Many a times, blogger makes it easy to compose both HTML and rich text content. This is possible by using the toggle button Compose/HTML at the top left corner of the screen. Let us see how to use Compose option as an example.
Step 8 − Click Compose, a rich text editor will be shown. Start adding some content.
Step 9 − Once done, click the Publish button on top right section of the screen.
You will be redirected back to the screen as shown in the above screenshot, with a new post visible in the list. This concludes the site creation in Blogger.com
Next step, is to create a Google Tag Manager account. Then, we will add the container code to the website. Finally, we will be able to track the page views/corresponding events with GTM.
Create an Account with Google Tag Manager (GTM)
Step 1 − To get started with Google Tag Manager, use this link: Google Tag Manager. You will see the following homepage for Google Tag Manager.

Step 2 − Click any of the links for SIGN UP FOR FREE. The links are available on the page at the center and at the top right corner.
Step 3 − Go ahead and explore the page as you like as it provides very useful information about Google Tag Manager.
Once youve clicked SIGN UP FOR FREE, you will be presented with the following screen and the URL will change to - https://tagmanager.google.com/?hl=en. This will show up below the screen for logging in with your Google Account.
Once youve entered your credentials for Google, the tag manager interface will show up.
Step 4 − GTM will require you to Add your New Account. There are two steps −
- Setup Account
- Setup Container
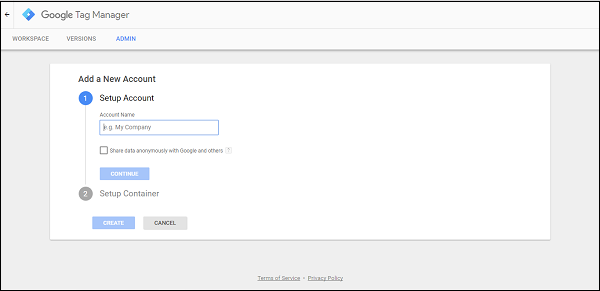
Step 5 − As a first step, add the Account Name. For the purpose of this tutorial, we will use the name Google Tag Manager Tutorial. You may choose to Share data anonymously with Google and others, to enhance your product marketing experience.
Step 6 − Click Continue.
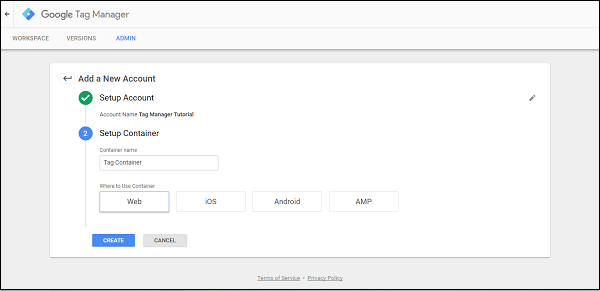
Step 7 − Next step is to Setup Container. Provide a name for the container. Let us add the name as Tag Container. Under Where to Use Container as shown in the following screenshot, select Web.
Step 8 − Click CREATE.
You will then be presented with a screen to accept Google Tag Manager Terms of Service Agreement.
Step 9 − Click YES to proceed.
Step 10 − Finally, you will be presented with a set of code snippets as shown in the following screenshot, which are to be added under head and body tags.
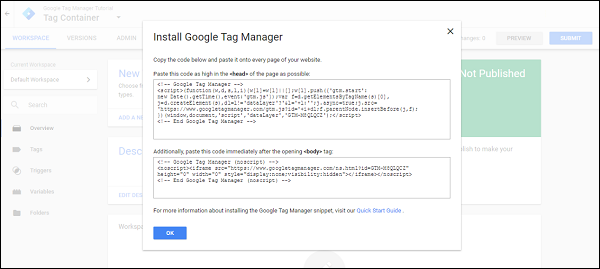
These code snippets are required so that the data from the blog created can flow into Google Tag Manager Interface.
We will go through the tag creation and the respective processes in a subsequent chapter.
Google Tag Manager Interface
Let us take some time to get acquainted with the different sections on the Google Tag Manager interface.

First, let us understand how to manage the following sections −
- Workspace
- Versions
- Admin
Workspace
The workspace section shows the active work in progress. This section has different sub-sections such as −
- Overview
- Tags
- Triggers
- Variables
- Folders
We will learn more about these sub-sections in subsequent chapters.
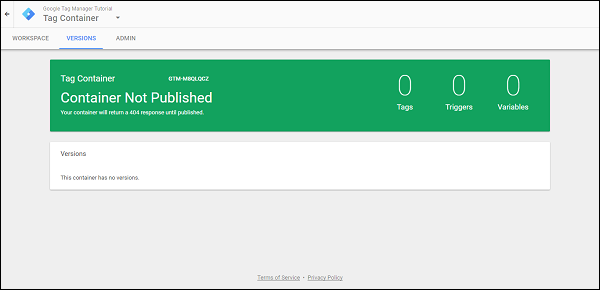
Versions
It is very common for large organizations to create few tags and have them for review or approval process.
At the same time, one might need to have an understanding of the previous tags published on the website. For all these purposes, we can use Versions section. This shows every possible tag published in the current workspace and allows to roll back the changes, if required.
Admin
If you wish to configure your Google Tag Manager account for different environment or different users, you can use this section.
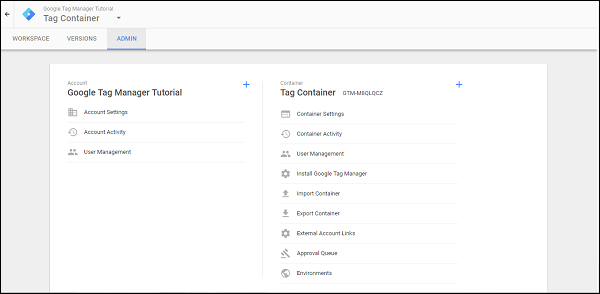
You can also configure the account details and review the activities related to the account, if there are multiple users associated with this account.