Google Tag Manager - Advanced Tracking
It is time to look at some complex scenarios, where you can track critical elements for the business. We will look into how to create a custom event, which is not pre-defined or available by default.
In this chapter, we will look at −
- Implementing Custom Events
- Mouse Scroll Tracking
Implementing Custom Events
There will be instances where you might want to create an event, which is different than the available events in GTM. To achieve this, we will need to create a custom event, which utilizes the existing variables from the data layer.
Consider the scenario when we click the Internal Link created earlier. Let us create a custom event called urlClick, which will read the data layer variable gtm.elementurl.
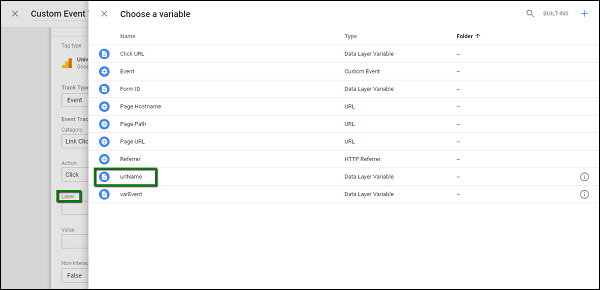
Step 1 − To do so, let us create a variable called urlName from the Variables section. Using the usual process, create the variable.
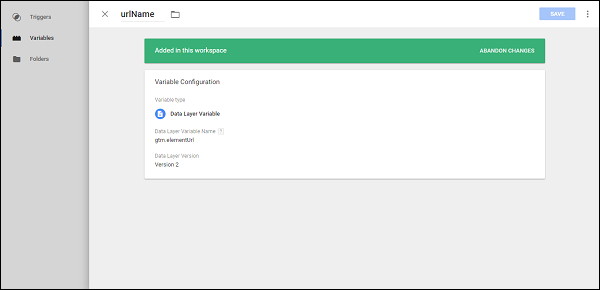
Shown above is an example of data layer variable urlName.
Now, we will use this variable to create our custom event. Custom event will be used when we create the trigger. See the following screenshot for reference.
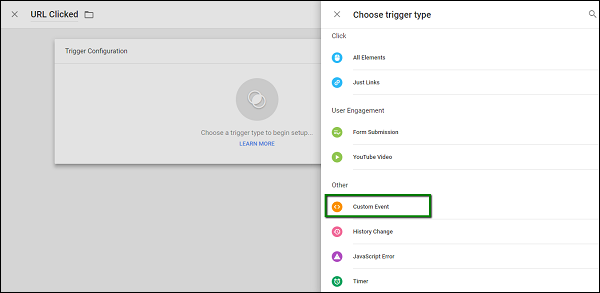
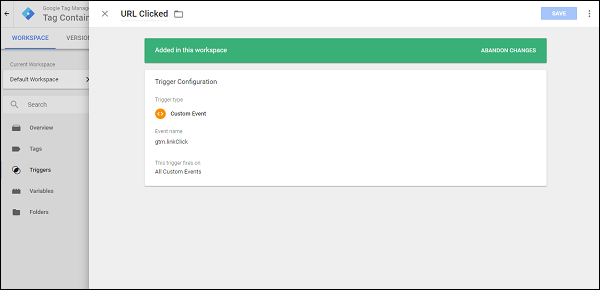
Step 2 − Create a trigger to fire on the event that is already present, by clicking the Internal Link. Under Event Name, specify gtm.linkClick.
Now, let us create the tag.
Step 3 − Follow the same process for creating the tag. Here are the details −
- Tag Type Universal Analytics
- Track Type Event
- Category Link Click
- Action Click
Step 4 − For label, use the recently created label, urlName.
Step 5 − Once done, check Enable overriding settings in this tag. In the Tracking ID text box, enter your Google Analytics Tracking Code.
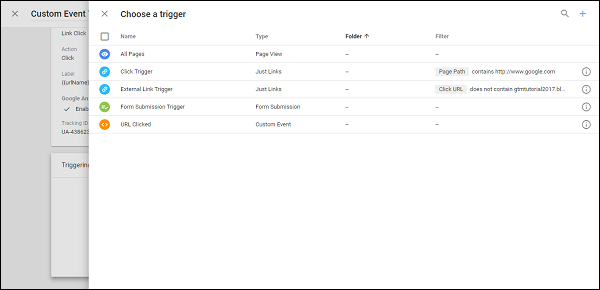
When selecting a trigger, make sure you select the recently created trigger URL Clicked.
Step 6 − Save the tag. Click Preview to see the changes in your blog.
Step 7 − Ctrl + Click on the Internal Link. You should be able to see the gtm.linkClick event in the Summary box. Also, you should see the tag fired as shown in the following screenshot.
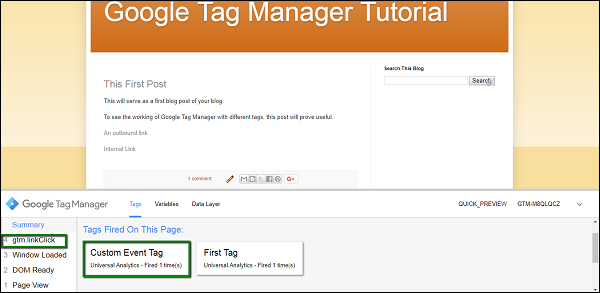
In this way, we can use the existing events to create custom events of our own and have successful tracking for the controls that we want.
Mouse Scroll Tracking
When it comes to engaging the users on the blog, a product marketer may want to detect a mouse scroll. The detection of mouse scroll is critical as it will call for further actions, such as show a newsletter link or trigger a popup that provides some sort of discount on the product.
Using Google Tag Manager, we can easily track the scroll event. For this purpose, we need to use a third-party code, which we will use while creating a tag.
The code is available at this location. We will use it when creating a tag.
Step 1 − Create a trigger. We will call this trigger a scroll trigger.
Refer to the following image for the trigger configuration.
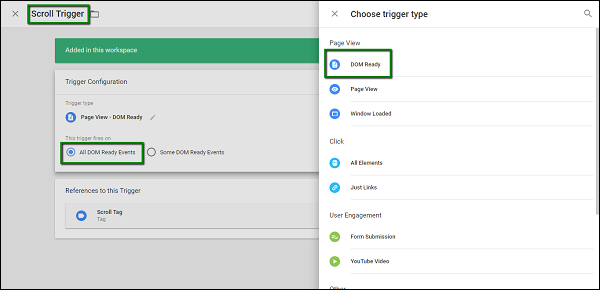
Step 2 − Configure Trigger Type DOM Ready. Allow this trigger to be fired on All DOM Ready Events.
Step 3 − Click SAVE once done with the above steps.
Now let us create the tag.
Step 4 − This time, when creating a tag, select a different type of Tracking as shown in the following screenshot.
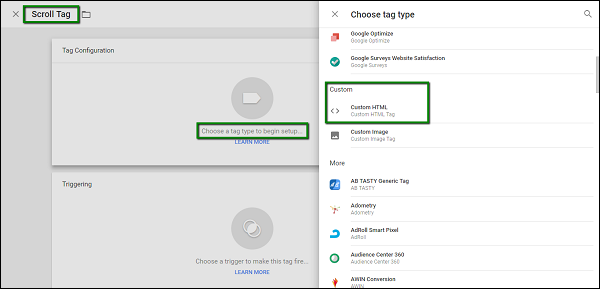
Step 5 − When custom HTML is selected, it will show up a space for entering the HTML code.
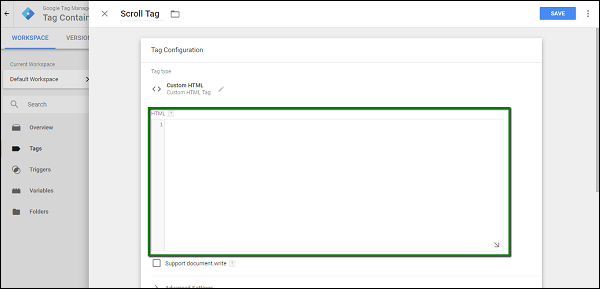
Step 6 − Enter the code as copied from this link.
Step 7 − Scroll down to configure the trigger. The trigger that we recently created (Scroll Trigger above), needs to be selected.
Step 8 − Click SAVE.
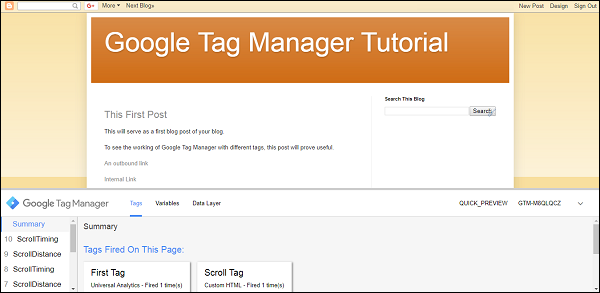
Step 9 − Now, start the GTM Debugger and refresh the blog page. You will see two major changes in the Summary and Tag section.
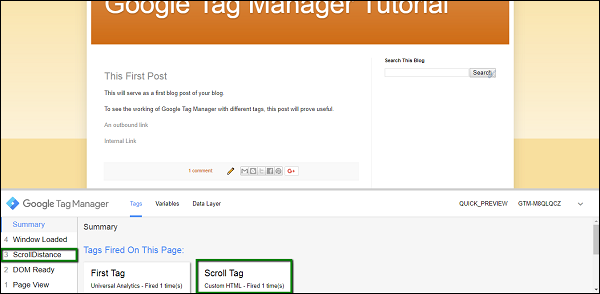
Step 10 − Now, scroll down to see the rest of the blog, a couple of more events will get triggered.
- ScrollDistance
- ScrollTiming
These events will eventually be used to detect the location of mouse scroll and take further action accordingly.