- Ubuntu - Home
- Ubuntu - Overview
- Ubuntu - Flavors
- Ubuntu - Environment
- Ubuntu - Device Drivers
- Ubuntu - Software Center
- Ubuntu - Browsers
- Ubuntu - Email
- Ubuntu - Messaging
- Ubuntu - Media Players
- Ubuntu - User Management
- Ubuntu - Files & Folders
- Ubuntu - Word Writer
- Ubuntu - Spreadsheets
- Ubuntu - LibreOffice
- Ubuntu - Command Line
- Ubuntu - Scripting
- Ubuntu - Networking
- Ubuntu - Server Installation
- Ubuntu - Secure Shell
- Ubuntu - Development
- Ubuntu - Nginx
- Ubuntu - Virtual Machines
- Ubuntu - Installing MySQL & Python
- Ubuntu - Node.js
- Ubuntu - Docker
- Ubuntu - On the Cloud
Ubuntu - Virtual Machines
Ubuntu can also be installed as virtual machines. Some of the software which support virtual machines are −
- Microsoft Hyper-V
- VMWare Workstation
- Oracle VirtualBox
Lets use Oracle VirtualBox to create our Ubuntu virtual machine. Oracle VirtualBox is a free tool from Oracle. Following are the steps to have the virtual machine in place.
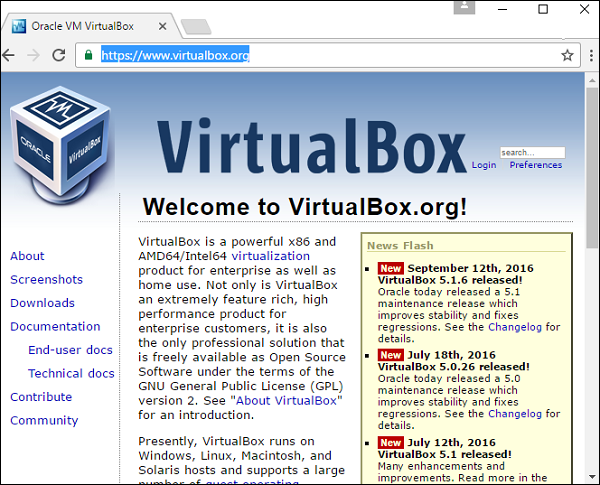
Step 1 − Download Oracle VirtualBox from the oracle site − https://www.virtualbox.org/
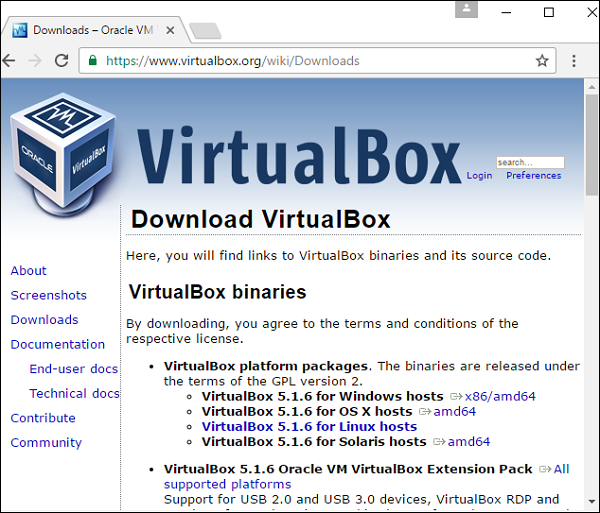
Step 2 − Go to the downloads section and download the Windows version.
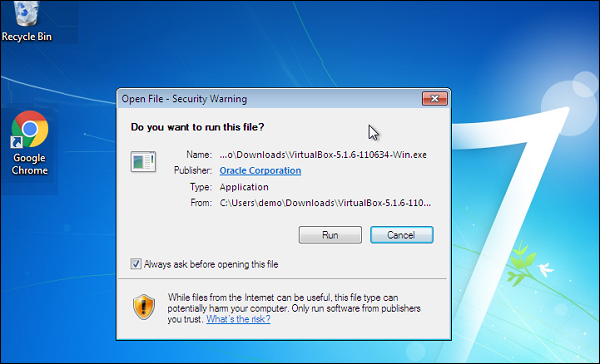
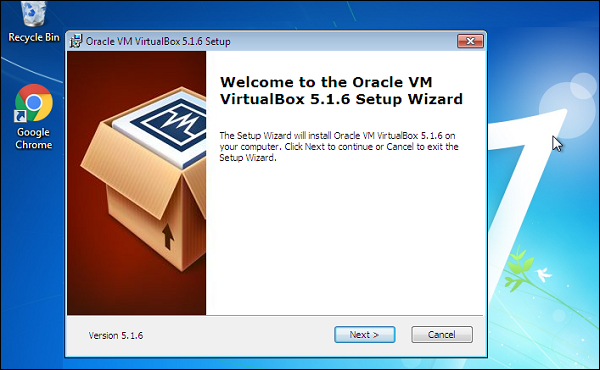
Step 3 − Once download is complete, install VirtualBox. Launch the installer. Click the Run button on the following screen.
Step 4 − Click the Next button on the subsequent screen.
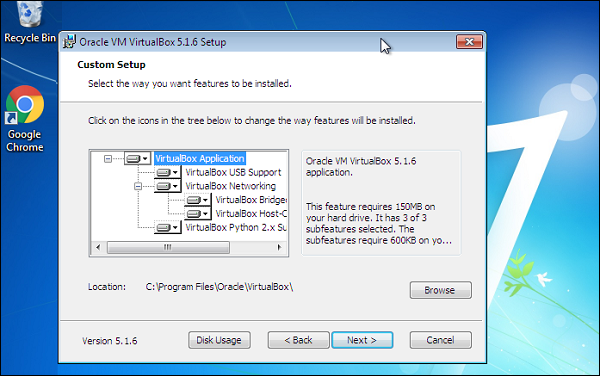
Step 5 − Choose the appropriate folder location and click the Next button.
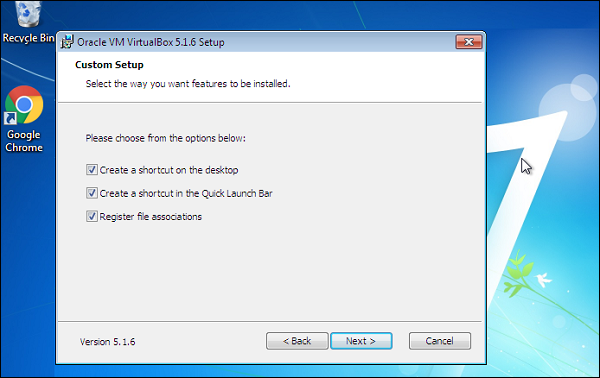
Step 6 − Click Next on the subsequent screen.
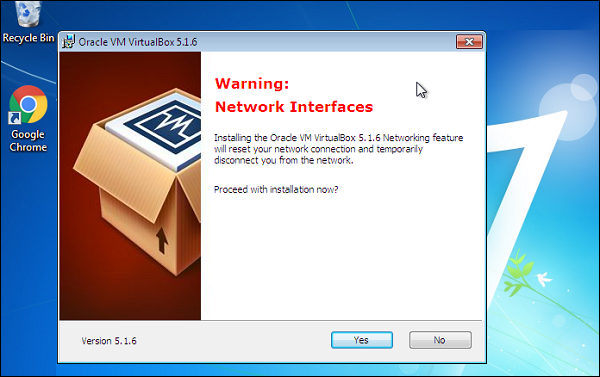
Step 7 − Click the Yes button on the next screen to proceed ahead with the installation.
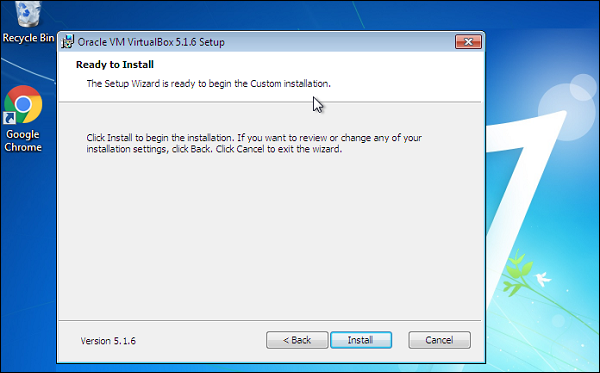
Step 8 − Click Install on the next screen.
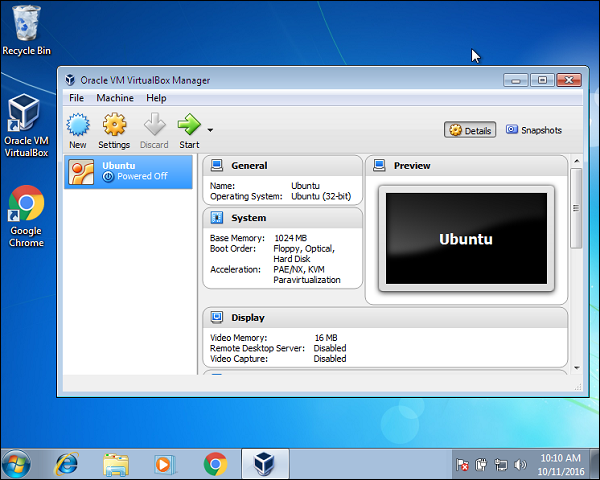
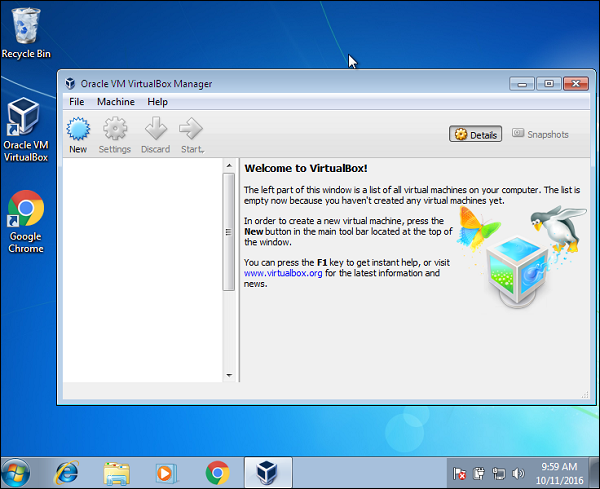
Step 9 − After the installation is complete, launch Oracle VirtualBox. On the Launch screen, click the New menu option.
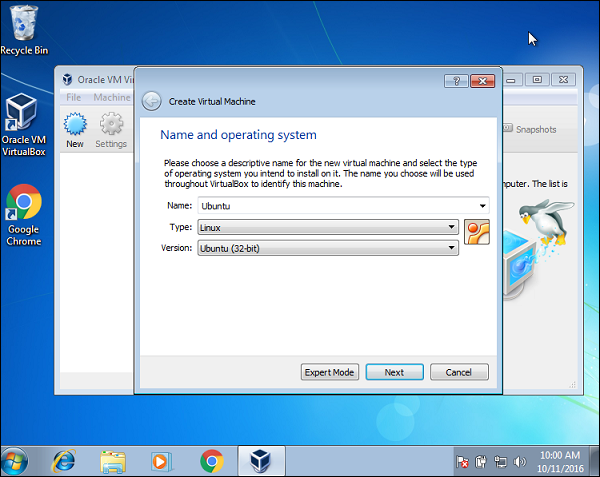
Step 10 − Give a name for the virtual machine and give the type as Ubuntu and then click the Next button.
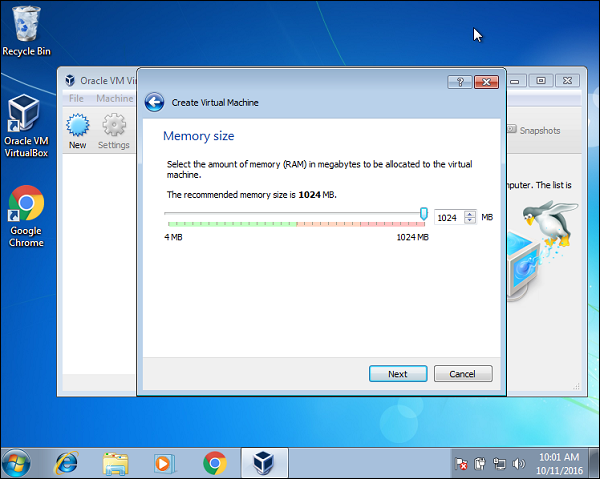
Step 11 − In the next screen, keep the recommended RAM as it is and click the Next button.
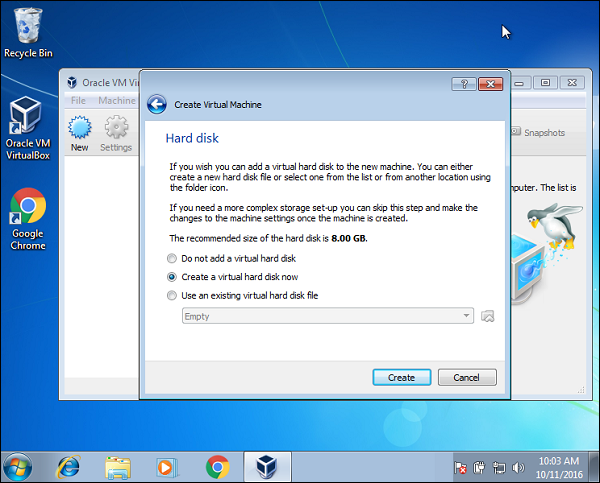
Step 12 − Accept the default setting for the virtual hard disk and click the Create button.
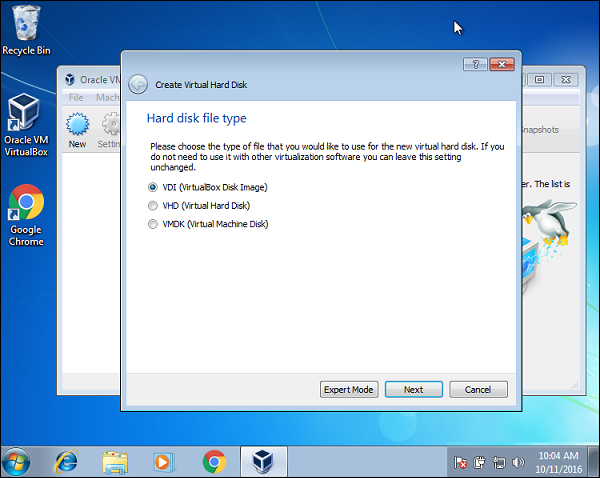
Step 13 − Accept the hard disk type and click the Next button.
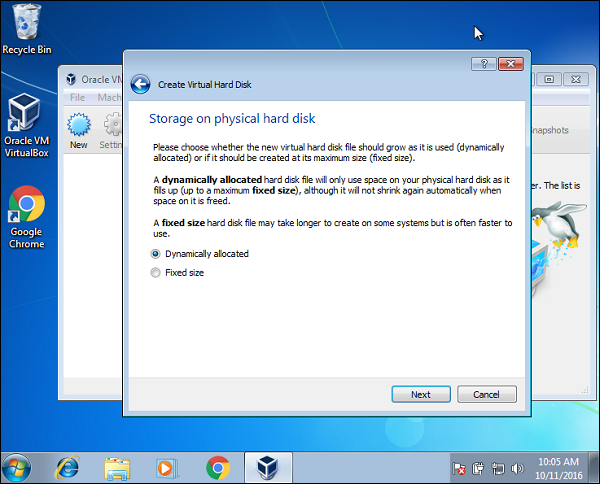
Step 14 − Accept the default type of physical hard disk allocation and click the Next button.
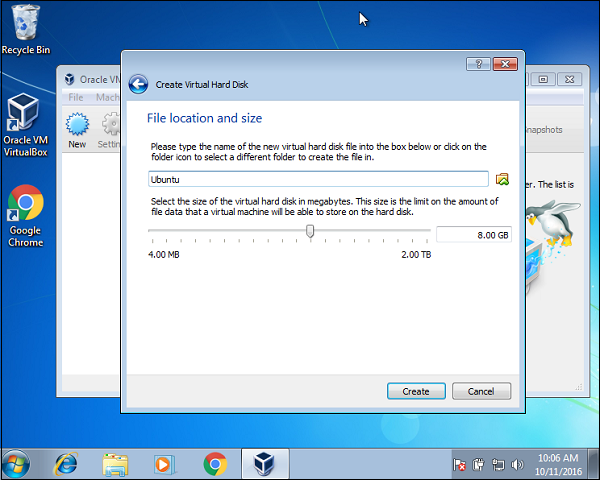
Step 15 − Accept the default file location and click the Create button.
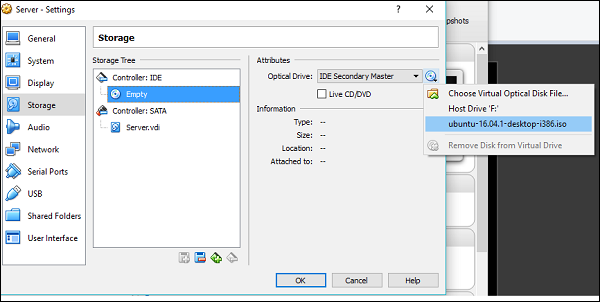
Step 16 − Now that the Virtual Machine has been created, click the Settings Menu option.

Step 17 − Go to the Storage option, click the Empty disk icon and browse for the Ubuntu iso image. Then click the OK button.
Finally click the Start button. The system prompts to install Ubuntu. Follow the steps in the Installation chapter and we will have a Virtual Machine hosting Ubuntu.