- qTest - Home
- qTest - Introduction
- qTest - Features
- qTest - Free Trial Access
- qTest - Login
- qTest - Dashboard
- qTest - Invite Users
- qTest - Add a Project
- Test Plan & Release Management
- Test Plan & Build Management
- qTest - Modules Management
- qTest - Requirements
- qTest - Create Associated Test Cases
- qTest - Import Requirements
- qTest - Export Requirements
- qTest - Export RTM
- qTest - Test Design
- qTest - Calling a Test Case
- qTest - Approve a Test Case
- qTest - Import Test Cases
- qTest - Export Test Cases
- qTest - Test Cycle Management
- qTest - Test Suite Management
- qTest - Add Test Runs
- qTest - Test Execution
- qTest - Quick Run
- qTest - Submit a Defect
- qTest - Clone a Defect
- qTest - Import a Defect
- qTest - Reports
- qTest - Filter
- qTest - Drag & Drop
- qTest - Hotkeys
- qTest - Recycle Bin
- qTest - Search
- qTest - Toggle ID
- qTest - Tagging ID
qTest - Test Cycle Management
Test Execution is managed in different Releases and each release can have multiple test cycles to complete the test execution and ensure functionalities. Test Cycle is always a part of Single Release and it is defined in the scope of the Test Release.
Create a New Test Cycle
To create a Test Cycle, you should have the Create Test Cycles permission. Following are the steps to create a Test Cycle.
Step 1 − To create a new Test Cycle, follow either of these two options −
Go to the Test Execution tab, select the Root folder or a Release. Then, right-click somewhere on the left panel and select New → New Test Cycle

Click the New Test Cycle image on the left side of the panel as shown in the following screenshot.
The Create Test Cycle form opens up.

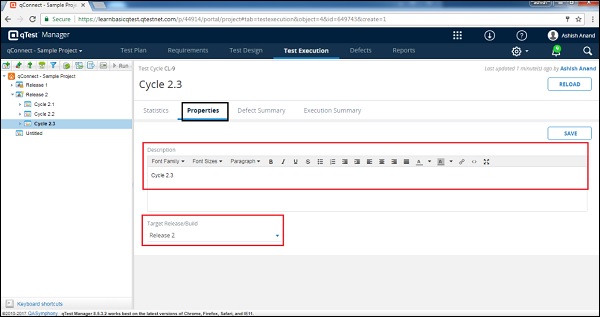
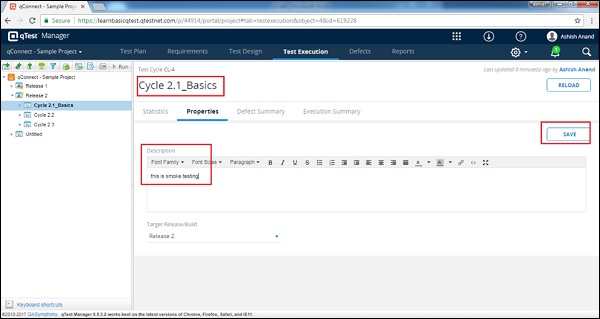
Step 2 − Enter the following fields in the form −
- Name of the Test Cycle
- Description
- Target Release/Build
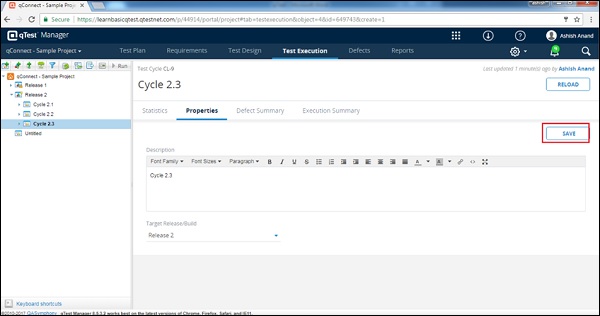
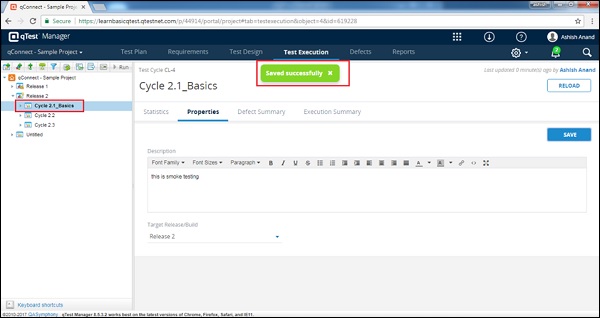
Step 3 − After entering all the details, click the Save button present at the top right corner of the screen.
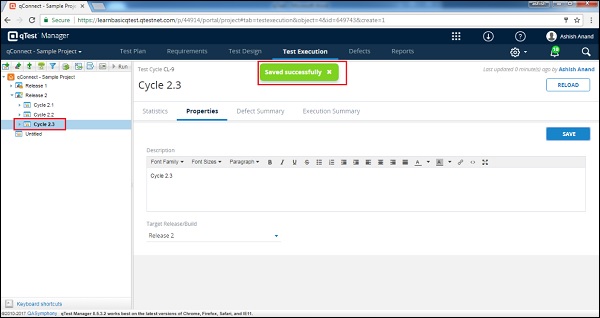
After clicking Save, you will get a success message of changes and the Test Cycle Name appears on the left panel, below the projects name as displayed in the following screenshot.
Edit a Test Cycle
To edit a test cycle, you should have the Edit Test Cycle Permission. Following are the steps to edit a test cycle.
Step 1 − Select a test cycle to Edit and click to open the details.
Step 2 − Edit the Name, Properties, Description, Target Release Build, or any other fields as shown in the following screenshot.
Step 3 − Click Save to finish editing.
Move/Copy a Test Cycle
To Move/Copy a test cycle, you should have the Create/Edit Test Cycle Preference. This functionality allows creating a duplicate of a Test Cycle or reordering of structure. Following are the steps to Move/Copy a Test Cycle.
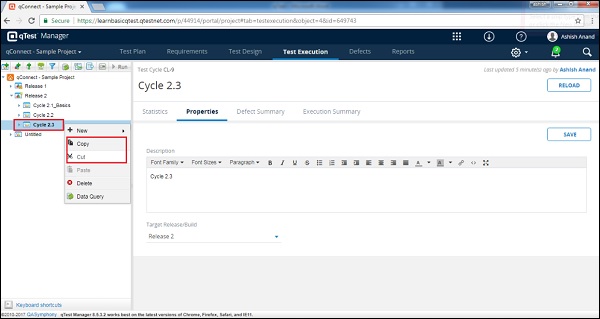
Step 1 − To copy a single or multiple test cycles, select the test cycles that need to be copied and right-click the selected cycles.
Step 2 − Select Copy and click as shown in the following screenshot.
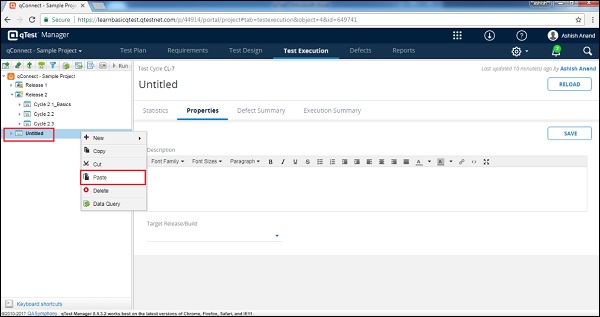
Step 3 − Right-click anywhere on the test plan tree and paste the copied cycle.
Note − A closed cycle cannot be copied or moved.
Delete a Test Cycle
To delete a Test Cycle, you should have the Delete Test Cycle Permission. Following are the steps to delete a test cycle.
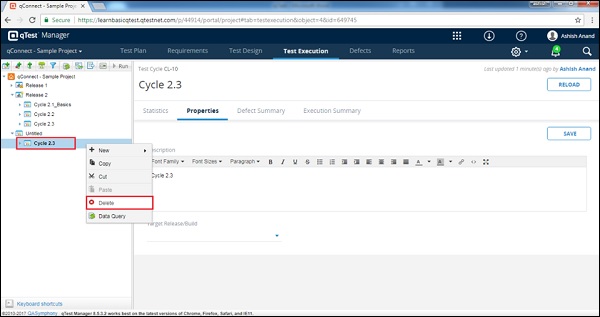
Step 1 − Select a single test cycle or multiple test cycles to delete.
Step 2 − Right-click the selected cycles and click the Delete button.
Step 3 − A dialog box will appear asking for confirmation to delete. Click YES as shown in the following screenshot.
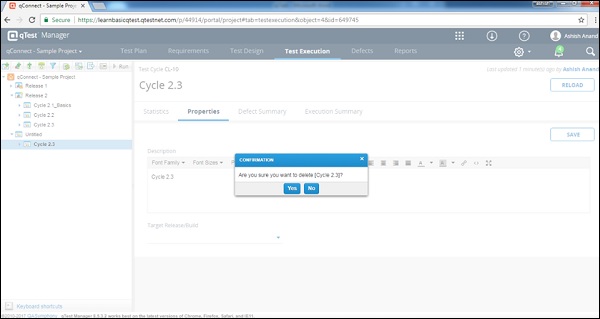
The page is refreshed and the release will be deleted from the Test Plan panel.