- qTest - Home
- qTest - Introduction
- qTest - Features
- qTest - Free Trial Access
- qTest - Login
- qTest - Dashboard
- qTest - Invite Users
- qTest - Add a Project
- Test Plan & Release Management
- Test Plan & Build Management
- qTest - Modules Management
- qTest - Requirements
- qTest - Create Associated Test Cases
- qTest - Import Requirements
- qTest - Export Requirements
- qTest - Export RTM
- qTest - Test Design
- qTest - Calling a Test Case
- qTest - Approve a Test Case
- qTest - Import Test Cases
- qTest - Export Test Cases
- qTest - Test Cycle Management
- qTest - Test Suite Management
- qTest - Add Test Runs
- qTest - Test Execution
- qTest - Quick Run
- qTest - Submit a Defect
- qTest - Clone a Defect
- qTest - Import a Defect
- qTest - Reports
- qTest - Filter
- qTest - Drag & Drop
- qTest - Hotkeys
- qTest - Recycle Bin
- qTest - Search
- qTest - Toggle ID
- qTest - Tagging ID
qTest - Free Trial Access
qTest provides 14 days free trials to business emails with a few basic features; this can be accessed bya maximum of four users. qTest has a range of plans as well with different advanced features and add-ins. The cost depends on the number of users.
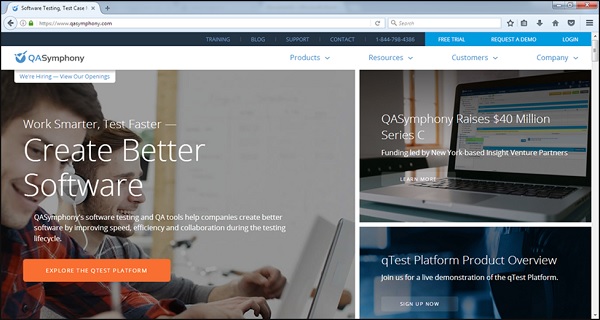
By visiting https://www.qasymphony.com, you can view the different plans that are available on trial basis.
Set Up for Free Trials
Let us now discuss how to set up for free trials. Follow these steps to understand the setup −
Step 1 − Visit https://www.qasymphony.com and click Free Trial tab on the right hand side of the menu bar as shown in the following screenshot.

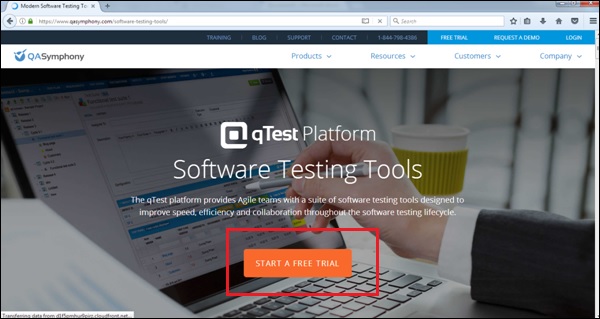
Step 2 − Click the Start Free Trial button.
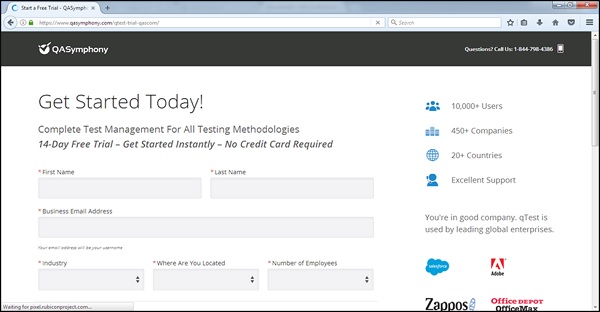
Step 3 − It opens a basic form to create a qTest account. Enter the following details as shown in the following screenshots.
First Name
Last Name
Business Email − Please note, it doesnt accept gmail, yahoo, and outlook IDs. It should be a business email. The same email can be used as the username to access qTest.
Industry
Where are you located
Number of Employees
Company Name
Create your qTest web address − It should be unique and this URL will be used to access the qTest application
Password − To authenticate access of this URL
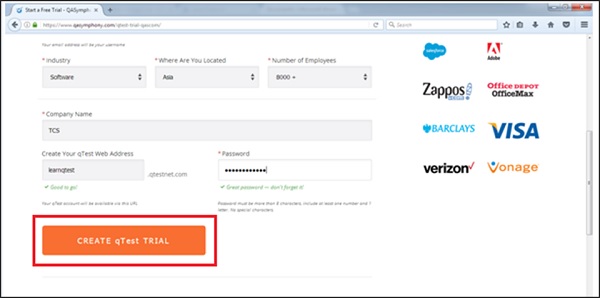
Step 4 − After entering all details, click CREATE qTest TRIAL button as shown in the above screenshot. It will display a Thank you page for the New User as in the following screenshot. You can see the entered Domain and Username with the Access qTest NOW button.
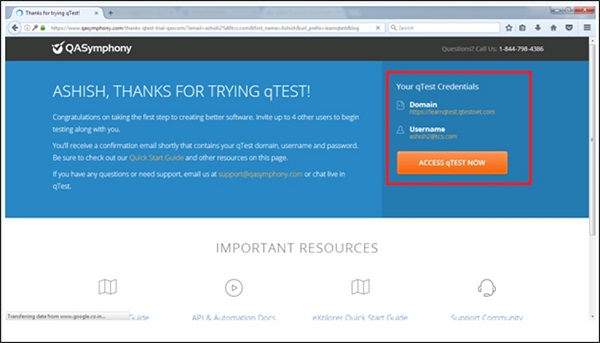
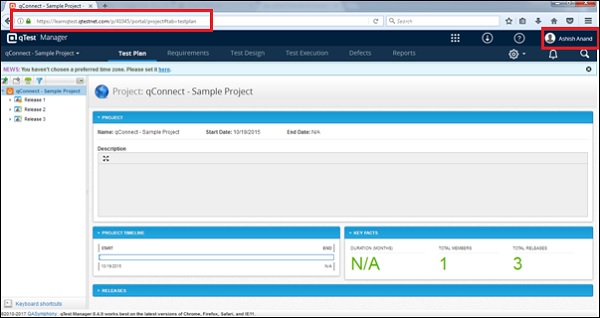
Step 5 − Now, click the Access qTEST NOW button. It will display the Dashboard of qTest. It has access to the URL that was entered while creating the free trials.