- GitLab - Introduction
- GitLab - Installation
- GitLab - Git Commands
- GitLab - SSH Key Setup
- GitLab - Create Project
- GitLab - Fork a Project
- GitLab - Create a Branch
- GitLab - Add a File
- GitLab - Rebase Operation
- GitLab - Squashing Commits
- GitLab Users and Groups
- GitLab - Adding Users
- GitLab - Create Groups
- GitLab - Remove Users
- GitLab - User Permissions
- GitLab Issue Tracker
- GitLab - Create Issue
- GitLab - Merge Requests
- GitLab - Referencing Issues
- GitLab - Milestones
- GitLab - Wiki Pages
- GitLab Instance Management
- GitLab - Create Backup
- GitLab - Restore Backup
- GitLab - Import Repository
GitLab - Milestones
Description
Milestones are used for arranging issues and merge requests into a determined group which can achieved within a specified amount of time by setting a start and due date.
Steps for Creating Milestones
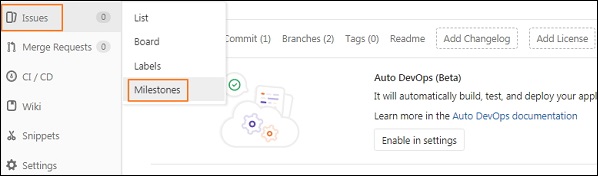
Step 1 − Login to your GitLab account, go to your project and click on the Milestones option under Issues tab −
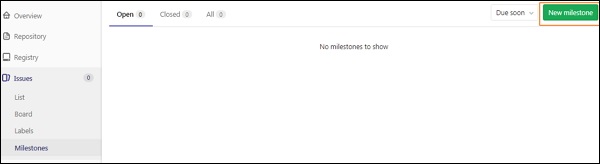
Step 2 − Click on the New milestone button −
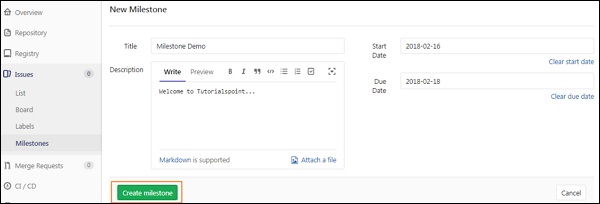
Step 3 − Now enter the title, description, start and due date and click on Create milestone button as shown in the below image −
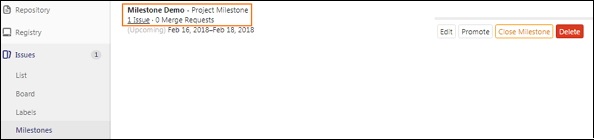
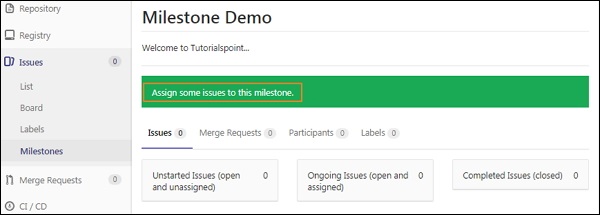
Step 4 − After creating a milestone, it will display a message saying 'Assign some issues to this milestone' as shown below −
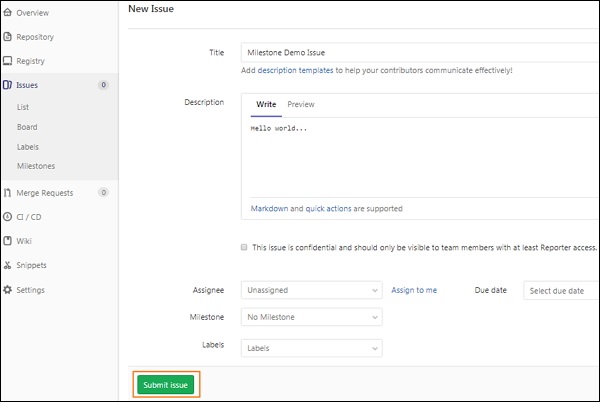
Step 5 − Now go to Issues tab and click on the New issue button to create an issue for the milestone −

Step 6 − Now, fill the information such as title, description and if you want, you can select a user to assign an issue, milestone, labels upon operation or could be choose by developers themselves later. Click on the Submit issue button.
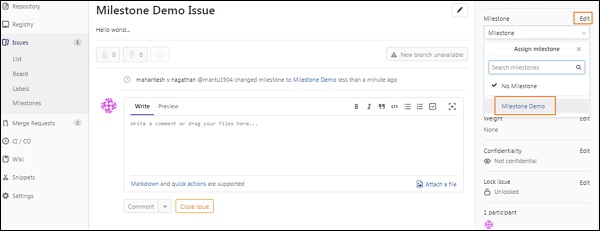
Step 7 − After creating a issue, you will get overview of an issue along with title and description. At right side, click on Edit option and assign milestone for the issue under Milestone section −
Step 8 − Now go back to Milestones section and you will see the added milestone along with created issue −