- GitLab - Introduction
- GitLab - Installation
- GitLab - Git Commands
- GitLab - SSH Key Setup
- GitLab - Create Project
- GitLab - Fork a Project
- GitLab - Create a Branch
- GitLab - Add a File
- GitLab - Rebase Operation
- GitLab - Squashing Commits
- GitLab Users and Groups
- GitLab - Adding Users
- GitLab - Create Groups
- GitLab - Remove Users
- GitLab - User Permissions
- GitLab Issue Tracker
- GitLab - Create Issue
- GitLab - Merge Requests
- GitLab - Referencing Issues
- GitLab - Milestones
- GitLab - Wiki Pages
- GitLab Instance Management
- GitLab - Create Backup
- GitLab - Restore Backup
- GitLab - Import Repository
GitLab - Create Groups
Description
Creating group helps to connect multiple repositories and allows members to access the project by giving permissions on the group level.
Steps for Creating Group
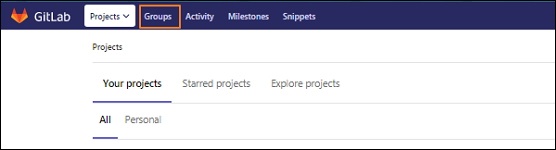
Step 1 − Login to your GitLab account and click on the Groups menu −
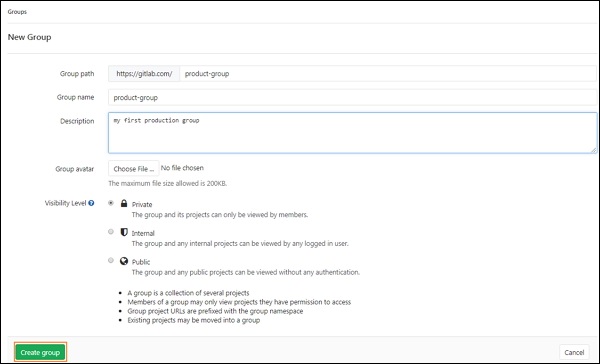
Step 2 − Next, you will get the below screen and click on the New group button to create a group −

Step 3 − Enter the Group name, Description, visibility level(Private/Public/Internal) and also you can set the image for the group of your choice which should be within 200kb in size. Now click on the Create group button.
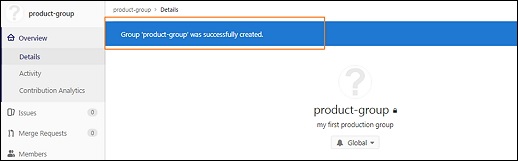
Step 4 − Next, it will display the success message after creating the group as shown below −
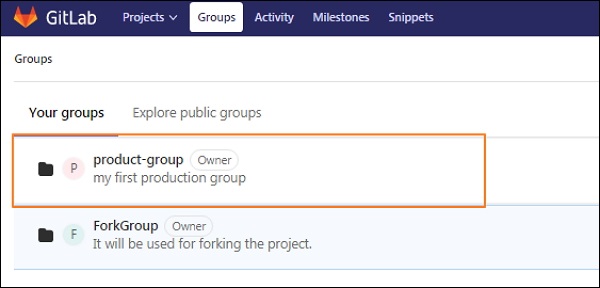
Step 5 − Now, go back to your Groups section and you will see the created group in the list −
Advertisements