- Home
- Overview
- Environment
- Interfaces
- Launching Cluster
- Viewing Cluster Details
- Cluster Endpoints
- Accessing Cluster
- Modifying Cluster
- Rebooting Cluster
- Adding Nodes
- Removing Nodes
- Scaling the Clusters
- Delete Cluster
- Redis Shards
- Parameter Group
- Listing Parameters
- Deleting Parameters
- Engine Parameters
- Backup and Restore
- Monitoring Node - Metrics
- Memcached & Redis
- Accessing Memcached Cluster
- Lazy Loading
- Write Through
- Add TTL
- Memcached VPC
- Creating Memcached Cluster
- Connecting to Cluster in VPC
- Delete Memcached Cluster
- IAM policies
- SNS Notifications
- Events
- Managing Tags
- Managing Costs
- AWS ElastiCache - Resources
- Quick Guide
- Useful Resources
- Discussion
AWS ElastiCache - SNS Notifications
AWS SNS stands for simple notification service. It is used to fan out messages to a large number of subscriber endpoints for parallel processing. For example, used to fan out notifications to end users using mobile push, SMS, and email. We can send messages about important cluster events like, CPU or memory utilization etc., to various subscribers. So that we can keep track of the health of ElastiCache.
Configuring SNS is a straight forward process. Below are the steps we take to configure the SNS topics.
Identify the Cluster
Login to the AWS account and navigate to the ElastiCache dashboard. Next, choose the relevant engine, either Redis and Memcached. Next, choose the name of the cluster in which the SNS service has to be assigned. The below screen represents an example of such a cluster.
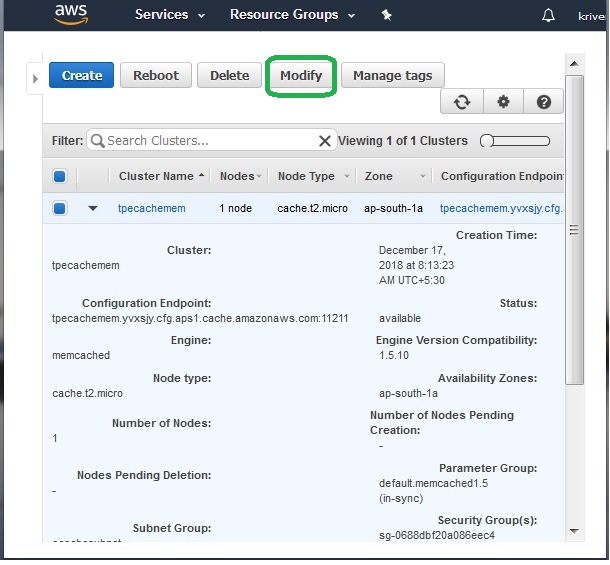
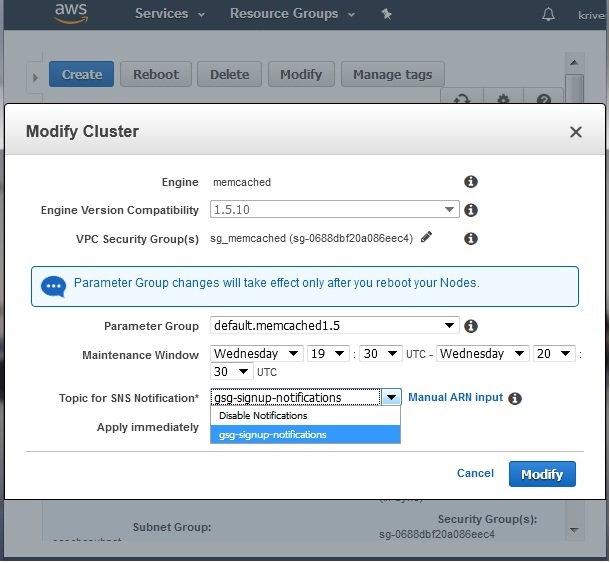
Adding SNS Topic
To add the SNS topic we click on the modify button. It presents a screen where we can choose the name of the SNS topic form a dropdown labelled as Topic for SNS Notification . In case we want to put a custom topic and not one listed in the dropdown, we can choose the Manual ARN Input.
Custom SNS Topic
When we click on the Manual ARN Input, the dropdown in the window changes to a text input. We can write the name of the topic we want to be filled in.
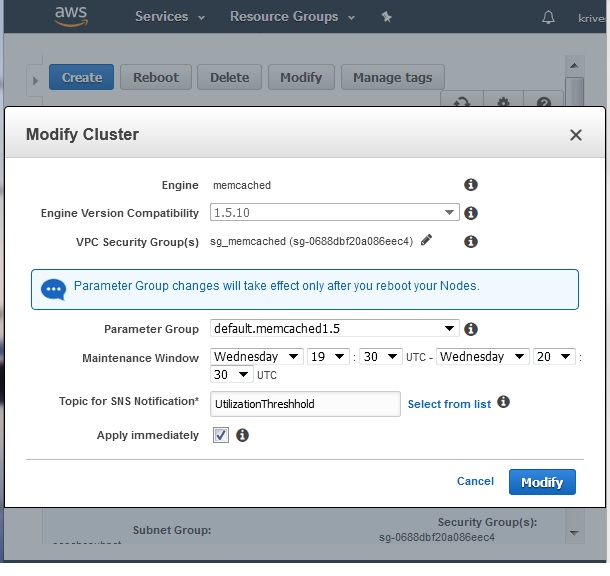
This step can be repeated to change the name of the topic or to remove the existing topics by putting a blank value in the text input box.