- WebdriverIO - Home
- WebdriverIO - Introduction
- WebdriverIO - Prerequisite
- WebdriverIO - Architecture
- WebdriverIO - Getting Started with NodeJS
- WebdriverIO - Installation of NPM
- WebdriverIO - VS Code Installation
- WebdriverIO - Package.json
- WebdriverIO - Mocha Installation
- Selenium Standalone Server Installation
- WebdriverIO - Configuration File generation
- WebdriverIO - VS Code Intellisense
- WebdriverIO - Wdio.conf.js file
- WebdriverIO - Xpath Locator
- WebdriverIO - CSS Locator
- WebdriverIO - Link Text Locator
- WebdriverIO - ID Locator
- WebdriverIO - Tag Name Locator
- WebdriverIO - Class Name Locator
- WebdriverIO - Name Locator
- Expect Statement for Assertions
- WebdriverIO - Happy Path Flow
- WebdriverIO - General Browser Commands
- WebdriverIO - Handling Browser Size
- WebdriverIO - Browser Navigation Commands
- Handling Checkboxes & Dropdowns
- WebdriverIO - Mouse Operations
- Handling Child Windows/Pop ups
- WebdriverIO - Hidden Elements
- WebdriverIO - Frames
- WebdriverIO - Drag & Drop
- WebdriverIO - Double Click
- WebdriverIO - Cookies
- WebdriverIO - Handling Radio Buttons
- Chai Assertions on webelements
- WebdriverIO - Multiple Windows/Tabs
- WebdriverIO - Scrolling Operations
- WebdriverIO - Alerts
- WebdriverIO - Debugging Code
- WebdriverIO - Capturing Screenshots
- WebdriverIO - JavaScript Executor
- WebdriverIO - Waits
- WebdriverIO - Running Tests in Parallel
- WebdriverIO - Data Driven Testing
- Running Tests from command-line parameters
- Execute Tests with Mocha Options
- Generate HTML reports from Allure
- WebdriverIO Useful Resources
- WebdriverIO - Quick Guide
- WebdriverIO - Useful Resources
- WebdriverIO - Discussion
WebdriverIO - Wdio.conf.js file
WebdriverIO tests are controlled from the Configuration file. It is often considered the heart of WebdriverIO. It contains details on which spec files to be executed, browser on which the tests should run, global information - base URL, timeout, reports, screenshots and so on.
In WebdriverIO we do not execute a single test. We are required to trigger the Configuration file with the help of the Test Runner. Test Runner scans the information provided in the Configuration file and then triggers the tests accordingly.
To create a Configuration file, we have to run the below command −
npx wdio config -y
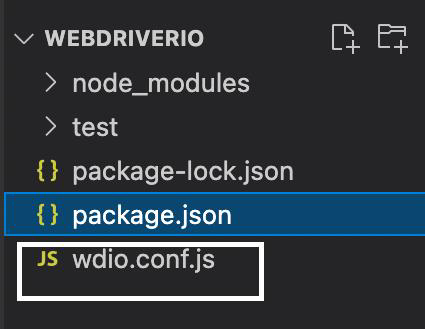
After this command has been executed successfully, the Configuration file called the wdio.conf.js gets created within our project.
The following screen will appear on your computer −
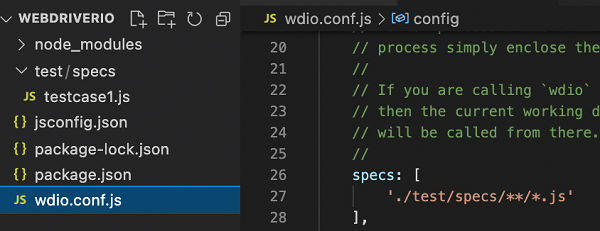
Within this file, we have to specify the path of the spec file that we want to execute within the specs parameter.
By default, the path provided is: ./test/specs/**/*.js. This means any .js file under the sub-folder specs (which is under the folder test) should be picked for execution.
The following screen will appear on your computer −
To execute the test with the help of the wdio.conf.js file, we have to run the command −
npx wdio run wdio.conf.js
The following screen will appear on your computer −
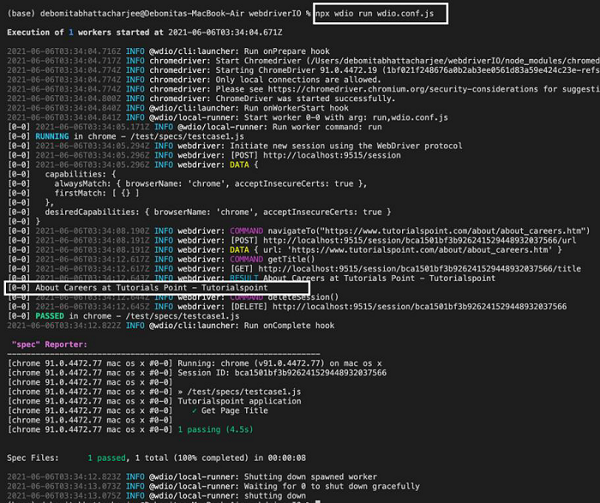
After the command has been executed successfully, the page title of the application launched is obtained in the console.
However, a lot of the logs got captured in the console. This is because the parameter logLevel is set to info by default in the wdio.conf.js file.
The following screen will appear on your computer −
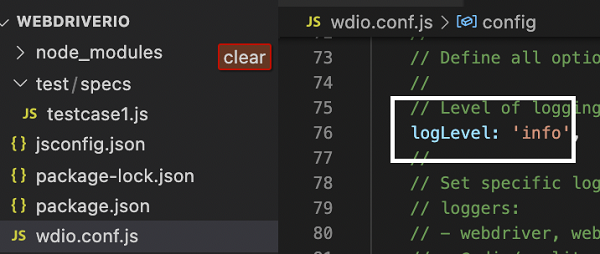
In order to get rid of some of the logs and to obtain only those which the test case directs, we can set this parameter to silent.
The following screen will appear on your computer −

Again run the Configuration file with the following command −
npx wdio run wdio.conf.js
The following screen will appear on your computer −
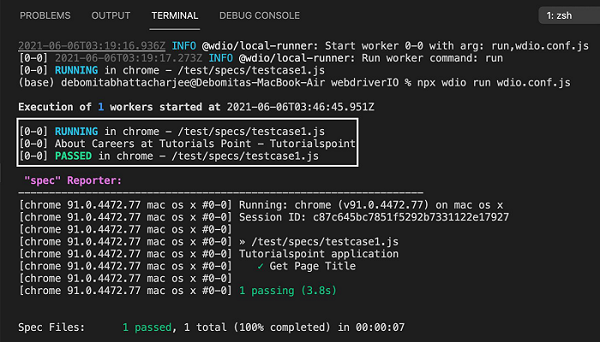
After the command has been executed successfully, we find lesser logs and the page title of the application launched - About Careers at Tutorials Point - Tutorialspoint is obtained in the console.