- Serverless - Home
- Serverless - Introduction
- Serverless - Installation
- Serverless - Deploying Function
- Serverless - Regions, Memory-Size, Timeouts
- Serverless - Service
- Serverless - Scheduled Lambdas
- Serverless - API Gateway Triggered Lambdas
- Serverless - Include/Exclude
- Serverless - Plugins
- Serverless - Packaging Dependencies
- Serverless - Layer Creation
- Serverless - REST API with DynamoDB
- Serverless - Telegram Echo Bot
- Serverless Useful Resources
- Serverless - Quick Guide
- Serverless - Useful Resources
- Serverless - Discussion
Serverless - Installing
Serverless installation has already been covered in another tutorialspoint tutorial. Reproducing it here, with some modifications and additions.
Step 1 − Install nodejs
To begin with, you need to first install nodejs. You can check whether nodejs is installed in your machine or not by opening the Command Prompt and typing node -v. If it is installed, you will get the version number of node. Otherwise, you can download and install node from here.

Step 2 − Install serverless using the npm command
You can install serverless using the following command (npm stands for node package manager) −
npm install -g serverless
You can check whether it got successfully installed by running serverless create --help. If serverless is successfully installed, you should see the help screen for the create plugin.
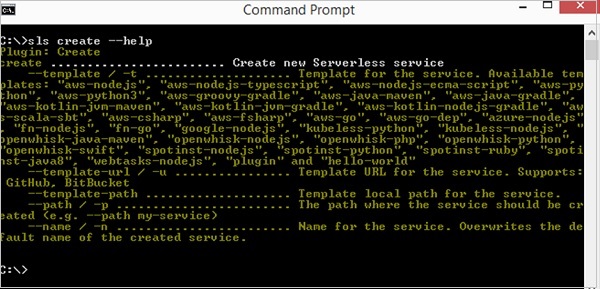
Please note that you can use the shorthand sls instead of serverless in all your commands.
Step 3 − Configure Credentials
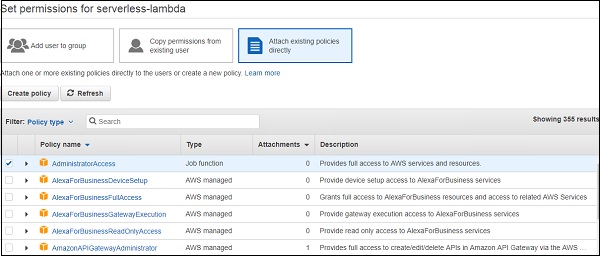
You need to obtain credentials from AWS for configuring serverless. For that, either create a user (through IAM -> Users -> Add user) in the AWS Console or click on an existing User in IAM -> Users. If you are creating a new user, you will need to attach some required policies (like Lambda Access, S3 Access, etc.) or provide Administrator access to the user.
After you create the user, you will be able to see the access key and secret key. Please keep this very secure and confidential.

If you are an existing user, you can generate a new Access Key and Secret by following the steps mentioned here.
Once you have the access and secret keys handy, you can configure credentials in serverless using the following command −
serverless config credentials --provider aws --key 1234 --secret 5678 --profile custom-profile
The profile field is optional. If you leave it blank, the default profile is 'aws'.Remember what profile name you set because you will have to mention it in the serverless.yml file that we will see in the next tutorial.
If you've completed the above steps, the serverless configuration is complete. Move on to the next chapter to create your first serverless project.