- Groovy Tutorial
- Groovy - Home
- Groovy - Overview
- Groovy - Environment
- Groovy - Basic Syntax
- Groovy - Data Types
- Groovy - Variables
- Groovy - Optionals
- Groovy - Numbers
- Groovy - Strings
- Groovy - Ranges
- Groovy - Lists
- Groovy - Maps
- Groovy - Dates & Times
Groovy Operators
- Groovy - Operators
- Groovy - Arithmetic Operators
- Groovy - Assignment Operators
- Groovy - Relational Operators
- Groovy - Logical Operators
- Groovy - Bitwise Operators
- Groovy - Spaceship Operator
- Groovy - in Operator
- Groovy - Elvis Operator
- Groovy - Safe Navigation Operator
- Groovy Operator Precedence & Associativity
Control Statements
- Groovy - Decision Making
- Groovy - If Else Statement
- Groovy - Switch Statement
- Groovy - Loops
- Groovy - For Loop
- Groovy - For-in Loop
- Groovy - While Loop
- Groovy - Do While Loop
- Groovy - Break Statement
- Groovy - Continue Statement
Groovy File Handling
- Groovy - File I/O
- Java - Create a File
- Java - Write to File
- Java - Append to File
- Java - Read Files
- Java - Delete Files
- Java - File Properties
- Java - File Size
- Java - File Permissions
- Java - Directories
- Java - Listing Directories
- Java - Filtering Files/Directories
- Java - Deleting Directories
- Java - Renaming Files/Directories
Groovy Error & Exceptions
- Groovy - Exception Handling
- Groovy - try-catch Block
- Groovy - try-with-resources
- Groovy - Multi-catch Block
- Groovy - Nested try Block
- Groovy - Finally Block
- Groovy - throw Exception
- Groovy - Exception Propagation
- Groovy - Built-in Exceptions
- Groovy - Custom Exception
Groovy Multithreading
- groovy - Multithreading
- groovy - Thread Life Cycle
- groovy - Creating a Thread
- groovy - Starting a Thread
- groovy - Joining Threads
- groovy - Naming Thread
- groovy - Thread Scheduler
- groovy - Thread Pools
- groovy - Main Thread
- groovy - Thread Priority
- groovy - Daemon Threads
- groovy - Shutdown Hook
Groovy Synchronization
- groovy - Synchronization
- groovy - Block Synchronization
- groovy - Static Synchronization
- groovy - Inter-thread Communication
- groovy - Thread Deadlock
- groovy - Interrupting a Thread
- groovy - Thread Control
- groovy - Reentrant Monitor
- Groovy - Methods
- Groovy - Methods
- Groovy - Optional parenthesis
- Groovy - Named Arguments
- Groovy - Closures as Arguments
- Groovy - Method Overloading
- Groovy - Method Scope and Visibility
- Groovy - isCase Method
- Groovy - Implicit Return
- Groovy - Variable Arguments
- Groovy - Regular Expressions
- Groovy - Regular Expressions
- Groovy - Defining Regular Expressions
- Groovy - Matcher Object
- Groovy - Regex Tasks
- Groovy - XML
- Groovy - XML
- Groovy - Parsing XML
- Groovy - Creating XML
- Groovy - Modifying XML
- Groovy - Querying XML
- Groovy - Simplified Notation
- Groovy - Closure based Querying
- Groovy - Closure based Creation
- Groovy - JSON
- Groovy - JSON
- Groovy - Parsing JSON
- Groovy - Creating JSON using JsonOutput
- Groovy - Creating JSON using JsonBuilder
- Groovy - Modifying JSON
- Groovy - Error Handling
- Groovy - Handling JSON Arrays
- Groovy - JSON Array Operations
- Groovy - JSON Objects
- Groovy - JSON Object Operations
- Groovy - Generics
- Groovy - Generics
- Groovy - Declaring Generic Types
- Groovy - Bound Type Parameters
- Groovy - Wild Cards
- Groovy - Miscellaneous
- Groovy - Object Oriented
- Groovy - Closures
- Groovy - Annotations
- Groovy - JMX
- Groovy - DSLS
- Groovy - Database
- Groovy - Builders
- Groovy - Command Line
- Groovy - Unit Testing
- Groovy - Template Engines
- Groovy - Meta Object Programming
- Groovy Useful Resources
- Groovy - Quick Guide
- Groovy - Useful Resources
- Groovy - Discussion
Groovy - Environment
There are a variety of ways to get the Groovy environment setup.
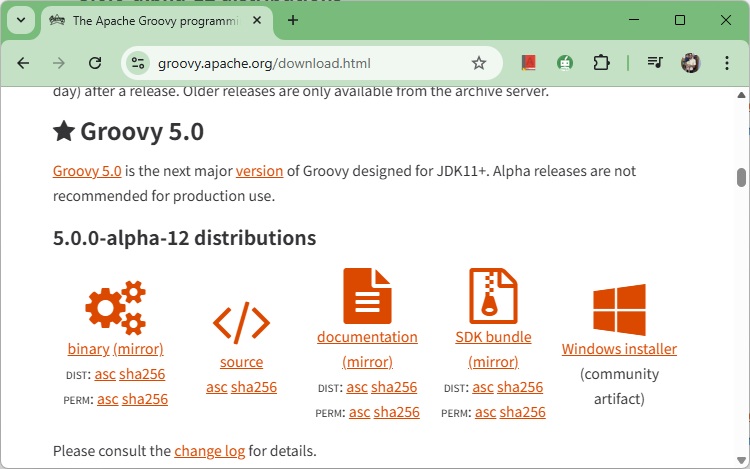
Binary download and installation − Go to the link www.groovy-lang.org/download.html to get the Windows Installer section. Click on this option to start the download of the Groovy installer.
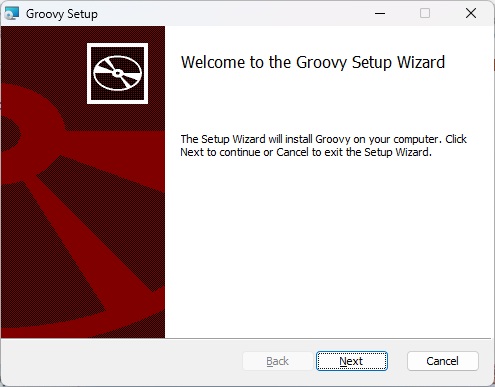
Once you launch the installer, follow the steps given below to complete the installation.
Step 1 − Click the Next button in the installer screen.
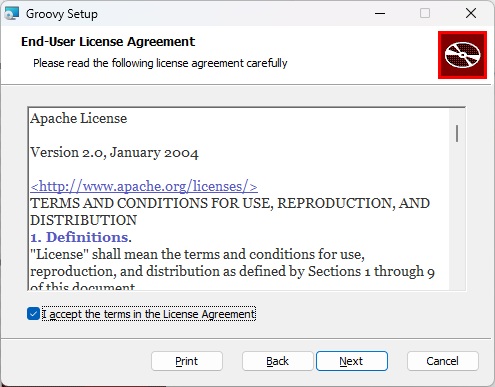
Step 2 − Click the I Agree button.
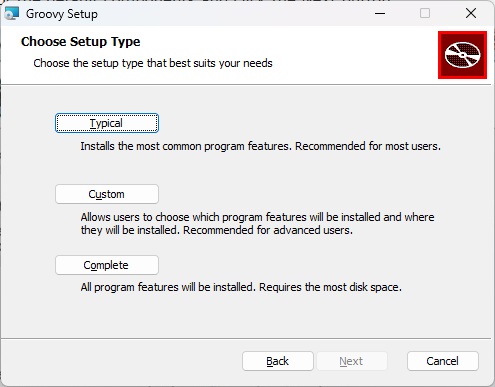
Step 3 − Accept the default Typical components and click the Next button.
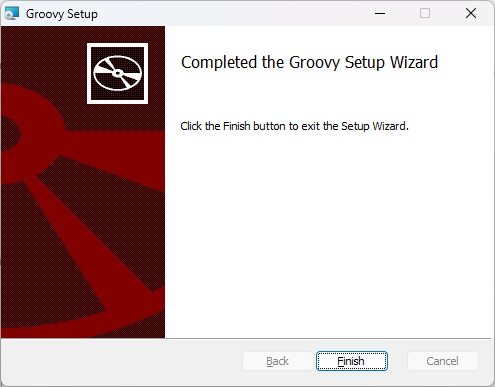
Step 4 − Click the Finish button to complete the installation.
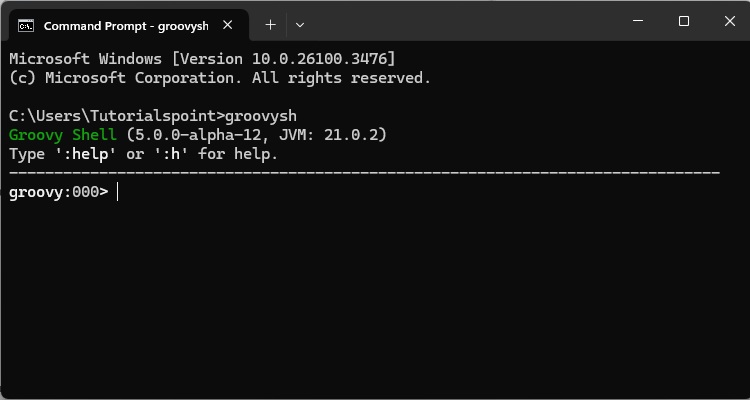
Once the above steps are followed, you can then start the groovy shell which is part of the Groovy installation that helps in testing our different aspects of the Groovy language without the need of having a full-fledged integrated development environment for Groovy. This can be done by running the command groovysh from the command prompt.
If you want to include the groovy binaries as part of you maven or gradle build, you can add the following lines
Gradle
'org.codehaus.groovy:groovy-all:5.0.0-alpha-2'
Maven
<dependency>
   <groupId>org.apache.groovy</groupId>
   <artifactId>groovy-all</artifactId>
   <version>5.0.0-alpha-2</version>
   <type>pom</type>
</dependency>
