- Eclipse - Home
- Eclipse - Overview
- Eclipse - Installation
- Eclipse - Explore Windows
- Eclipse - Explore Menus
- Eclipse - Explore Views
- Eclipse - Perspectives
- Eclipse - Workspaces
- Eclipse - Create Java Project
- Eclipse - Create Java Package
- Eclipse - Create Java Class
- Eclipse - Create Java Interface
- Eclipse - Create XML File
- Eclipse - Java Build Path
- Eclipse - Run Configuration
- Eclipse - Running Program
- Eclipse - Create Jar Files
- Eclipse - Close Project
- Eclipse - Reopen Project
- Eclipse - Build Project
- Eclipse - Debug Configuration
- Eclipse - Debugging Program
- Eclipse - Preferences
- Eclipse - Content Assist
- Eclipse - Quick Fix
- Eclipse - Hover Help
- Eclipse - Search Menu
- Eclipse - Navigation
- Eclipse - Refactoring
- Eclipse - Add Bookmarks
- Eclipse - Task Management
- Eclipse - Install Plugins
- Eclipse - Code Templates
- Eclipse - Shortcuts
- Eclipse - Restart Option
- Eclipse - Tips & Tricks
- Eclipse - Web Browsers
Eclipse - Useful Resources
Eclipse - Preferences
Setting Preferences
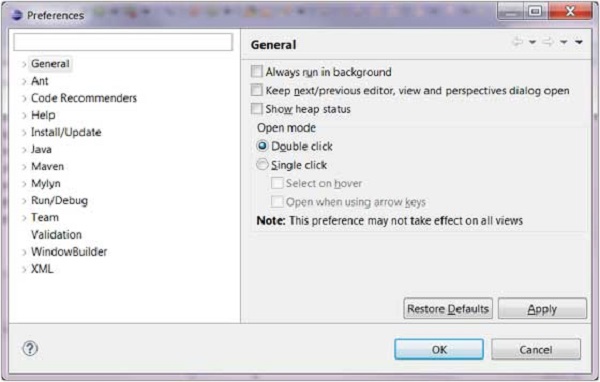
The Preferences dialog allows Eclipse users to manage their preferences. This dialog box is managed by the framework but any plug-in can add multiple pages to the dialog box.
To invoke this dialog, click on the Window menu and select the Preferences menu item.
The preference pages are organized by category. You can locate a preference page by expanding the nodes of the tree in the left hand side of the dialog box.

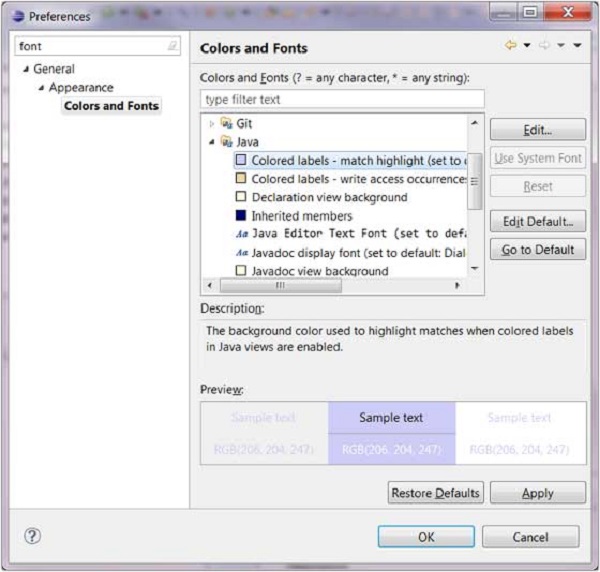
The filter text box on the left hand side top corner allows you to quickly locate a preference page. As you type characters into the filter text box the items shown in the left hand side tree are filtered. For e.g. type in font to quickly get to the Font preferences page.

After you make changes to the appropriate preferences click on the OK button to save the changes and close the dialog box or click on the Cancel button to discard the changes and close the dialog box.
