
- Eclipse - Home
- Eclipse - Overview
- Eclipse - Installation
- Eclipse - Explore Windows
- Eclipse - Explore Menus
- Eclipse - Explore Views
- Eclipse - Perspectives
- Eclipse - Workspaces
- Eclipse - Create Java Project
- Eclipse - Create Java Package
- Eclipse - Create Java Class
- Eclipse - Create Java Interface
- Eclipse - Create XML File
- Eclipse - Java Build Path
- Eclipse - Run Configuration
- Eclipse - Running Program
- Eclipse - Create Jar Files
- Eclipse - Close Project
- Eclipse - Reopen Project
- Eclipse - Build Project
- Eclipse - Debug Configuration
- Eclipse - Debugging Program
- Eclipse - Preferences
- Eclipse - Content Assist
- Eclipse - Quick Fix
- Eclipse - Hover Help
- Eclipse - Search Menu
- Eclipse - Navigation
- Eclipse - Refactoring
- Eclipse - Add Bookmarks
- Eclipse - Task Management
- Eclipse - Install Plugins
- Eclipse - Code Templates
- Eclipse - Shortcuts
- Eclipse - Restart Option
- Eclipse - Tips & Tricks
- Eclipse - Web Browsers
Eclipse - Useful Resources
Eclipse - Create Java Package
Opening the New Java Package wizard
You can use the New Java Package wizard to create a Java package. The Java Package wizard can be opened in different ways −
By clicking on the File menu and selecting New → Package.
By right click in the package explorer and selecting New → Package.
By clicking on the package icon which is in the tool bar(
 ).
).
If you are creating a sub package, before opening the Java Package wizard select the parent package so that name field can have a default value in it.
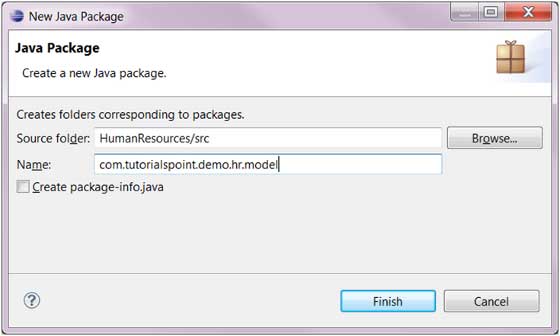
Using the New Java Package Wizard
Once the Java Package wizard comes up −
- Enter/confirm the source folder name.
- Enter the package name.
- Click on the Finish button.
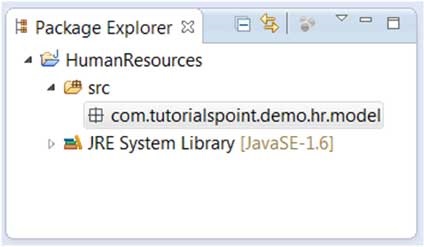
Viewing the Newly Created Package
The package explorer will show the newly created package under the source folder.
Advertisements