- TestLink - Home
- TestLink – Introduction
- TestLink – Features
- TestLink – Installation
- TestLink – Login
- TestLink – Add a Project
- TestLink – Dashboard
- TestLink – Projects
- TestLink – Inventory
- TestLink – Test Plan
- TestLink – Build Management
- TestLink – Test Specification
- TestLink – Test Suite
- TestLink – Test Cases
- TestLink – Import Data
- TestLink – Export Data
- TestLink – Test Plan Relation
- TestLink – Search
- TestLink – Keywords
- Test Specification Document
- TestLink – Create Requirement
- TestLink – Requirement Overview
- TestLink – Assign Test Execution
- TestLink – Bulk User Assignment
- TestLink – Platforms
- TestLink – Milestones
- TestLink – Test Execution Setup
- TestLink – Test Execution
- TestLink – Reports & Metrics
- TestLink – Reports
- TestLink – Charts
TestLink - Create Requirement
Requirements are high-level descriptions about particular system services, constraints, or a detailed specification generated during the requirements gathering process.
TestLink supports Requirement Specification where you can create a Requirement and take various actions such as Edit, Delete, or Freeze the version, etc.
Create a Requirement
To create a requirement, you should have the Create Requirement permission.
Following are the steps to create a requirement −
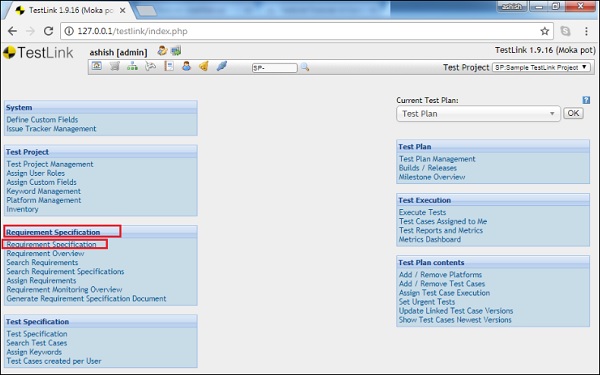
Step 1 − Go to Requirement Specification → Requirement Specification from the dashboard as shown below.
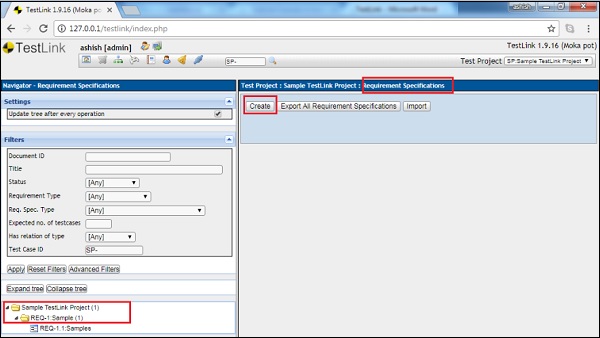
Step 2 − On the left side, Search the folder structure where you want to add a requirement.
Step 3 − Click the Create button present on the right side panel as shown below.
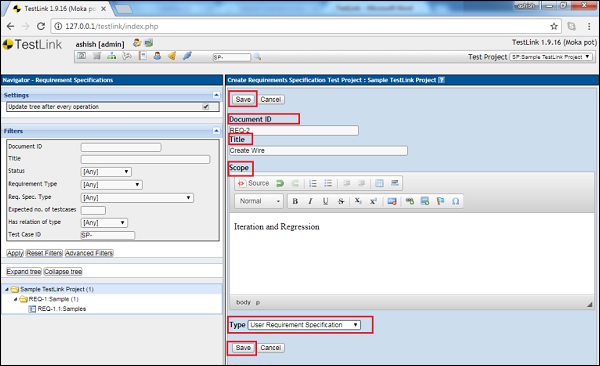
It opens the create requirement page where you can specify the Document ID, Title, Scope and the type of requirement.
Step 4 − Click the Save button to add the requirement in the list as shown below.
It adds the parent folder as Requirement Specification.
Step 5 − Click the parent folder and then click the Settings icon known as Actions displayed on the right side panel as shown in the following screenshot.
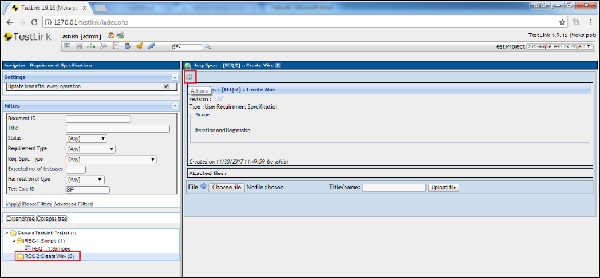
It shows Requirement Operations page.
Step 6 − Click the Create button as displayed in the following screenshot.
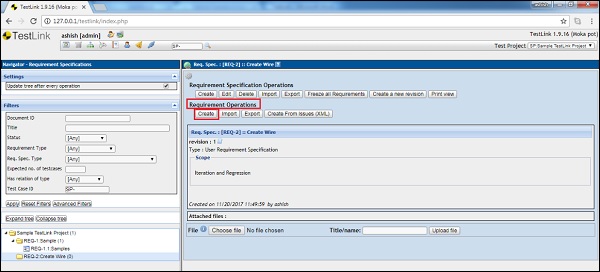
It displays the Create Requirement form.
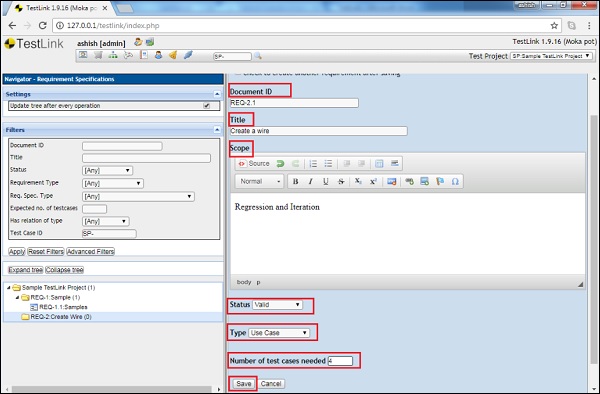
Step 7 − Enter the following fields before clicking the Save button.
Document ID − Unique ID to identify.
Title − A unique title and must be within 100 characters.
Scope − It is text into HTML format.
Status − It can have value as Valid, Draft, Review, Rework, Finish, implemented, Not testable and Obsolete.
Type − It could have a value as Informational, Feature, Use Case, User Interface, Non-Functional, Constraint or System Function.
Number of test cases needed − An estimated test case needs to cover the requirement.
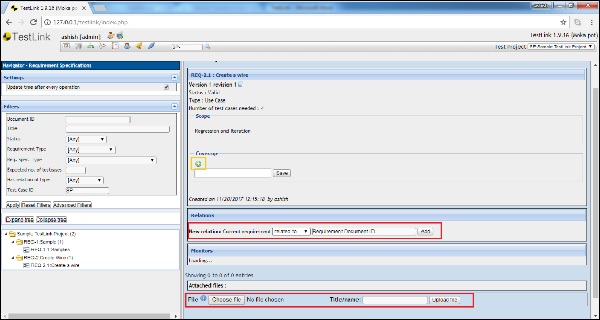
After clicking Save, the requirement gets added and is displayed with additional fields.
Step 8 − Add Coverage by clicking the + icon.
Step 9 − Add the relation of the current requirement with any existing requirement as parent, child, related to, blocks or depends on.
In addition, you can attach a file as well for more details about requirement as shown in the following screenshot.