- Postman - Home
- Postman - Introduction
- Postman - Environment Setup
- Postman - Environment Variables
- Postman - Authorization
- Postman - Workflows
- Postman - GET Requests
- Postman - POST Requests
- Postman - PUT Requests
- Postman - DELETE Requests
- Postman - Create Tests for CRUD
- Postman - Create Collections
- Postman - Parameterize Requests
- Postman - Collection Runner
- Postman - Assertion
- Postman - Mock Server
- Postman - Cookies
- Postman - Sessions
- Postman - Newman Overview
- Postman - Run Collections using Newman
- Postman - OAuth 2.0 Authorization
- Postman Useful Resources
- Postman - Quick Guide
- Postman - Useful Resources
- Postman - Discussion
Postman - GET Requests
A GET request is used to obtain details from the server and does not have any impact on the server. The GET request does not update any server data while it is triggered. The server only sends its Response to the request.
Create a GET Request
Follow the steps given below to create a GET request successfully in Postman −
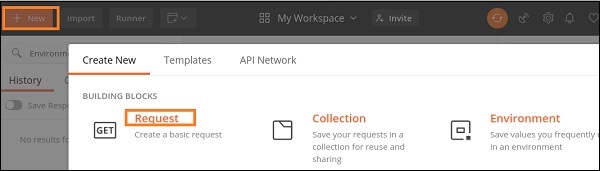
Step 1 − Click on the New menu from the Postman application. The Create New pop-up comes up. Then click on the Request link.
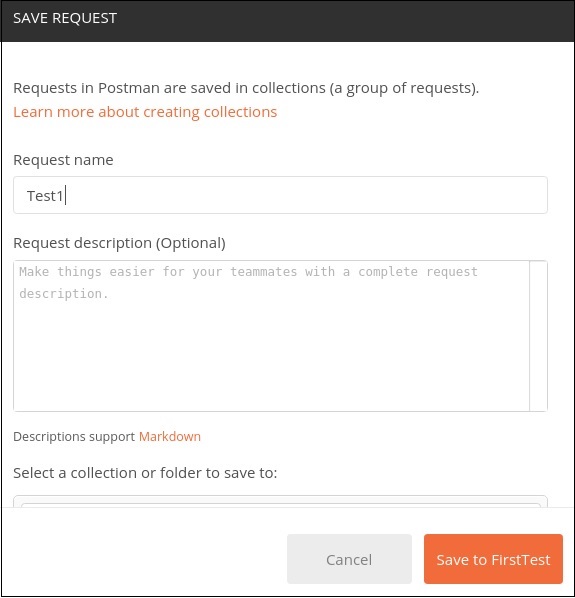
Step 2 − SAVE REQUEST pop-up comes up. Enter the Request name then click on Save.
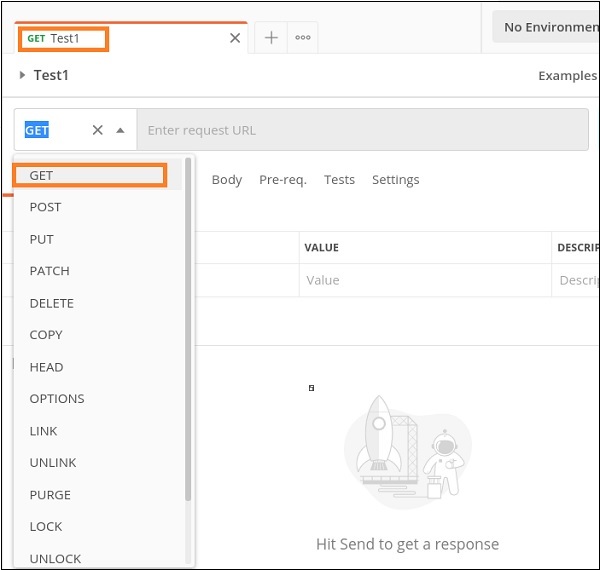
Step 3 − The Request name (Test1) gets reflected on the Request tab. We shall then select the option GET from the HTTP request dropdown.
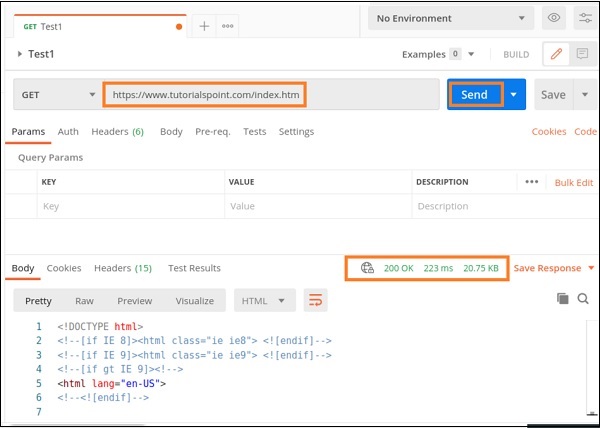
Step 4 − Enter an URL - https://www.tutorialspoint.com/index.htm in the address bar and click on Send.
Response
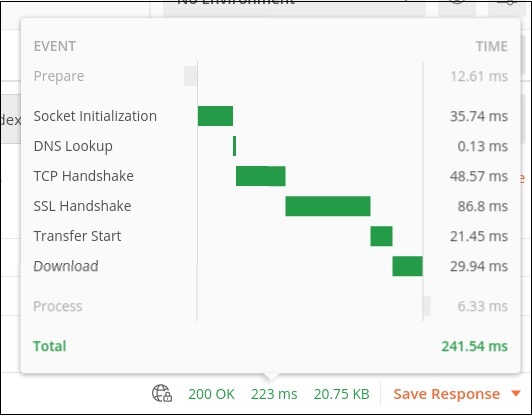
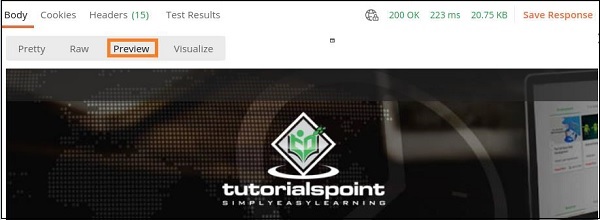
Once a request has been sent, we can see the response code 200 OK populated in the Response. This signifies a successful request and a correct endpoint. Also, information on the time consumed to complete the request (223 ms) and payload size (20.75 KB) are populated.
On hovering over the response time, we can see the time taken by different events like DNS Lookup, SSL Handshake and so on.
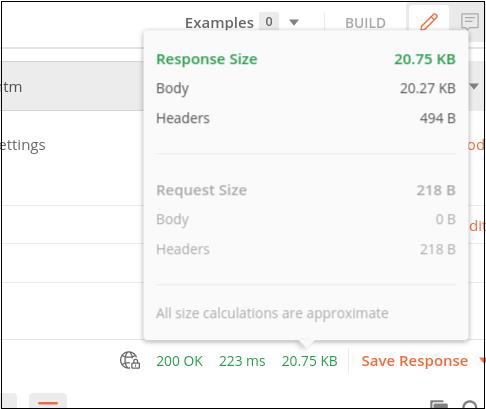
On hovering over the payload size, the details on the size of response, headers, Body, and so on are displayed.
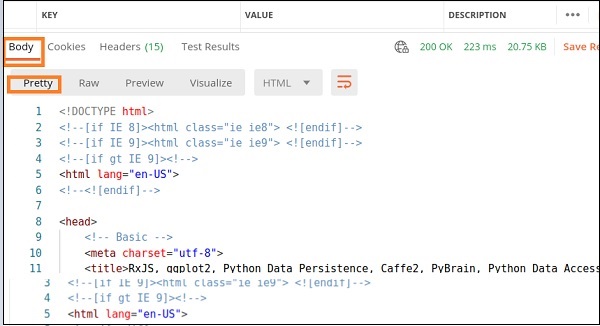
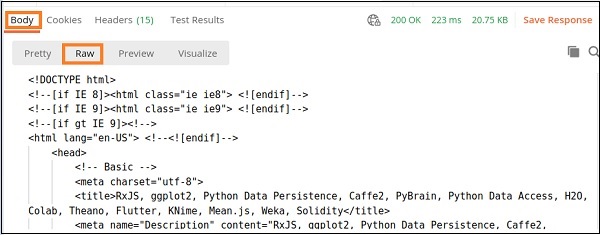
The Response Body contains the sub−tabs − Pretty, Raw and Preview. The Pretty format shows color formatting for keywords and indentation for easy reading. The Raw format displays the same data displayed in the Pretty tab but without any color or indentation.
The Preview tab shows the preview of the page.
Raw tab
The following screen will appear −
Preview tab
The following screen will appear −
The Response also contains the Cookies, Headers and Test Results.
