- Cypress - Home
- Cypress - Introduction
- Cypress - Architecture and Environment Setup
- Cypress - Test Runner
- Cypress - Build First Test
- Cypress - Supported Browsers
- Cypress - Basic Commands
- Cypress - Variables
- Cypress - Aliases
- Cypress - Locators
- Cypress - Assertions
- Cypress - Text Verification
- Cypress - Asynchronous Behavior
- Cypress - Working with XHR
- Cypress - jQuery
- Cypress - Checkbox
- Cypress - Tabs
- Cypress - Dropdown
- Cypress - Alerts
- Cypress - Child Windows
- Cypress - Hidden Elements
- Cypress - Frames
- Cypress - Web Tables
- Cypress - Mouse Actions
- Cypress - Cookies
- Cypress - Get and Post
- Cypress - File Upload
- Cypress - Data Driven Testing
- Cypress - Prompt Pop-up Window
- Cypress - Dashboards
- Cypress - Screenshots and Videos
- Cypress - Debugging
- Cypress - Custom Commands
- Cypress - Fixtures
- Cypress - Environment Variables
- Cypress - Hooks
- Cypress - Configuration of JSON File
- Cypress - Reports
- Cypress - Plugins
- Cypress - GitHub
- Cypress Useful Resources
- Cypress - Quick Guide
- Cypress - Useful Resources
- Cypress - Discussion
Cypress - Architecture and Environment Setup
Cypress architecture is illustrated in the below diagram −
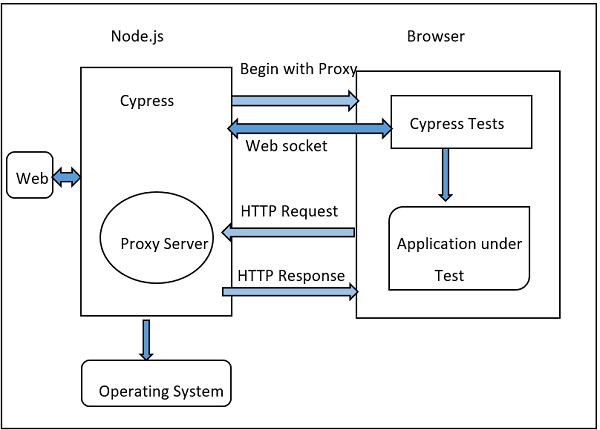
The source of the above diagram is https://www.tutorialspoint.com/cypress-architecturetest-automation
Automation tools like Selenium work by running outside the browser. However, the Cypress has a different architecture. It runs within the browser. Cypress is basically based on the server - Node.js.
There is a continued interaction of Cypress with the Node.js and they work in coordination with each other. As a result, Cypress can be utilised for testing both the front and backend of the application.
Cypress is thus, capable of handling the tasks performed at a real time on the UI and simultaneously can also perform the actions outside of the browser.
Difference between Cypress and Selenium
The basic differences between Cypress and Selenium are listed below −
| Cypress | Selenium |
|---|---|
| It is based on Javascript. | It is based on Java, C#, Python and JavaScript. |
| It has small community support | It has big community support. |
| It includes an in-built video capture feature. | There is no in-built video capture feature. |
| No APIs are available to handle the tabs/child windows. | APIs available to handle tabs/child windows. |
| No parallel execution can be performed. | Parallel execution can be performed. |
| Only installation of npm needed. | Supplemental Jars, libraries, and so on are required to be added as project dependencies. |
Cypress Environment Setup
For Cypress environment setup, visit the link −https://nodejs.org/en/download/. The screen that will appear is given below −
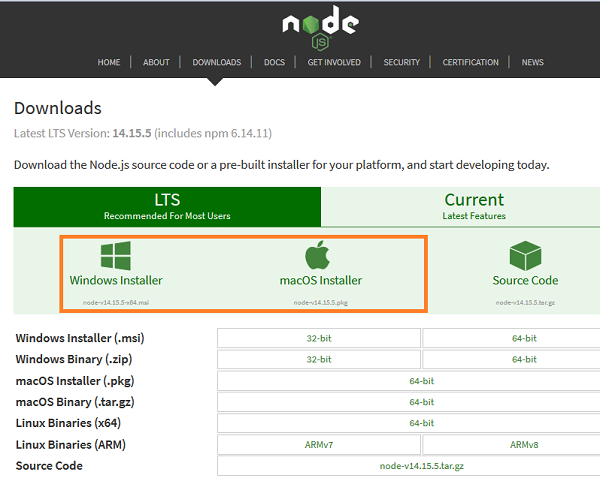
There shall be both Windows and macOS Installer. We have to get the package as per the local operating system.
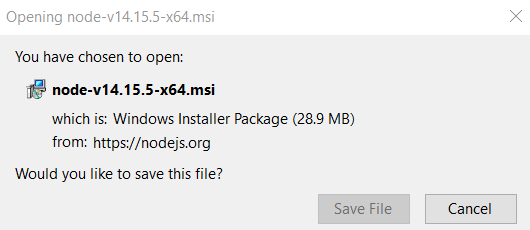
For a 64- bit Windows configuration, the following pop-up comes up to save the installer.
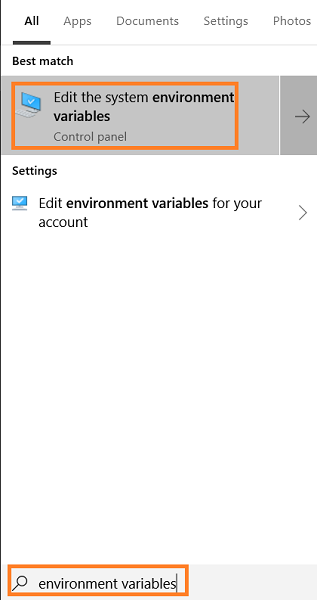
Once the installation is done, a nodejs file gets created in the Program files. The path of this file should be noted. Then, enter environment variables from the Start, as shown below −
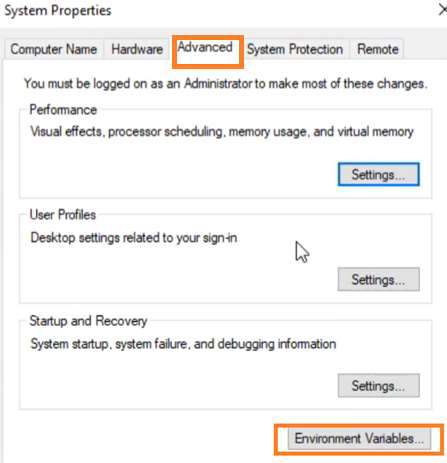
In the System Properties pop-up, move to Advanced, click on Environment Variables. Then click on OK.
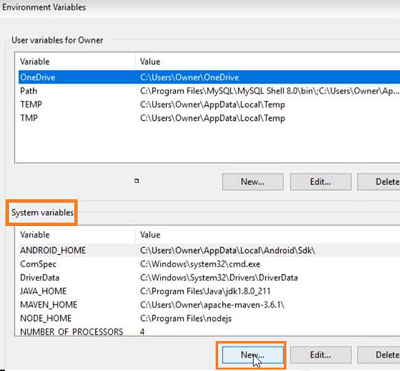
In the Environment Variables pop-up, move to the System variables section and click on New.
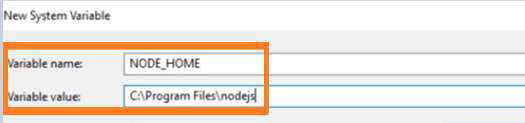
Enter NODE_HOME and the node.js path (noted earlier) in the Variable name and the Variable value fields respectively in the New System Variable pop-up.
Once the path of the node.js file is set, we shall create an empty folder (say cypressautomation) in any desired location.
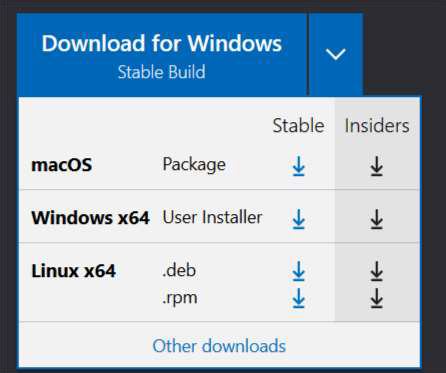
Next, we need to have a JavaScript editor to write the code for Cypress. For this, we can download Visual Studio Code from the link https://code.visualstudio.com/
As per the local operating system, choose the correct package −
Once the executable file is downloaded, and all the installation steps are completed, the Visual Studio Code gets launched.
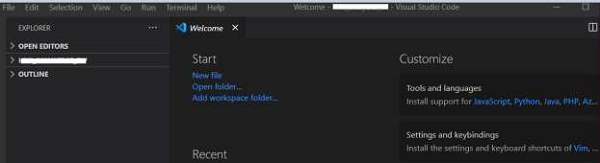
Select the option Open Folder from the File menu. Then, add the CypressAutomation folder (that we have created before) to the Visual Studio Code.

We need to create the package.json file with the below command from terminal −
We have to enter details like the package name, description, and so on, as mentioned in the image given below −
npm init
Once done, the package.json file gets created within the project folder with the information we have provided.

Once done, the package.json file gets created within the project folder with the information we have provided.

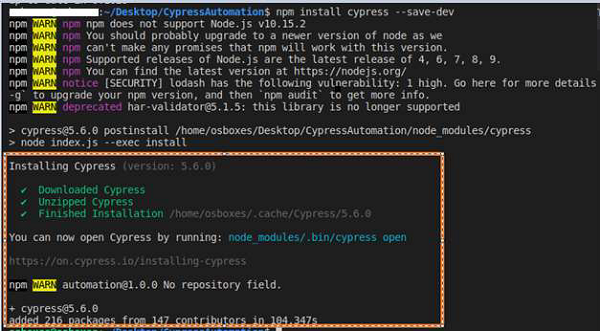
Finally, to install Cypress run the command given below −
npm install cypress --save-dev
You will get the following output −