- Sprint Security - Home
- Spring Security - Introduction
- Spring Security - Architecture
- Spring Security - Project Modules
- Spring Security - Environment Setup
- Spring Security - Form Login
- Spring Security - Custom Form Login
- Spring Security - Logout
- Spring Security - Remember Me
- Spring Security - Redirection
- Spring Security - Taglibs
- Spring Security - XML Configuration
- Spring Security - Authentication Provider
- Spring Security - Basic Authentication
- Spring Security - AuthenticationFailureHandler
- Spring Security - JWT
- Spring Security - Retrieve User Information
- Spring Security - Maven
- Spring Security - Default Password Encoder
- Spring Security – Password Encoding
- Spring Security - Methods Level
- Spring Security - Manual Authentication
- Spring Security - Extra Login Fields
- Spring Security - Prevent Brute Force
- Spring Security - Login Page with React
- Spring Security - Security Filter Chain
- Spring Security - Securing Spring Boot API
- Spring Security - Expressions
- Spring Security - Security none, Filters none, access permitAll
- Spring Security - Control the Session
- Spring Security Useful Resources
- Spring Security - Quick Guide
- Spring Security - Useful Resources
- Spring Security - Discussion
Spring Security - Environment Setup
This chapter will guide you on how to prepare a development environment to start your work with Spring Framework and Spring Security. It will also teach you how to set up JDK, Maven and Eclipse on your machine before you set up Spring Framework −
Step 1 - Setup Java Development Kit (JDK)
You can download the latest version of SDK from Oracle's Java site − Java SE Downloads. You will find instructions for installing JDK in downloaded files, follow the given instructions to install and configure the setup. Finally set PATH and JAVA_HOME environment variables to refer to the directory that contains java and javac, typically java_install_dir/bin and java_install_dir respectively.
If you are running Windows and have installed the JDK in C:\Program Files\Java\jdk-21, you would have to put the following line in your C:\autoexec.bat file.
set PATH=C:\Program Files\Java\jdk-21;%PATH%
set JAVA_HOME=C:\Program Files\Java\jdk-21
Alternatively, on Windows NT/2000/XP, you will have to right-click on My Computer, select Properties → Advanced → Environment Variables. Then, you will have to update the PATH value and click the OK button.
On Unix (Solaris, Linux, etc.), if the SDK is installed in /usr/local/jdk-21 and you use the C shell, you will have to put the following into your .cshrc file.
setenv PATH /usr/local/jdk-21/bin:$PATH
setenv JAVA_HOME /usr/local/jdk-21
Alternatively, if you use an Integrated Development Environment (IDE) like Borland JBuilder, Eclipse, IntelliJ IDEA, or Sun ONE Studio, you will have to compile and run a simple program to confirm that the IDE knows where you have installed Java. Otherwise, you will have to carry out a proper setup as given in the document of the IDE.
Step 2 - Setup Spring Tool Suite
All the examples in this tutorial have been written using Spring Tool Suite. So we would suggest you should have the latest version of Spring Tool Suite installed on your machine.
To install Spring Tools IDE, download the latest Spring Tools binaries from https://spring.io/tools. Once you download the installation, unpack the binary distribution into a convenient location. For example, in C:\sts on Windows, or /usr/local/sts on Linux/Unix and finally set PATH variable appropriately.
String Tool Suite can be started by executing the following commands on Windows machine, or you can simply double-click on eclipse.exe
%C:\sts\SpringToolSuite4.exe
SpringToolSuite4 can be started by executing the following commands on Unix (Solaris, Linux, etc.) machine −
$/usr/local/sts/SpringToolSuite4
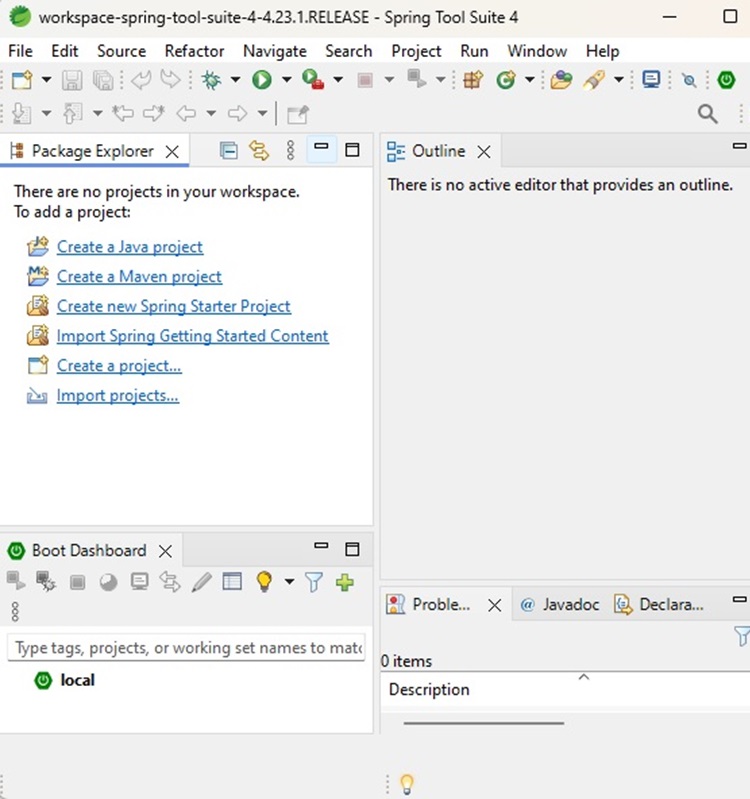
After a successful startup, if everything is fine then it should display the following result −
Step 3 - Download Maven Archive
Download Maven 3.9.8 from https://maven.apache.org/download.cgi.
| OS | Archive name |
|---|---|
| Windows | apache-maven-3.9.8-bin.zip |
| Linux | apache-maven-3.9.8-bin.tar.gz |
| Mac | apache-maven-3.9.8-bin.tar.gz |
Step 4 - Extract the Maven Archive
Extract the archive, to the directory you wish to install Maven 3.9.8. The subdirectory apache-maven-3.9.8 will be created from the archive.
| OS | Location (can be different based on your installation) |
|---|---|
| Windows | C:\Program Files\Apache\apache-maven-3.9.8 |
| Linux | /usr/local/apache-maven |
| Mac | /usr/local/apache-maven |
Step 5 - Set Maven Environment Variables
Add M2_HOME, M2, MAVEN_OPTS to environment variables.
| OS | Output |
|---|---|
| Windows | Set the environment variables using system properties. M2_HOME=C:\Program Files\Apache\apache-maven-3.9.8 M2=%M2_HOME%\bin MAVEN_OPTS=-Xms256m -Xmx512m |
| Linux | Open command terminal and set environment variables. export M2_HOME=/usr/local/apache-maven/apache-maven-3.9.8 export M2=$M2_HOME/bin export MAVEN_OPTS=-Xms256m -Xmx512m |
| Mac | Open command terminal and set environment variables. export M2_HOME=/usr/local/apache-maven/apache-maven-3.9.8 export M2=$M2_HOME/bin export MAVEN_OPTS=-Xms256m -Xmx512m |
Step 6 - Add Maven bin Directory Location to System Path
Now append M2 variable to System Path.
| OS | Output |
|---|---|
| Windows | Append the string ;%M2% to the end of the system variable, Path. |
| Linux | export PATH=$M2:$PATH |
| Mac | export PATH=$M2:$PATH |
Step 7 - Verify Maven Installation
Now open console and execute the following mvn command.
| OS | Task | Command |
|---|---|---|
| Windows | Open Command Console | c:\> mvn --version |
| Linux | Open Command Terminal | $ mvn --version |
| Mac | Open Terminal | machine:~ joseph$ mvn --version |
Finally, verify the output of the above commands, which should be as follows −
| OS | Output |
|---|---|
| Windows |
Apache Maven 3.9.8 (36645f6c9b5079805ea5009217e36f2cffd34256) Maven home: C:\Program Files\Apache\apache-maven-3.9.8 Java version: 21.0.2, vendor: Oracle Corporation, runtime: C:\Program Files\Java\jdk-21 Default locale: en_IN, platform encoding: UTF-8 OS name: "windows 11", version: "10.0", arch: "amd64", family: "windows" |
| Linux |
Apache Maven 3.9.8 (36645f6c9b5079805ea5009217e36f2cffd34256) Java version: 21.0.2 Java home: /usr/local/java-current/jre |
| Mac |
Apache Maven 3.9.8 (36645f6c9b5079805ea5009217e36f2cffd34256) Java version: 21.0.2 Java home: /Library/Java/Home/jre |
