- SAP Web Dynpro - Home
- SAP Web Dynpro - Overview
- Configuration & Integration
- Architecture
- Navigation
- Component
- Mapping & Data Binding
- Event & Actions
- Application
- URL of an Application
- Creating an Application
- Component Interfaces
- Faceless Components
- Assistance Class
- Service Call In an Application
- Using a Service Call
- Debugging an Application
- Version Management
- Messages
- Integration Messages
- Personalization & Configuration
- Portal Integration
- Integrate WDA in Portal
- Interactive Forms
- SAP List Viewer(ALV)
- Administration
- Monitoring an Application
SAP Web Dynpro - Navigation
In Web Dynpro application, you can navigate from one view to the other view using plugs.
Run T-code − SE 80 and create a simple Web Dynpro component −
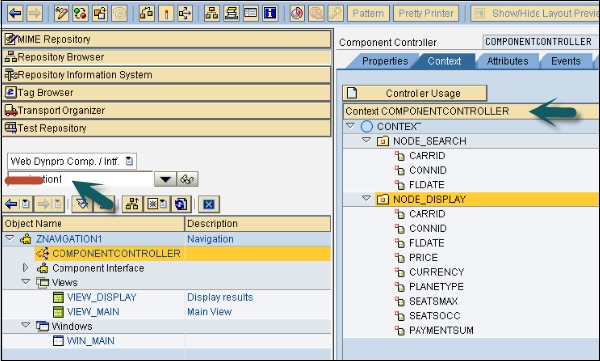
We have created a Web Dynpro component with two nodes and two views.
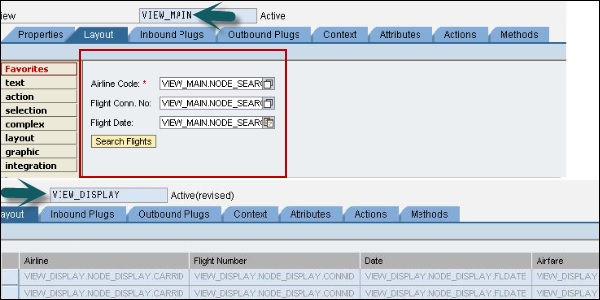
VIEW_DISPLAY displays the output in a tabular format and VIEW_MAIN performs search parameters. In VIEW_MAIN you have configured the search layout and VIEW_DISPLAY contains the display layout.
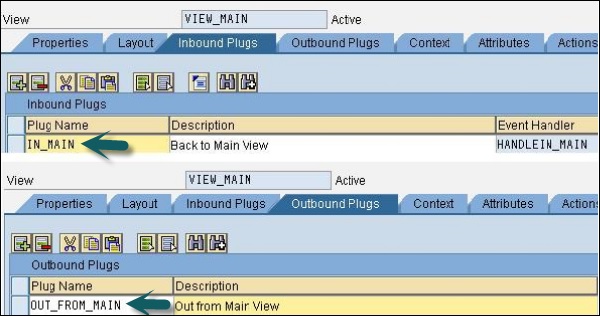
In VIEW_MAIN you have configured inbound plugs IN_MAIN and OUT_FROM_MAIN as outbound plugs. Similarly, create an inbound and outbound plugs for VIEW_DISPLAY.
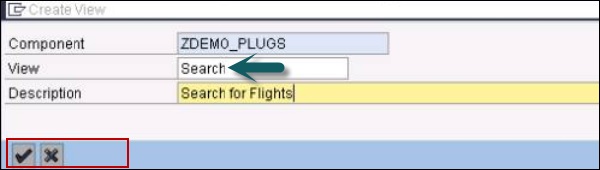
How to Create a New View?
Step 1 − Click the component in object tree and go to the context menu as shown in the following screenshot −
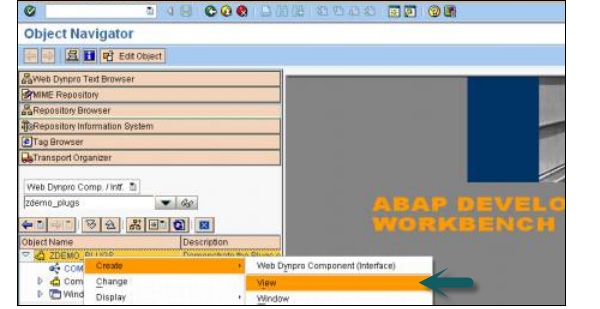
Step 2 − Enter view name and click on tick mark.
Advertisements