- Microsoft Azure - Home
- Cloud Computing - Overview
- Microsoft Azure - Windows
- Microsoft Azure - Components
- Microsoft Azure - Compute Module
- Microsoft Azure - Fabric Controller
- Microsoft Azure - Storage
- Microsoft Azure - Blobs
- Microsoft Azure - Queues
- Microsoft Azure - Tables
- Microsoft Azure - CDN
- Microsoft Azure - Applications
- Microsoft Azure - Security
- Microsoft Azure - Datacenters
- Microsoft Azure - Scenarios
- Microsoft Azure - Management Portal
- Azure - Create Virtual Network
- Azure - Deploying Virtual Machines
- Azure - Endpoint Configuration
- Azure - Point-to-Site Connectivity
- Azure - Site-to-Site Connectivity
- Microsoft Azure - Traffic Manager
- Microsoft Azure - PowerShell
- Azure - Monitoring Virtual Machines
- Azure - Setting Up Alert Rules
- Azure - Application Deployment
- Microsoft Azure - Backup & Recovery
- Azure - Self-Service Capabilities
- Azure - Multi-Factor Authentication
- Azure - Forefront Identity Manager
- Azure - Data Import & Export Job
- Microsoft Azure - Websites
- Microsoft Azure - Scalability
- Microsoft Azure - Disk Configuration
- Microsoft Azure - Disk Caching
- Microsoft Azure - Personalize Access
- Azure - Personalize Company Brand
- Azure - Self-Service Password Reset
- Microsoft Azure - Self-Service Group
- Microsoft Azure - Create a Group
- Azure - Security Reports & Alerts
- Azure - Orchestrated Recovery
- Microsoft Azure - Health Monitoring
- Microsoft Azure - Upgrades
- Microsoft Azure Useful Resources
- Microsoft Azure - Quick Guide
- Microsoft Azure - Useful Resources
- Microsoft Azure - Discussion
Microsoft Azure - Security
Security is about managing the access of users to the organizations applications, platforms and portals. Active directory is used to manage the database of users in a protected manner. The same kind of service is provided by Windows Azure to keep the users and their password safe. Active directory is a feature that lets you create users, manage their roles, grant access and delete them.
Creating an Active Directory
Step 1 − Sign in to Azure Management Portal.
Step 2 − Click New and then click App Services.
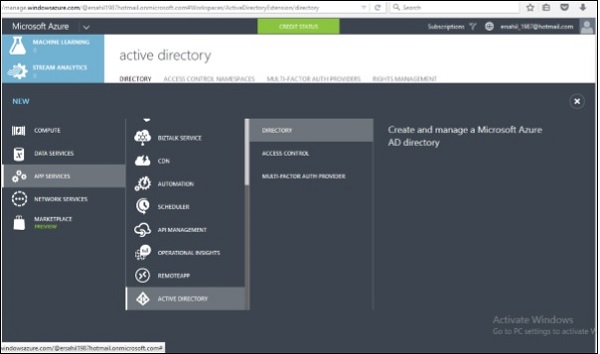
Step 3 − Click Active Directory and then Directory.
Step 4 − Click Custom Create.
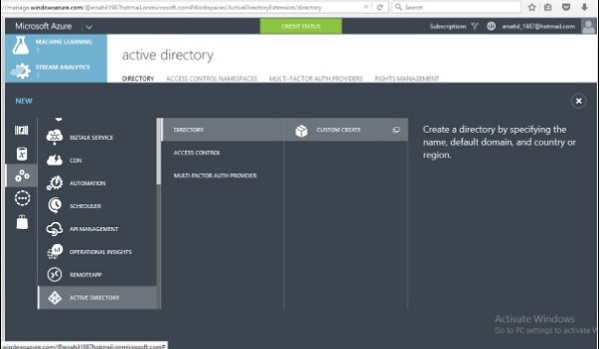
Step 5 − Enter the details and you are done. In the following image, tutpoint is the domain name. Enter a domain name which is a temporary DNS. Once its directory is created, you can map it to your own domain.

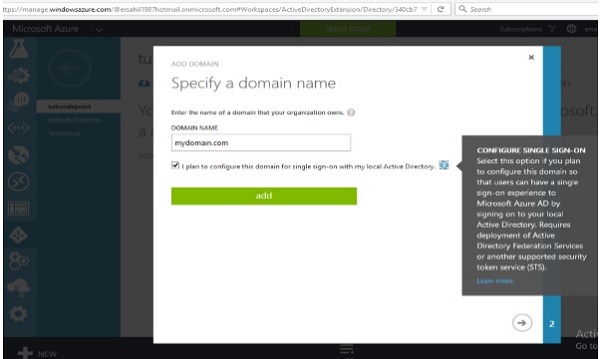
Mapping a Custom Domain
Since you have provided a temporary domain name, when creating a directory in Windows Azure, you can map it to your own domain using this functionality.
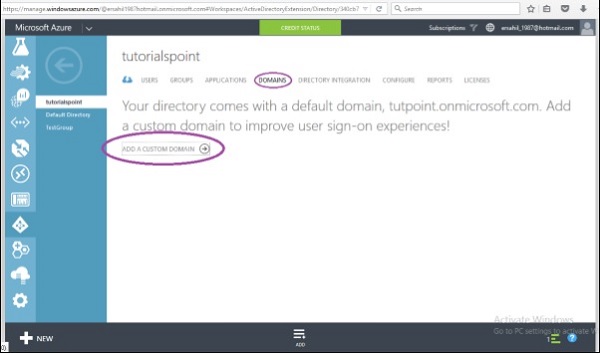
Step 1 − Click on the directory name in the list of your directory.
Step 2 − Click on Domains from the top menu items.
Step 3 − Click Add a Custom Domain.
Step 4 − In the screen that pops up, enter the details. You can choose for single sign in option if needed.
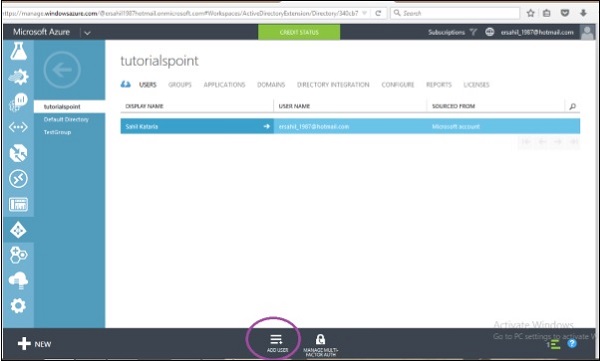
Creating Users
Step 1 − Click on Add User button at the bottom of the screen.
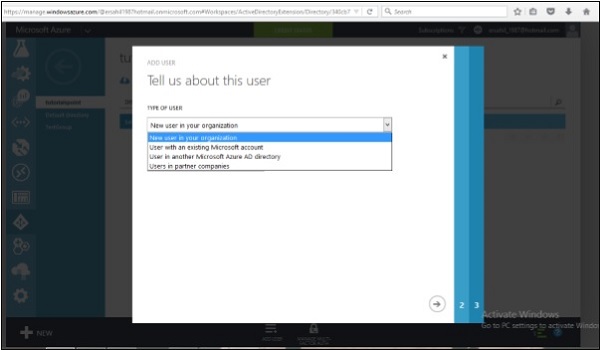
Step 2 − The following screen pops up. You can create a new user or link an existing Microsoft account. You can even import a user from other directory in Azure. Lets choose Create a new user here.
Step 3 − Enter the user name in the following screen.

Step 4 − Enter other details and choose the role for the user.

Step 5 − Click next arrow and it will create a user for your application and give you a temporary password which can be changed by the user.
Integrating with Azure Active Directory
Step 1 − Locate and click Application at top of screen.
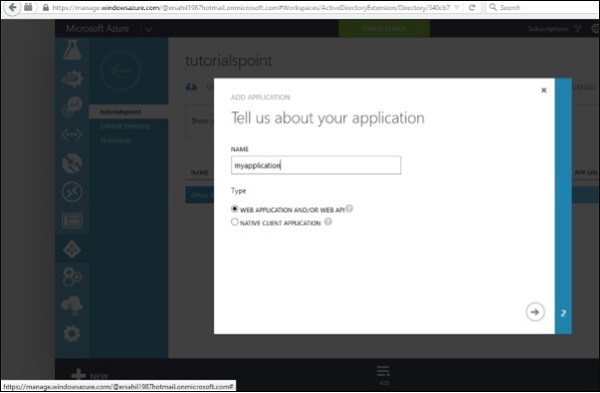
Step 2 − Click on Add displayed at the bottom of the screen. A pop up shown in the following image will be seen on the screen.
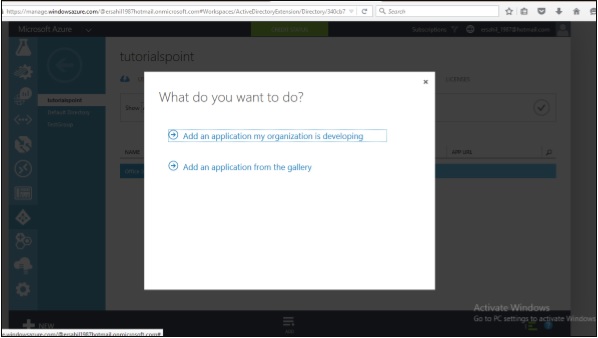
Step 3 − If you click the first option, it will take you to the following screen. You can enter the name of the application and follow the wizard.
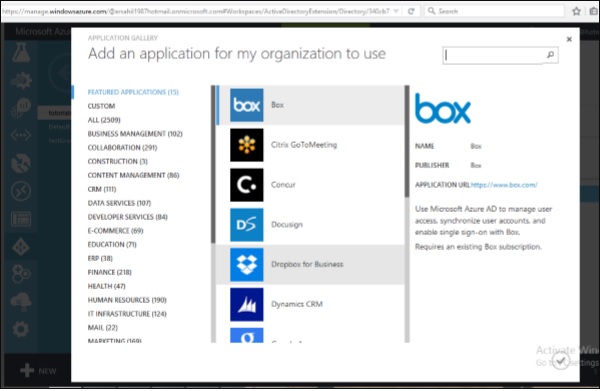
Step 4 − Similarly, if you choose the second option in What do you want to do pop up, it will let you choose an application from the gallery as shown in the following screen.
Integrating On-Premise Active Directory
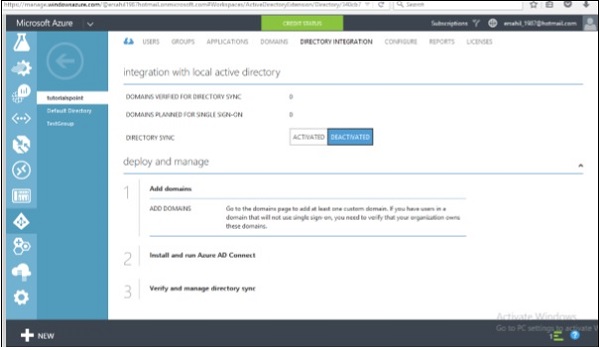
Azure active directory lets you run an active directory in cloud and also lets you connect it to your on-premise active directory. Basically, it will replicate your user database residing on your on-premise machine in cloud. It will also automatically synchronize whenever changes are made on-premise.
Click on the Directory Integration from the top menu. An on-premise directory can be connected using the three steps as shown in the following image.
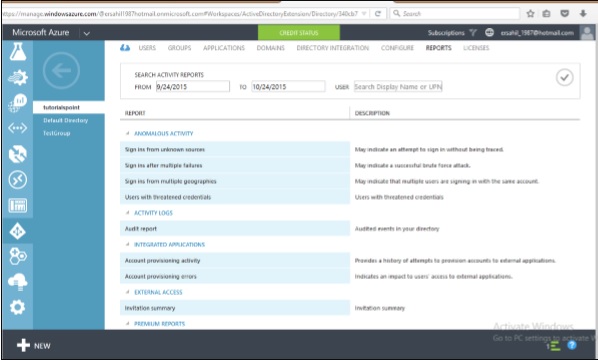
Reports
This is a very useful feature of Active Directory as it shows different reports such as number of times a user is signing in, or signing in from an unknown device can be seen here.