- Home
- Introduction
- Case Study
- Setting up a Project
- Getting Data
- Restructuring Data
- Preparing Data
- Splitting Data
- Building Classifier
- Testing
- Limitations
- Summary
Logistic Regression in Python - Resources
Setting Up a Project
In this chapter, we will understand the process involved in setting up a project to perform logistic regression in Python, in detail.
Installing Jupyter
We will be using Jupyter - one of the most widely used platforms for machine learning. If you do not have Jupyter installed on your machine, download it from here. For installation and tutorial, you can follow our Jupyter Tutorial. As the site suggests, you may prefer to use Anaconda Distribution which comes along with Python and many commonly used Python packages for scientific computing and data science. This will alleviate the need for installing these packages individually.
After the successful installation of Jupyter, start a new notebook, your screen at this stage would look like the following ready to accept your code.
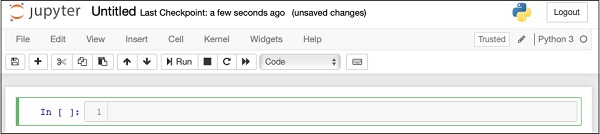
Now, change the name of the project from Untitled1 to Logistic Regression by clicking the title name and editing it.
First, we will be importing several Python packages that we will need in our code.
Install required packages
Install required packages using pip command.
pip install pandas numpy matplotlib scikit-learn
Importing Python Packages
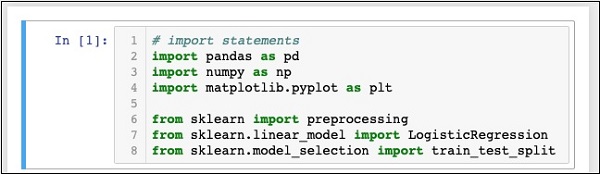
For this purpose, type or cut-and-paste the following code in the code editor −
# import statements
import pandas as pd
import numpy as np
import matplotlib.pyplot as plt
from scikit-learn import preprocessing
from scikit-learn.linear_model import LogisticRegression
from scikit-learn.model_selection import train_test_split
Your Notebook should look like the following at this stage −
Run the code by clicking on the Run button. If no errors are generated, you have successfully installed Jupyter and are now ready for the rest of the development.
The first three import statements import pandas, numpy and matplotlib.pyplot packages in our project. The next three statements import the specified modules from sklearn.
Our next task is to download the data required for our project. We will learn this in the next chapter.