- Laravel - Home
- Laravel - Overview
- Laravel - Installation
- Laravel - Application Structure
- Laravel - Configuration
- Laravel - Routing
- Laravel - Middleware
- Laravel - Namespaces
- Laravel - Controllers
- Laravel - Request
- Laravel - Cookie
- Laravel - Response
- Laravel - Views
- Laravel - Blade Templates
- Laravel - Redirections
- Laravel - Working With Database
- Laravel - Errors & Logging
- Laravel - Forms
- Laravel - Localization
- Laravel - Session
- Laravel - Validation
- Laravel - File Uploading
- Laravel - Sending Email
- Laravel - Ajax
- Laravel - Error Handling
- Laravel - Event Handling
- Laravel - Facades
- Laravel - Contracts
- Laravel - CSRF Protection
- Laravel - Authentication
- Laravel - Authorization
- Laravel - Artisan Console
- Laravel - Encryption
- Laravel - Hashing
- Understanding Release Process
- Laravel - Guest User Gates
- Laravel - Artisan Commands
- Laravel - Pagination Customizations
- Laravel - Dump Server
- Laravel - Action URL
Laravel - Localization
Localization feature of Laravel supports different language to be used in application. You need to store all the strings of different language in a file and these files are stored at resources/views directory. You should create a separate directory for each supported language. All the language files should return an array of keyed strings as shown below.
<?php
return [
   'welcome' => 'Welcome to the application'
];
Example
Step 1 − Create 3 files for languages − English, French, and German. Save English file at resources/lang/en/lang.php
<?php
   return [
      'msg' => 'Laravel Internationalization example.'
   ];
?>
Step 2 − Save French file at resources/lang/fr/lang.php.
<?php
   return [
      'msg' => 'Exemple Laravel internationalisation.'
   ];
?>
Step 3 − Save German file at resources/lang/de/lang.php.
<?php
   return [
      'msg' => 'Laravel Internationalisierung Beispiel.'
   ];
?>
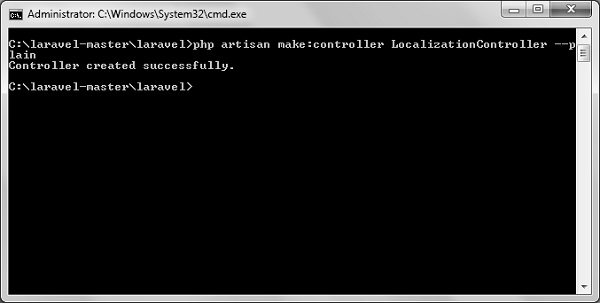
Step 4 − Create a controller called LocalizationController by executing the following command.
php artisan make:controller LocalizationController --plain
Step 5 − After successful execution, you will receive the following output −
Step 6 − Copy the following code to file
app/Http/Controllers/LocalizationController.php
app/Http/Controllers/LocalizationController.php
<?php

namespace App\Http\Controllers;

use Illuminate\Http\Request;
use App\Http\Requests;
use App\Http\Controllers\Controller;

class LocalizationController extends Controller {
   public function index(Request $request,$locale) {
      //sets applications locale
      app()->setLocale($locale);

      //Gets the translated message and displays it
      echo trans('lang.msg');
   }
}
Step 7 − Add a route for LocalizationController in app/Http/routes.php file. Notice that we are passing {locale} argument after localization/ which we will use to see output in different language.
app/Http/routes.php
Route::get('localization/{locale}','LocalizationController@index');
Step 8 − Now, let us visit the different URLs to see all different languages. Execute the below URL to see output in English language.
http://localhost:8000/localization/en
Step 9 − The output will appear as shown in the following image.

Step 10 − Execute the below URL to see output in French language.
http://localhost:8000/localization/fr
Step 11 − The output will appear as shown in the following image.

Step 12 − Execute the below URL to see output in German language
http://localhost:8000/localization/de
Step 13 − The output will appear as shown in the following image.
