- DocumentDB - Home
- DocumentDB - Introduction
- DocumentDB - Advantages
- DocumentDB - Environment Setup
- DocumentDB - Create Account
- DocumentDB - Connect Account
- DocumentDB - Create Database
- DocumentDB - List Databases
- DocumentDB - Drop Databases
- DocumentDB - Create Collection
- DocumentDB - Delete Collection
- DocumentDB - Insert Document
- DocumentDB - Query Document
- DocumentDB - Update Document
- DocumentDB - Delete Document
- DocumentDB - Data Modeling
- DocumentDB - Data Types
- DocumentDB - Limiting Records
- DocumentDB - Sorting Records
- DocumentDB - Indexing Records
- DocumentDB - Geospatial Data
- DocumentDB - Partitioning
- DocumentDB - Data Migration
- DocumentDB - Access Control
- DocumentDB - Visualize Data
DocumentDB - Environment Setup
Microsoft provides a free version of Visual Studio which also contains SQL Server and it can be downloaded from https://www.visualstudio.com
Installation
Step 1 − Once downloading is completed, run the installer. The following dialog will be displayed.
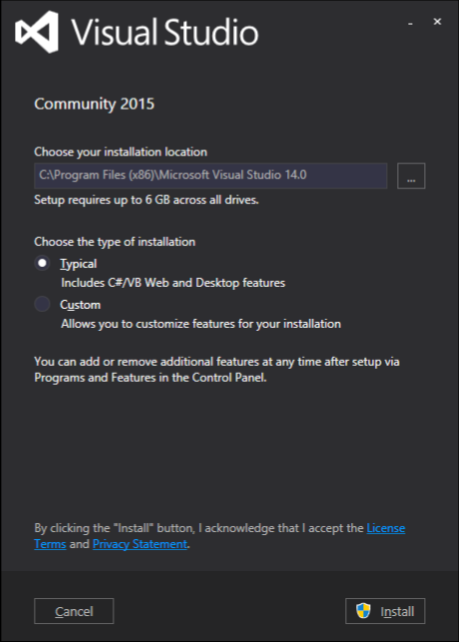
Step 2 − Click on the Install button and it will start the installation process.

Step 3 − Once the installation process is completed successfully, you will see the following dialog.
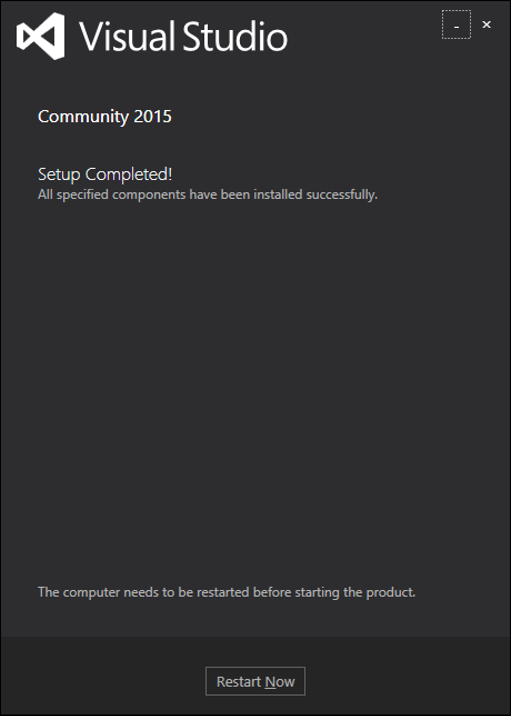
Step 4 − Close this dialog and restart your computer if required.
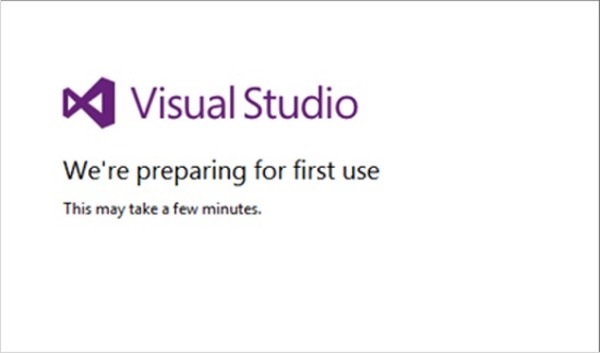
Step 5 − Now open Visual studio from start Menu which will open the below dialog. It will take some time for the first time only for preparation.
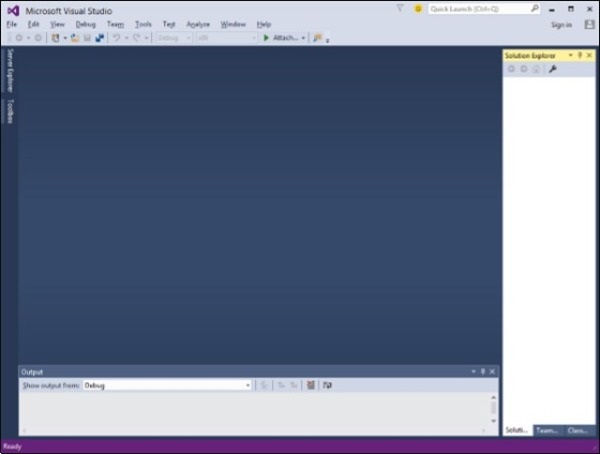
Once all is done, you will see the main window of Visual Studio.
Step 6 − Lets create a new project from File → New → Project.
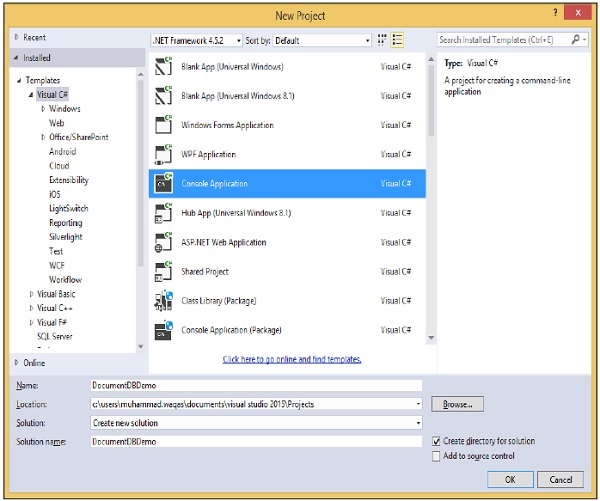
Step 7 − Select Console Application, enter DocumentDBDemo in the Name field and click OK button.
Step 8 − In solution Explorer, right-click on your project.
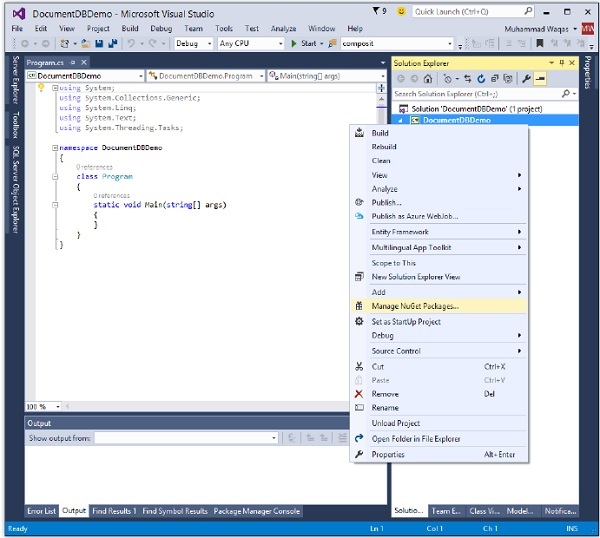
Step 9 − Select Manage NuGet Packages which will open the following window in Visual Studio and in the Search Online input box, search for DocumentDB Client Library.
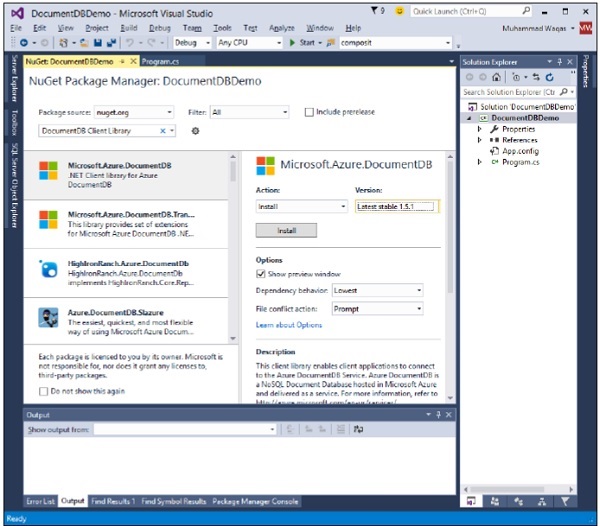
Step 10 − Install the latest version by clicking the install button.

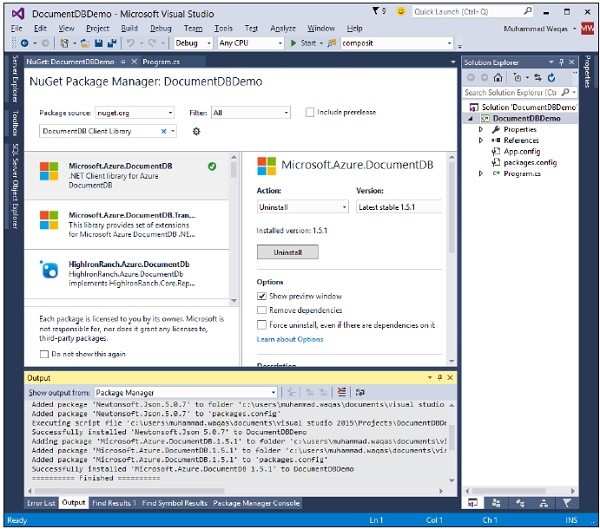
Step 11 − Click I Accept. Once installation is done you will see the message in your output window.
You are now ready to start your application.