- Apache Solr - Home
- Apache Solr - Overview
- Apache Solr - Search Engine Basics
- Apache Solr - Windows Environment
- Apache Solr - On Hadoop
- Apache Solr - Architecture
- Apache Solr - Terminology
- Apache Solr - Basic Commands
- Apache Solr - Core
- Apache Solr - Indexing Data
- Apache Solr - Adding Docs (XML)
- Apache Solr - Updating Data
- Apache Solr - Deleting Documents
- Apache Solr - Retrieving Data
- Apache Solr - Querying Data
- Apache Solr - Faceting
Apache Solr - Core
A Solr Core is a running instance of a Lucene index that contains all the Solr configuration files required to use it. We need to create a Solr Core to perform operations like indexing and analyzing.
A Solr application may contain one or multiple cores. If necessary, two cores in a Solr application can communicate with each other.
Creating a Core
After installing and starting Solr, you can connect to the client (web interface) of Solr.
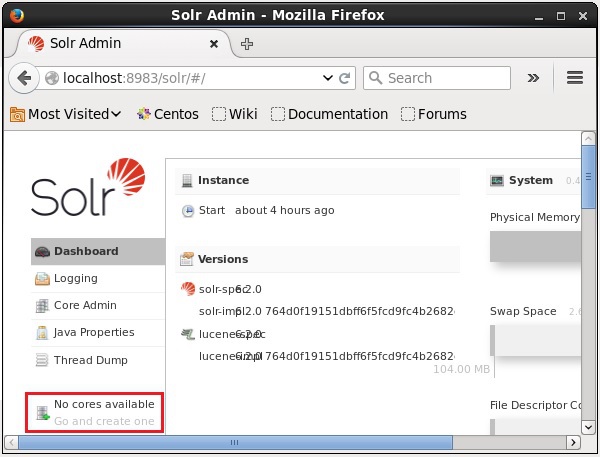
As highlighted in the following screenshot, initially there are no cores in Apache Solr. Now, we will see how to create a core in Solr.
Using create command
One way to create a core is to create a schema-less core using the create command, as shown below −
[Hadoop@localhost bin]$ ./Solr create -c Solr_sample
Here, we are trying to create a core named Solr_sample in Apache Solr. This command creates a core displaying the following message.
Copying configuration to new core instance directory:
/home/Hadoop/Solr/server/Solr/Solr_sample

Creating new core 'Solr_sample' using command:
http://localhost:8983/Solr/admin/cores?action=CREATE&name=Solr_sample&instanceD
ir = Solr_sample {
   "responseHeader":{
      "status":0,
      "QTime":11550
   },
   "core":"Solr_sample"
}
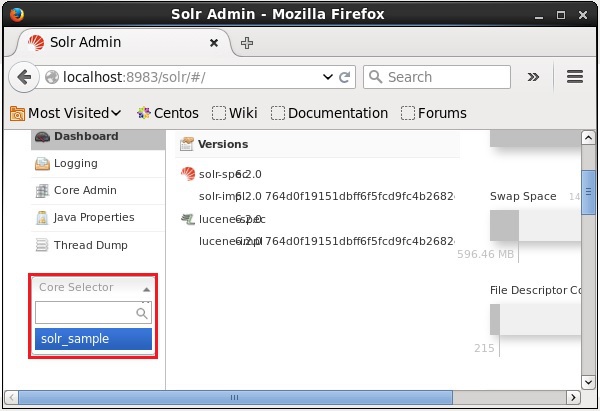
You can create multiple cores in Solr. On the left-hand side of the Solr Admin, you can see a core selector where you can select the newly created core, as shown in the following screenshot.
Using create_core command
Alternatively, you can create a core using the create_core command. This command has the following options −
| c core_name | Name of the core you wanted to create |
| -p port_name | Port at which you want to create the core |
| -d conf_dir | Configuration directory of the port |
Lets see how you can use the create_core command. Here, we will try to create a core named my_core.
[Hadoop@localhost bin]$ ./Solr create_core -c my_core
On executing, the above command creates a core displaying the following message −
Copying configuration to new core instance directory:
/home/Hadoop/Solr/server/Solr/my_core

Creating new core 'my_core' using command:
http://localhost:8983/Solr/admin/cores?action=CREATE&name=my_core&instanceD
ir = my_core {
   "responseHeader":{
      "status":0,
      "QTime":1346
   },
   "core":"my_core"
}
Deleting a Core
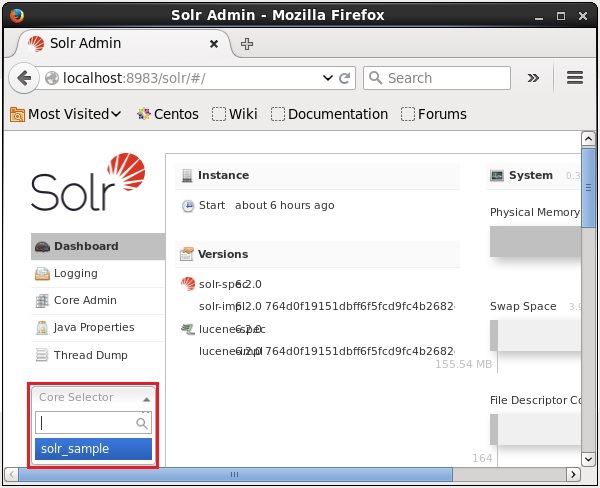
You can delete a core using the delete command of Apache Solr. Lets suppose we have a core named my_core in Solr, as shown in the following screenshot.

You can delete this core using the delete command by passing the name of the core to this command as follows −
[Hadoop@localhost bin]$ ./Solr delete -c my_core
On executing the above command, the specified core will be deleted displaying the following message.
Deleting core 'my_core' using command:
http://localhost:8983/Solr/admin/cores?action=UNLOAD&core = my_core&deleteIndex
   = true&deleteDataDir = true&deleteInstanceDir = true  {

   "responseHeader" :{
      "status":0,
      "QTime":170
   }
}
You can open the web interface of Solr to verify whether the core has been deleted or not.