- Apache ActiveMQ - Home
- Apache ActiveMQ - Overview
- Apache ActiveMQ - Environment Setup
- Apache ActiveMQ - Features
- Apache ActiveMQ - Running Broker Server
- Apache ActiveMQ - Admin Console
Apache ActiveMQ Queue Based Example
- Apache ActiveMQ - Producer Application
- Apache ActiveMQ - Consumer Application
- Apache ActiveMQ - Test Application
Apache ActiveMQ Topic Based Example
- Apache ActiveMQ - Publisher Application
- Apache ActiveMQ - Subscriber Application
- Apache ActiveMQ - Test Application
Apache ActiveMQ Useful Resources
Selected Reading
Apache ActiveMQ - Admin Console
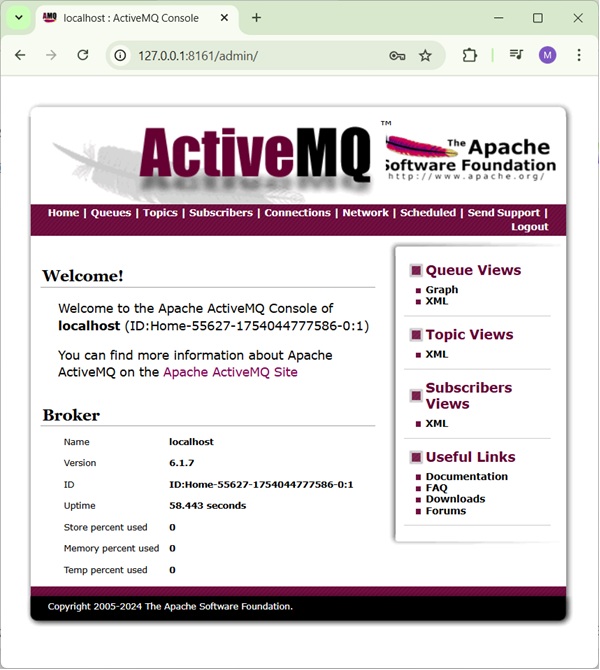
Once ActiveMQ server is up and running. You can use the admin console to manage queues, topics, subscribers, connections, network etc.
Open http://127.0.0.1:8161/admin/ in your browser. It will ask for credentials. Use admin/admin as username/password and it will load the ActiveMQ admin console where you can check Queues, Topics, Connections etc.
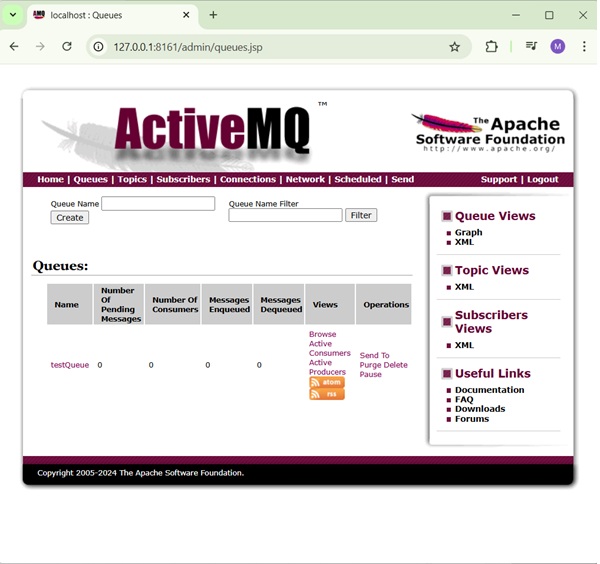
Queue
Click on Queue tab, enter a queue name as testQueue and click on create button. Now you can see the queue in the list.
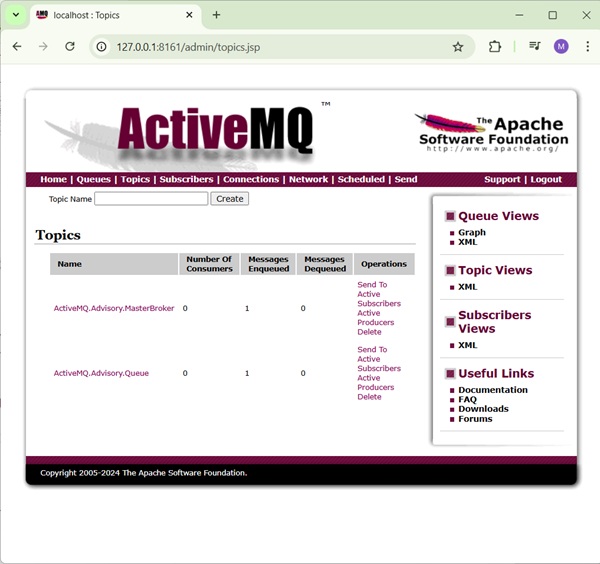
Topic
Similarly, you can create Topic and check topics in Topics tab.
Others
In the same way, you can explore subscribers, connections, network bridges, schedulers details.
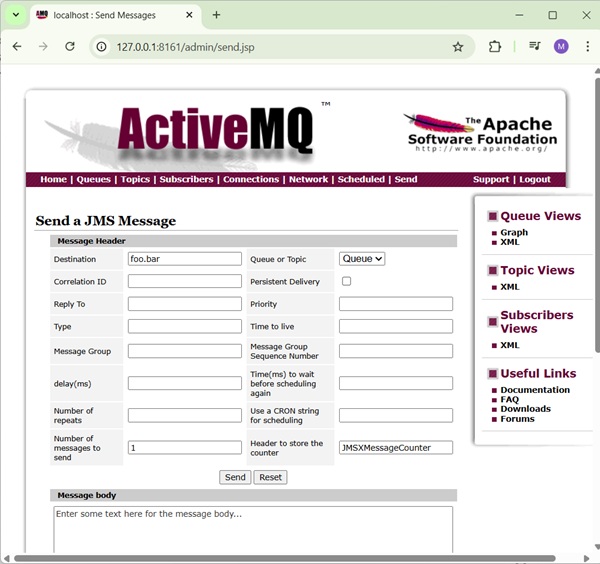
Send
Send tab allows to send a JMS Message to a particular queue or topic by specifying the destination and other details.

Advertisements