- Excel - Chart Recommendations
- Advanced Excel - Format Charts
- Advanced Excel - Chart Design
- Advanced Excel - Richer Data Labels
- Advanced Excel - Leader Lines
- Advanced Excel - New Functions
- Fundamental Data Analysis
- Excel - Instant Data Analysis
- Excel - Sorting Data by Color
- Advanced Excel - Slicers
- Advanced Excel - Flash Fill
- Powerful Data Analysis
- Excel - PivotTable Recommendations
- Powerful Data Analysis – 1
- Advanced Excel - Data Model
- Advanced Excel - Power Pivot
- Excel - External Data Connection
- Advanced Excel - Pivot Table Tools
- Powerful Data Analysis – 2
- Advanced Excel - Power View
- Advanced Excel - Visualizations
- Advanced Excel - Pie Charts
- Advanced Excel - Additional Features
- Advanced Excel - Power View Services
- Advanced Excel - Format Reports
- Advanced Excel - Handling Integers
- Other Features
- Advanced Excel - Templates
- Advanced Excel - Inquire
- Advanced Excel - Workbook Analysis
- Advanced Excel - Manage Passwords
- Advanced Excel - File Formats
- Excel - Discontinued Features
- Advanced Excel Useful Resources
- Advanced Excel - Quick Guide
- Advanced Excel - Useful Resources
- Advanced Excel - Discussion
Advanced Excel - Manage Passwords
If you are using Workbook Analysis or Compare Files commands for Workbooks that are password-protected, you can avoid having to type the password each time those files are opened.
Excel 2013 has a Password Manager, which can be accessed through the Workbook Passwords Command.
Step 1 − Click on the INQUIRE tab on the ribbon.
Step 2 − Click on Workbook Passwords in the Miscellaneous Group.
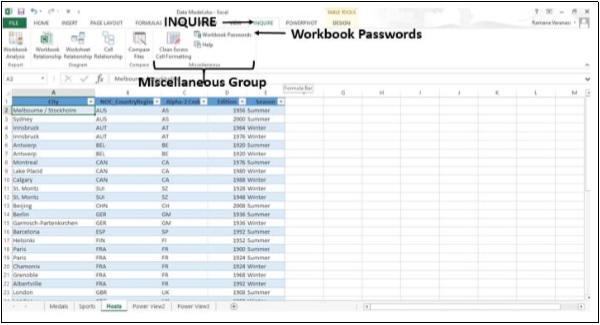
The Password Manager window opens.
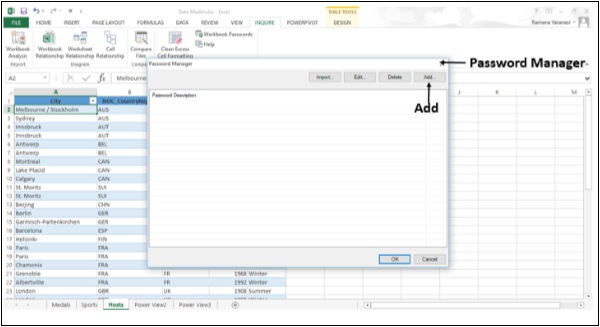
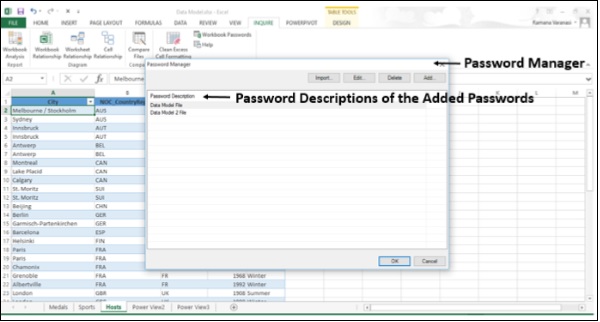
Step 3 − Add passwords of your Workbooks. Add password descriptions also.
Embed Worksheet Data in a Web Page
To share a part of your worksheet on the web, you can simply embed it on your web page. Other people can then work with the data in Excel Online or open the embedded data in Excel.
Share an Excel worksheet in an online meeting
You can present your Workbook online if you have the Lync installed.
Step 1 − Close all the Workbooks that you do not want to share and keep only the Workbook you want to share Open.
Step 2 − Click on the File menu.
Step 3 − Click on the option - Share.
Step 4 − Click on Present Online.
Step 5 − Under the option - Present Online, click Present.
Step 6 − In the Share Workbook Window, pick a scheduled meeting or click Start a new Lync meeting, and then click OK.
Step 7 − To stop sharing, click Stop Sharing at the top of the screen. You can present your Workbook online if you have a Skype Account also. Microsoft is introducing Skype for Business.