- React - Home
- React - Introduction
- React - Roadmap
- React - Installation
- React - Features
- React - Advantages & Disadvantages
- React - Architecture
- React - Creating a React Application
- React - JSX
- React - Components
- React - Nested Components
- React - Using Newly Created Components
- React - Component Collection
- React - Styling
- React - Properties (props)
- React - Creating Components using Properties
- React - props Validation
- React - Constructor
- React - Component Life Cycle
- React - Event management
- React - Creating an Event−Aware Component
- React - Introduce Events in Expense Manager APP
- React - State Management
- React - State Management API
- React - Stateless Component
- React - State Management Using React Hooks
- React - Component Life Cycle Using React Hooks
- React - Layout Component
- React - Pagination
- React - Material UI
- React - Http Server
- React - Http client programming
- React - Form Programming
- React - Forms
- React - Controlled Component
- React - Uncontrolled Component
- React - Formik
- React - Conditional Rendering
- React - Lists
- React - Keys
- React - Routing
- React - Redux
- React - Animation
- React - Bootstrap
- React - Map
- React - Table
- React - Managing State Using Flux
- React - Testing
- React - CLI Commands
- React - Building and Deployment
- React - Example
- Hooks
- React - Introduction to Hooks
- React - Using useState
- React - Using useEffect
- React - Using useContext
- React - Using useRef
- React - Using useReducer
- React - Using useCallback
- React - Using useMemo
- React - Custom Hooks
- React Advanced
- React - Accessibility
- React - Code Splitting
- React - Context
- React - Error Boundaries
- React - Forwarding Refs
- React - Fragments
- React - Higher Order Components
- React - Integrating With Other Libraries
- React - Optimizing Performance
- React - Profiler API
- React - Portals
- React - React Without ES6 ECMAScript
- React - React Without JSX
- React - Reconciliation
- React - Refs and the DOM
- React - Render Props
- React - Static Type Checking
- React - Strict Mode
- React - Web Components
- Additional Concepts
- React - Date Picker
- React - Helmet
- React - Inline Style
- React - PropTypes
- React - BrowserRouter
- React - DOM
- React - Carousel
- React - Icons
- React - Form Components
- React - Reference API
- React Useful Resources
- React - Quick Guide
- React - Cheatsheet
- React - Axios CheatSheet
- React - Useful Resources
- React - Discussion
React - PureComponent() Class
As we know React is a very popular JS library for creating interactive user interfaces. And it is purely based on components. So there is a type of component present in the React which is known as PureComponent. It is very similar to the Component, however it avoids re-renders for the same props and state.
Syntax
class MyComponent extends PureComponent {
   render() {
      return <h1>Hiii, {this.props.name}!</h1>;
   }
}
We can see in the above code sample. We have extended PureComponent in place of Component. We usually extend Components. So for avoiding re-rendering a class component for the same props and state we can extend PureComponent.
PureComponent in React is just an enhanced version of the regular Component. It is able to perform all of the functionality of a Component. The main advantage of PureComponents is that it checks to verify if the props and state have changed before re-rendering.
The PureComponent is similar to a custom "shouldComponentUpdate" method. The role of shouldComponentUpdate method is determining whether or not the component should be updated. But PureComponent does this check automatically, focusing just on changes in the data, which can help our app function more effectively.
How to use it?
When a component's parent component changes in React, the child component usually gets updated or re-rendered. This happens even when the new data transmitted to the child is the same as the old data.
However, React provides an optimization to avoid inefficient re-rendering. We can create a component that will not re-render when its parent changes, as long as the new props and state it receives is equal to the old data we had.
If we are using class components in React, we can enable this optimization by making our component extend a class called "PureComponent." This tells React to only re-render the component when the data it receives has actually changed.
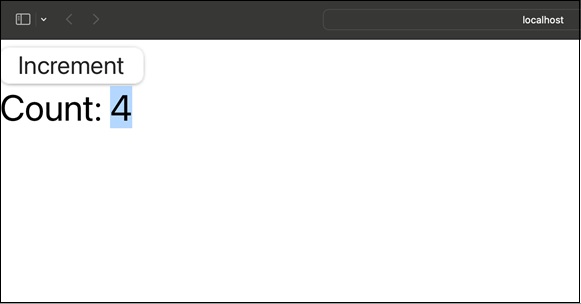
Example − Counter App
In this, we will create a simple counter application using a PureComponent to show how it optimizes rendering −
So, we will have a Counter component that extends PureComponent.
We will display the current count value in the MyApp component.
The counter will increase each time we click the "Increment" button, and the counter component will not update until the count prop has changed.
This code explains how PureComponent checks to see if the prop values have changed before re-rendering in order to optimize rendering.
Counter.js
import React, { PureComponent, useState } from 'react';

class Counter extends PureComponent {
   render() {
      console.log("Counter was rendered at", new Date().toLocaleTimeString());
      return <div>Count: {this.props.count}</div>;
   }
}
export default function MyApp() {
   const [count, setCount] = useState(0);
   const increment = () => {
      setCount(count + 1);
   };
   return (
      <>
         <button onClick={increment}>Increment</button>
         <Counter count={count} />
      </>
   );
}
Output
Example − List Component
Let us create another React app using PureComponent. In this example, we will have a ListComponent that renders a list of items using PureComponent. We have a ListComponent that maintains a list of fruits in its state. The component renders a list of ListItem components, each displaying a fruit. We have used PureComponent for the ListItem component to take advantage of its automatic checking for prop changes.
ListComponent.js
import React, { PureComponent } from 'react';
class ListItem extends PureComponent {
   render() {
      return <li> {this.props.value}</li>;
   }
}
class ListComponent extends PureComponent {
   constructor(props) {
      super(props);
      this.state = {
         items: ['Apple', 'Banana', 'Orange'],
      };
   }
   render() {
      return (
         <div>
            <h2>Fruit List:</h2>
            <ul> {
               this.state.items.map((item, index) => (
                  <ListItem key={index} value={item} />
               ))
            }
            </ul>
         </div>
      );
   }
}

export default ListComponent;
Output
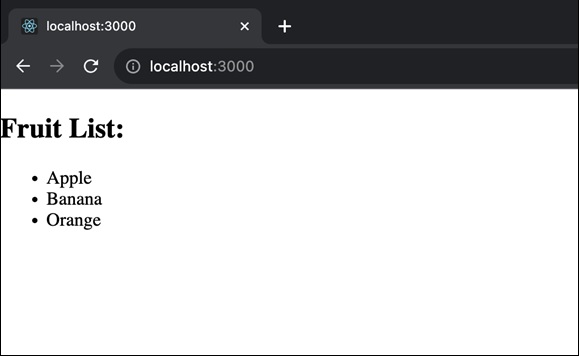
This example shows how PureComponent can be useful when dealing with lists or arrays of items, as it helps avoid unnecessary re-renders when the data remains the same.
Example − Using Pure Component
This React app consists of two components: ParentComponent and ChildComponent. The primary goal of this app is to show the use of PureComponent in optimizing rendering in React applications.
ParentComponent
import React, { PureComponent } from 'react';

class ChildComponent extends PureComponent {
   render() {
      return <h1>Hello, {this.props.name}!</h1>;
   }
}
class ParentComponent extends PureComponent {
   constructor(props) {
      super(props);
      this.state = {
         name: 'John',
      };
   }
   render() {
      return <ChildComponent name={this.state.name} />;
   }
}

export default ParentComponent;
Output

Summary
PureComponent is a React tool that improves our app. It makes sure that a component of our program only updates when it is necessary. This can help our software run more effectively and respond to user inputs faster.