
 Data Structure
 Networking
 RDBMS
RDBMS Operating System
 Java
Java MS Excel
 iOS
iOS HTML
HTML CSS
CSS Android
 Python
 C Programming
 C++
C++ C#
C# MongoDB
 MySQL
MySQL Javascript
 PHP
PHP
- Selected Reading
- UPSC IAS Exams Notes
- Developer's Best Practices
- Questions and Answers
- Effective Resume Writing
- HR Interview Questions
- Computer Glossary
- Who is Who
Python ñ Facial and hand recognition using MediaPipe Holistic
MediaPipe is a cross-platform open-source Machine Learning framework for creating complicated and multimodal applied machine learning pipelines. It can be used to create cutting-edge Machine Learning Models such as face identification, multi-hand tracking, object detection and tracking, and many more applications. MediaPipe simply functions as a middleman for managing model implementation for systems operating on any platform, allowing the developer to focus on experimenting with models rather than the system. This article will go over how to estimate full-body poses using MediaPipe holistic. The model will recognize all of our body's facial landmarks, hands, and positions.
Installing and importing libraries
When accessing a model, MediaPipe is utilized, and when accessing a camera or still picture for detection, OpenCV is used.
!pip install mediapipe opencv-python
import mediapipe as mp
import cv2
MediaPipe setup
First, the drawing utility MediaPipe is imported. It will let us extract the detections from the comprehensive model. Import the MediaPipe complete model after that. Keep in mind that the MediaPipe library has several ML solutions. You can use code to test these models by entering mp.solutions. When you click on a new cell, you'll be able to see the models that the library has to offer.
Example
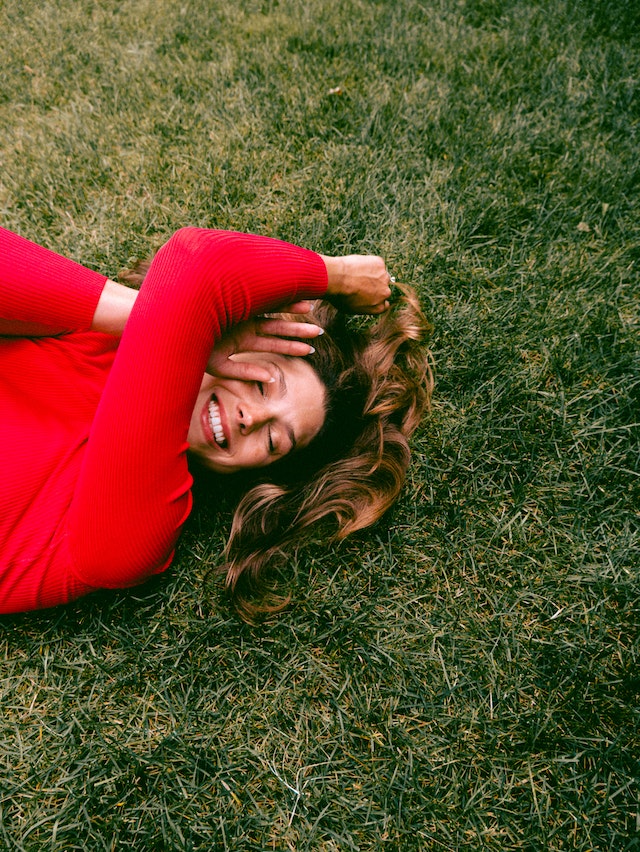
mp_drawing = mp.solutions.drawing_utils
mp_holistic = mp.solutions.holistic
Using OpenCV to load a picture
from google.colab.patches import cv2_imshow
url = 'https://images.unsplash.com/photo-1599447292180-45fd84092ef0?ixlib=rb4.0.3&ixid=MnwxMjA3fDB8MHxwaG90by1wYWdlfHx8fGVufDB8fHx8&auto=format&fit=crop&
w=1887&q=80'
image = cv2.imread(url)
Output

The image can be found here You can also use a picture of yourself.
Detecting landmarks
We start by utilizing the segment to initialize the holistic model. We load the picture with the imread technique.
with mp_holistic.Holistic(
    static_image_mode=True, model_complexity=2, enable_segmentation=True, refine_face_landmarks=True) as holistic:
    image = cv2.imread("/content/sample_data/alex-shaw-kh9XApwKtm0-unsplash.jpg")
The next step is to change the color of our picture. For this purpose, we employ the cvtColor function. When using OpenCV, we receive the picture in BGR format, but we like to transfer the image to the holistic model in RGB. The only picture format supported by MediaPipe is this one.
image = cv2.cvtColor(image, cv2.COLOR_BGR2RGB)
    image_recolored = holistic.process(image)
Now, let's start drawing the landmarks.
Example
#For the facial landmarks
mp_drawing.draw_landmarks(image, image_recolored.face_landmarks, mp_holistic.FACEMESH_TESSELATION)

#For the pose landmarks
mp_drawing.draw_landmarks(image, image_recolored.pose_landmarks, mp_holistic.POSE_CONNECTIONS)

#For the left-hand landmark:
mp_drawing.draw_landmarks(image,
image_recolored.left_hand_landmarks, mp_holistic.HAND_CONNECTIONS)

#For the right-hand landmark:
mp_drawing.draw_landmarks(image, image_recolored.right_hand_landmarks, mp_holistic.HAND_CONNECTIONS)
cv2_imshow(image)
Output

Conclusion
The implementation of a full-body posture estimate using MediaPipe holistic has been presented in this tutorial. Using Python, we were able to create a comprehensive model. You can extend this experiment by attempting to apply the model to real-time video data obtained from your computer's webcam.
869 Views
