- MFC - Home
- MFC - Overview
- MFC - Environment Setup
- MFC - VC++ Projects
- MFC - Getting Started
- MFC - Windows Fundamentals
- MFC - Dialog Boxes
- MFC - Windows Resources
- MFC - Property Sheets
- MFC - Windows Layout
- MFC - Controls Management
- MFC - Windows Controls
- MFC - Messages & Events
- MFC - Activex Controls
- MFC - File System
- MFC - Standard I/O
- MFC - Document View
- MFC - Strings
- MFC - Carray
- MFC - Linked Lists
- MFC - Database Classes
- MFC - Serialization
- MFC - Multithreading
- MFC - Internet Programming
- MFC - GDI
- MFC - Libraries
MFC - Image Editor
The Image editor has an extensive set of tools for creating and editing images, as well as features to help you create toolbar bitmaps. In addition to bitmaps, icons, and cursors, you can edit images in GIF or JPEG format using commands on the Image menu and tools on the Image Editor Toolbar.
Let us look into a simple example by creating a new project.
Step 1 − Add a Bitmap from Add Resource dialog box.
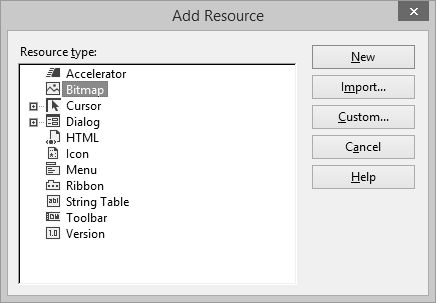
Step 2 − Select Bitmap and click New. It will open the Image editor.
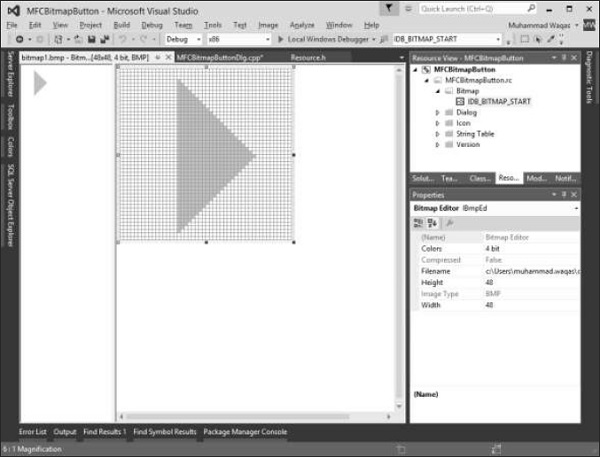
Step 3 − Design your bitmap image in Image editor and change its ID to IDB_BITMAP_START as shown above.
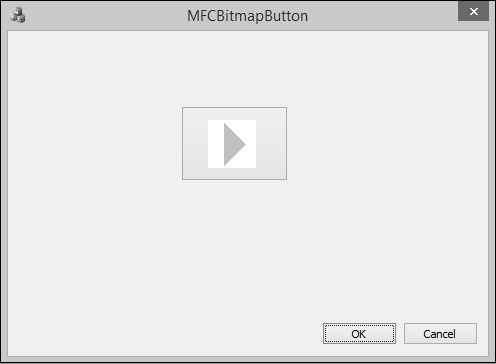
Step 4 − Add a button to your dialog box and also add a control Variable m_buttonStart for that button.
Step 5 − Add a bitmap variable to your header file. You will now see the following two variables.
CBitmap m_bitmapStart;
CButton m_buttonStart;
Step 6 − Modify your OnInitDialog() method as shown in the following code.
m_bitmapStart.LoadBitmap(IDB_BITMAP_START);
HBITMAP hBitmap = (HBITMAP)m_bitmapStart.GetSafeHandle();
m_buttonStart.SetBitmap(hBitmap);
Step 7 − When the above code is compiled and executed, you will see the following output.