
Article Categories
- All Categories
-
 Data Structure
-
 Networking
-
 RDBMS
RDBMS
-
 Operating System
-
 Java
Java
-
 MS Excel
-
 iOS
iOS
-
 HTML
HTML
-
 CSS
CSS
-
 Android
-
 Python
-
 C Programming
-
 C++
C++
-
 C#
C#
-
 MongoDB
-
 MySQL
MySQL
-
 Javascript
-
 PHP
PHP
-
 Economics & Finance
Make a VStack fill the width of the screen in SwiftUI
To make a VStack fill the screen width in SwiftUI, you can use the frame modifier with a maxWidth parameter set to ".infinity". In this article, you will see different examples of VStack with full width.
VStack
VStack is a layout container in SwiftUI that arranges views vertically in a top-to-bottom fashion. The views are stacked on top of each other, with the first view added to the VStack at the top and subsequent views added below it.
In SwiftUI, VStack is part of a family of layout containers that also includes HStack and ZStack. These containers provide a flexible and easy-to-use system for arranging views in a layout.
Here is The Syntax
VStack {
   // Your content here
}
.frame(maxWidth: .infinity)
In SwiftUI, you must set a VStack's width to the width of its parent view, which is normally the screen, in order to have it fill the width of the screen. This may be accomplished by setting the size and location of a view using the frame modifier. You may set the maximum width of the VStack to the width of its parent view by using the maxWidth option of the frame modifier.
Example 1
Here's an example of how to use the frame modifier to make a VStack fill the width of the screen ?
import SwiftUI
struct ContentView: View {

   var body: some View {
      VStack {
         Text("Hello, world!")
            .font(.largeTitle)
            .foregroundColor(.white)
      }
      .frame(maxWidth: .infinity)
      .background(Color.blue)
      .edgesIgnoringSafeArea(.all)
      .navigationTitle("VStack Example")
      .navigationBarTitleDisplayMode(.inline)
   }
}
Output

In this example, the VStack contains a single Text view that displays the text "Hello, world!". To make the VStack fill the screen width, we apply the frame modifier to it and set the maxWidth parameter to .infinity. This tells SwiftUI to set the maximum width of the VStack to the width of its parent view. This in this case is likely the screen.
Example 2: A Login Screen
Here's an example of a login screen that uses a VStack to arrange its contents. The VStack fills the screen width using the frame modifier with "maxWidth: .infinity".
import SwiftUI
struct ContentView: View {

   @State private var username = ""
   @State private var password = ""

   var body: some View {

      VStack(spacing: 20) {
         Image(systemName: "person.circle.fill")
            .font(.system(size: 80))
            .foregroundColor(.gray)

         TextField("Username", text: $username)
            .textFieldStyle(RoundedBorderTextFieldStyle())

         SecureField("Password", text: $password)
            .textFieldStyle(RoundedBorderTextFieldStyle())

         Button {
            // Write code to handle login action
         } label: {
            Text("Log In")
               .padding(.horizontal, 30)
               .padding(.vertical, 10)
         }
            .foregroundColor(.white)
            .background(Color.blue)
            .cornerRadius(5)
      }
         .padding()
         .frame(maxWidth: .infinity)
   }
}
Output
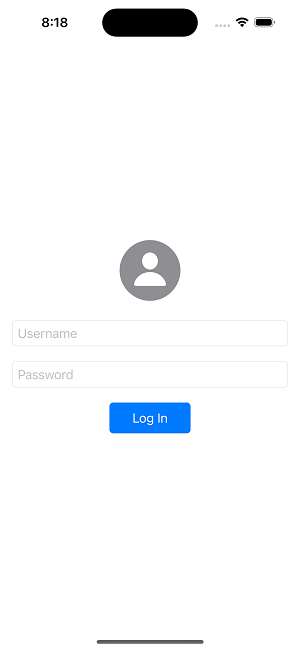
This example uses a VStack to arrange the login form elements vertically. The VStack fills the width of the screen using the frame modifier with "maxWidth: .infinity".
Example 3: A List of Items
Here's an example of a list of items displayed in a VStack. The VStack fills the width of the screen using the frame modifier with "maxWidth: .infinity".
import SwiftUI
struct Item: Identifiable {
   let id = UUID()
   let title: String
}
struct ContentView: View {

   let items: [Item] = [
      Item(title: "Item 1"),
      Item(title: "Item 2"),
      Item(title: "Item 3"),
      Item(title: "Item 4"),
   ]

   var body: some View {
      VStack(spacing: 20) {
         ForEach(items) { item in
            Text(item.title)
         }
      }
      .padding()
      .frame(maxWidth: .infinity)
   }
}
Output
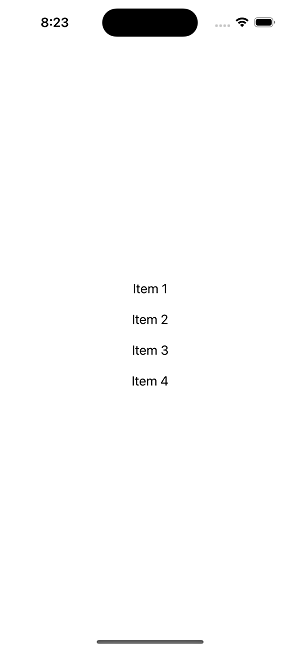
This example displays a list of items using a VStack. Each item is displayed as a Text view within the VStack. The VStack fills the width of the screen using the frame modifier with "maxWidth: .infinity".
Example 4: A Toolbar
Here's an example of a toolbar displayed at the bottom of the screen using a VStack. The VStack fills the width of the screen using the frame modifier with "maxWidth: .infinity".
import SwiftUI
struct ContentView: View {

   var body: some View {

      VStack(spacing: 20) {
         HStack {
            Button(action: {}) {
               Image(systemName: "square.grid.2x2.fill")
            }
            Spacer()

            Button(action: {}) {
               Image(systemName: "plus.circle.fill")
            }

            Spacer()

            Button(action: {}) {
               Image(systemName: "person.crop.circle.fill")
            }
         }
         .font(.system(size: 30))
         .foregroundColor(.white)
         .padding()
         .background(Color.blue)
         .frame(height: 80)
      }
      .frame(maxWidth: .infinity)
      .edgesIgnoringSafeArea(.bottom)
   }
}
Output
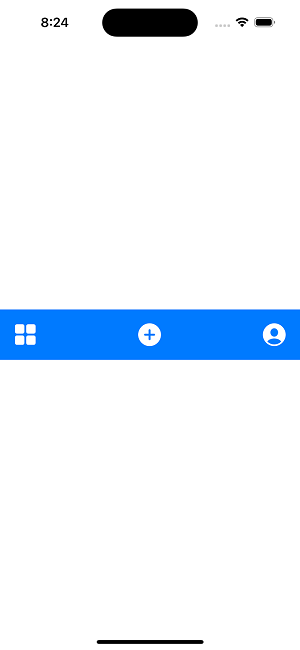
This example displays a toolbar at the bottom of the screen using a VStack. The toolbar contains three buttons arranged horizontally within an HStack. The VStack fills the width of the screen using the frame modifier with maxWidth: .infinity.
Sure, here are some points to keep in mind when using VStack in SwiftUI
VStack arranges views vertically, from top to bottom. The first view added to the VStack appears at the top, and subsequent views are added below it.
You can customize the spacing between the views in a VStack by adding a spacing parameter. The default value for spacing is 10.
By default, views in a VStack are centered horizontally. You can change this by adding a HorizontalAlignment parameter, such as .leading or .trailing.
VStack automatically sizes its views to fit the available space. If you want a view to take up more space, you can use a Spacer view or set a fixed frame size.
You can add padding to a VStack by using the .padding modifier. This will add padding around all the views in the VStack.
If you want to add a background color or an image to a VStack, you can use the .background modifier.
VStack can also be nested within other layout containers, such as HStack and ZStack, to create more complex layouts.
Conclusion
In conclusion, VStack is a layout container in SwiftUI that arranges views vertically in a top-to-bottom fashion. It is part of a family of layout containers that also includes HStack and ZStack, which provide a flexible and easy-to-use system for arranging views in a layout.
Using VStack, you can easily arrange views vertically and customize the spacing between them. It's a powerful tool for creating user interfaces in SwiftUI and can be used for a variety of use cases, such as login screens, lists of items, and toolbars.

17K+ Views
