
 Data Structure
 Networking
 RDBMS
RDBMS Operating System
 Java
Java MS Excel
 iOS
iOS HTML
HTML CSS
CSS Android
 Python
 C Programming
 C++
C++ C#
C# MongoDB
 MySQL
MySQL Javascript
 PHP
PHP
- Selected Reading
- UPSC IAS Exams Notes
- Developer's Best Practices
- Questions and Answers
- Effective Resume Writing
- HR Interview Questions
- Computer Glossary
- Who is Who
How to start an Application using Android ADB Tools ?
Introduction
Android Debug Bridge or ADB is a versatile command line tool which allows you to communicate with an Android device to control and manage the application to be installed in an android emulator. With ADB we can copy files, run shell commands and do many more operations. In this article we will discuss on How to start our application in an android emulator using ADB Tools.
Implementation
We will be creating a simple android studio project in which we will be displaying a simple text view. After that we will be using our ADB Tools commands to launch this project within our emulator or a real device.
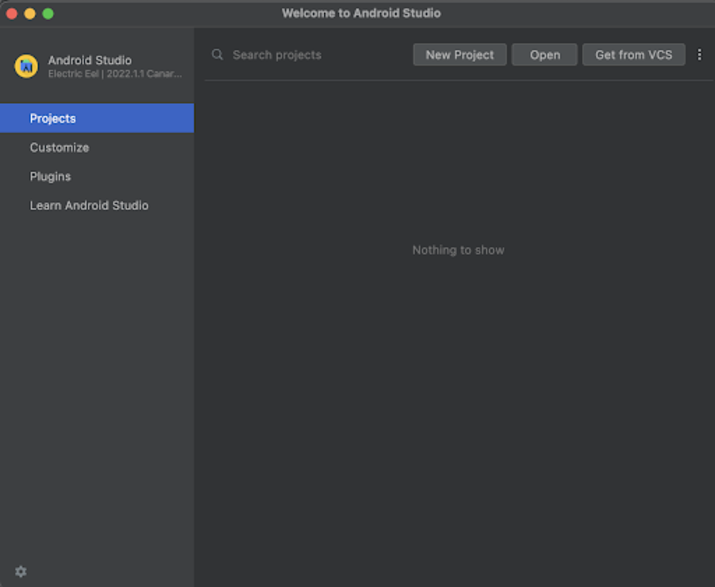
Step 1 : Creating a new project in Android Studio
Navigate to Android studio as shown in below screen. In the below screen click on New Project to create a new Android Studio Project.
After clicking on New Project you will get to see the below screen.
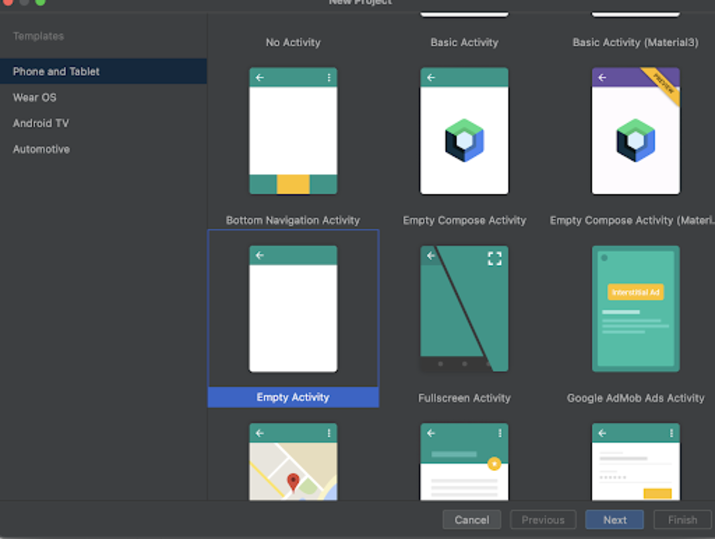
Inside this screen we have to simply select Empty Activity and click on Next. After clicking on next you will get to see the screen below.
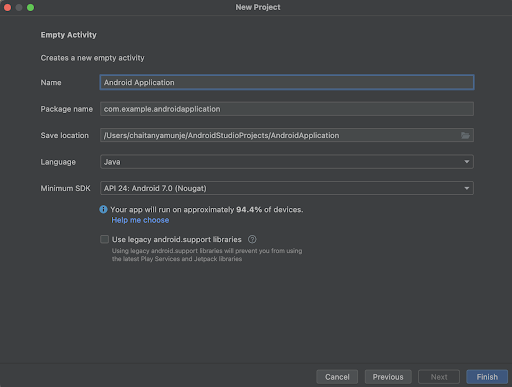
Inside this screen we have to simply specify the project name. Then the package name will be generated automatically.
Note ? Make sure to select the Language as Java.
After specifying all the details click on Finish to create a new Android studio project.
Once our project has been created we will get to see 2 files which are open i.e activity_main.xml and MainActivity.java file.
Step 4 : Working with activity_main.xml
Navigate to activity_main.xml. If this file is not visible. To open this file. In the left pane navigate to app>res>layout>activity_main.xml to open this file. After opening this file. Add the below code to it. Comments are added in the code to get to know in detail.
<?xml version="1.0" encoding="utf-8"?>
<RelativeLayout xmlns:android="http://schemas.android.com/apk/res/android"
   xmlns:app="http://schemas.android.com/apk/res-auto"
   xmlns:tools="http://schemas.android.com/tools"
   android:id="@+id/idRLLayout"
   android:layout_width="match_parent"
   android:layout_height="match_parent"
   android:orientation="vertical"
   tools:context=".MainActivity">

   <!-- creating a text view on below line -->
   <TextView
      android:layout_width="match_parent"
      android:layout_height="wrap_content"
      android:layout_centerInParent="true"
      android:text="ADB Tool Commands in Android"
      android:textAlignment="center"
      android:textColor="@color/black"
      android:textSize="20sp"
      android:textStyle="bold" />

</RelativeLayout>
Explanation ? In the above code we are creating a Relative layout as a root layout and inside which we are creating a simple text view to display the heading of our application.
Now we will run the application using ADB Tool Command.
To run our application. We have to navigate to the Terminal option which we can get to see in the bottom side of Android Studio. Inside this terminal add the below command to launch your application's MainActivity.
adb shell am start -n com.example.androidjavaapp/com.example.androidjavaapp.MainActivity
In the above command there are several pieces of data which we have to modify to launch your application. In the above command com.example.androidjavaapp is your package name. Package name can be found inside your Module level build.gradle file in which you can copy applicationID tag to find your app's package name. After the ?/' in the above command then we are specifying the activity name which we have to launch. We are specifying the package name of our application and then we are specifying our MainActivity. Then we have to simply run this command inside our terminal to open our MainActivity on our Emulator.
Note ? Make sure that you are connected to the emulator or real device to run this application.
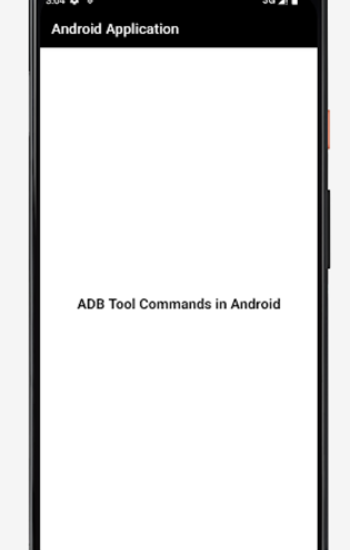
When you run the application you will get to see the below output of the application on your emulator or real device.
Output
Conclusion
In the above article we have taken a look at what is meant by Android Debug Bridge or ADB and how we can use different commands of ADB within our Android Studio to launch our application.

3K+ Views
