
 Data Structure
 Networking
 RDBMS
RDBMS Operating System
 Java
Java MS Excel
 iOS
iOS HTML
HTML CSS
CSS Android
 Python
 C Programming
 C++
C++ C#
C# MongoDB
 MySQL
MySQL Javascript
 PHP
PHP
- Selected Reading
- UPSC IAS Exams Notes
- Developer's Best Practices
- Questions and Answers
- Effective Resume Writing
- HR Interview Questions
- Computer Glossary
- Who is Who
How to Install Git in Vs Code?
Introduction
There's no doubt that Git is one of the most popular version control systems out there. Git always keeps track of your work, and if needed, you can revert to an old version if necessary. Using Git, several people can collaborate on a document simultaneously by merging their changes. Even if you write code you will only see yourself, Git can be valuable if you work alone or in a team.
Computers run Git locally. With this, it will be possible for you to track and store the files you store on your computer. Revision history and files can be stored on sites like GitHub and Bitbucket. If you can upload and obtain changes from a central location, you and your coworkers can collaborate more effectively. By using Git's automatic merge feature, two people can work on the same file at the same time and preserve their progress!
Let's look at how to install Git on Vs Code in this article.
Features of Git
Lossless and lightweight compression
Upon cloning from the remote repository, the data is transferred to the local repository. Multi-developers working on the same project at the same time can result in quite a lot of repository data. Git automatically manages the failure of your system if you clone so much data.
The non-linear development process
Remote work is possible with Git. It is possible to update any part of the project by picking up the project and performing the necessary operations. It is possible thanks to Git's onlinear development behavior. With Git, you can quickly merge and branch and explore non-linear development histories.
Branching
With Git, users can branch a project file in parallel with the main file while working on it. We can test any new functionality on these branches, and furthermore, the branches can be merged into the main branch
Compatibility
Compatibility is good since it works with most operating systems. It also provides access to the repositories of other version control systems, which is an excellent feature.
What is VS Code?
The Visual Studio Code text editor is free, open-source, and offers a wide range of useful features while being free for download.
It is built with the Electron shell, Node.js, TypeScript, and the Language Server Protocol, and is updated every month. There are many extensions that are updated regularly. In addition to syntax highlighting and debugging, there is a range of extension packages available, from refactoring to debugging. TextMate colorizes let you add support for your favorite language even if you don't have access to a language server. The Visual Studio Code repository contains open-source code. Visual Studio Code ships under a standard Microsoft product license due to the small number of customizations made by Microsoft. Despite being licensed commercially, the software is free
What is the best way to set up Git for development in VS Code?
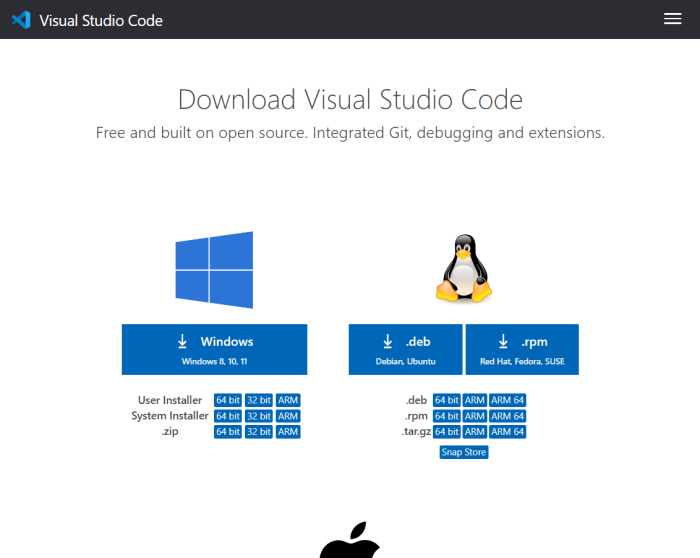
Step 1 ? Run VS Code after downloading it from its website.
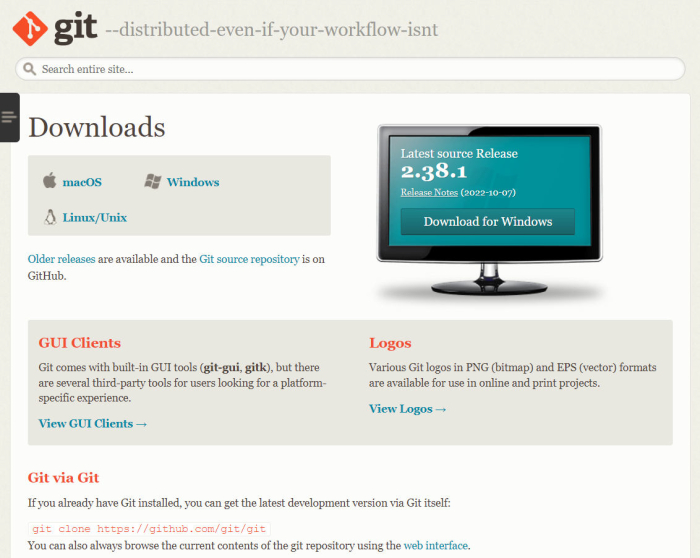
Step2 ? Download Git.
Step 3 ? To check if the installation worked, type this in the command prompt ?
git -version
Step 4 ? Create an account on GitHub.
Step 5 ? Git and GitHub accounts should be synced. The following commands should be entered in the Command Prompt
git config -global user.name "UserNameOnGithub"
git config -global user.email "Email"
GitHub usernames should be UserNameOnGithub, and email addresses should be the ones you used when you created an account.
Step 6 ? Viewing your username and email displayed on Git and GitHub will verify that they are linked
git config -global -list
Step 7 ? Launch Visual Studio Code
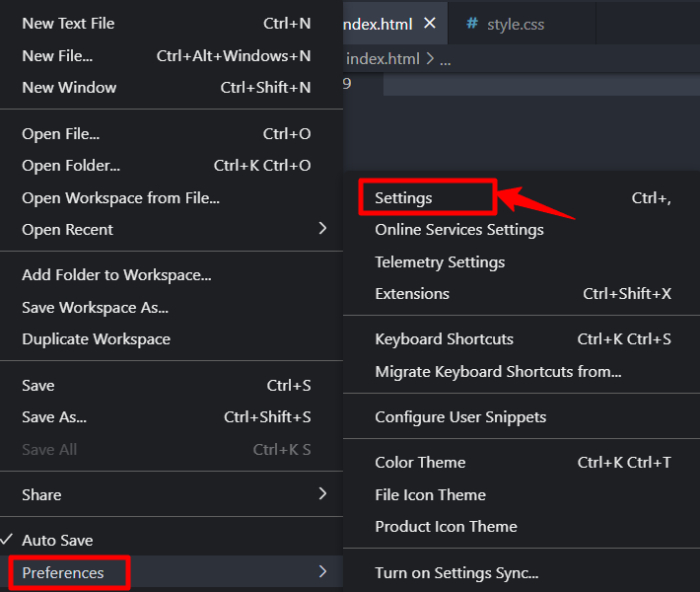
Step 8 ? Open Visual Studio Code and navigate to the Settings menu.
Step 9 ? Search for "Git: Enabled" using the Search Bar.

Step 10 ? Make sure Enable Git is checked.

Finally, Git has been installed in Visual Studio Code. Using the Source Control Tab, you can view all Git changes

7K+ Views
