
Article Categories
- All Categories
-
 Data Structure
-
 Networking
-
 RDBMS
RDBMS
-
 Operating System
-
 Java
Java
-
 MS Excel
-
 iOS
iOS
-
 HTML
HTML
-
 CSS
CSS
-
 Android
-
 Python
-
 C Programming
-
 C++
C++
-
 C#
C#
-
 MongoDB
-
 MySQL
MySQL
-
 Javascript
-
 PHP
PHP
-
 Economics & Finance
How to enable or disable local user on Windows OS using PowerShell?
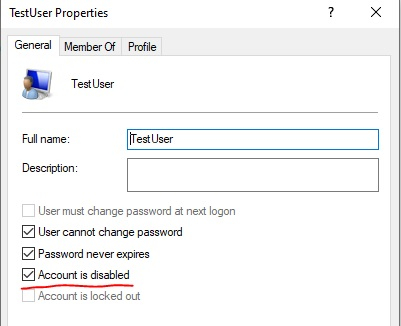
To disable the local user on the windows OS using PowerShell, we can use the Disable-Localuser command provided by the local user name. In the below example, we are going to disable the local user called TestUser.
Disable-LocalUser -Name TestUser
If we see the GUI, the user account is disabled.
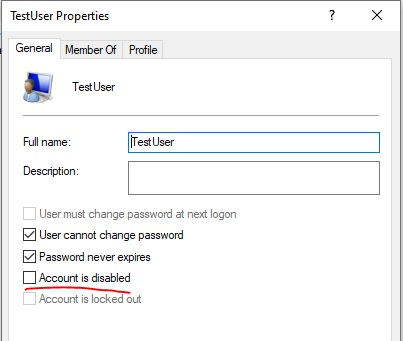
To enable the above user, we can use the Enable-LocalUser command.
Enable-LocalUser -Name Testuser
To run the above command on the remote computer, we can use the Invoke-Command method. We need to make sure local user account exist on the remote computer.
Invoke-Command -ComputerName Test1-Win2k12,Test1-Win2k16 -ScriptBlock{
   Enable-Localuser -Name TestUser
}
Invoke-Command -ComputerName Test1-Win2k12,Test1-Win2k16 -ScriptBlock{
   Disable-Localuser -Name TestUser
}
If the PowerShell version 5.1 or higher doesn’t exist in your environment, you can use the command prompt to enable or disable the local user account with the Active switch.
Syntax
net user username [/ACTIVE: {YES | NO}]
Disable local user example −
net user testuser /active:no
To disable the existing local user using the above command, we need to use Invoke-Command for remoting.
Invoke-Command -ComputerName Test1-Win2k12,Test1-Win2k16 -ScriptBlock{
   Net user testuser /active:no
}
To enable the local user on the local system,
net user testuser /active:yes
On the remote system,
Invoke-Command -ComputerName Test1-Win2k12,Test1-Win2k16 -ScriptBlock{
   Net user testuser /active:yes
} 
3K+ Views
