
 Data Structure
 Networking
 RDBMS
RDBMS Operating System
 Java
Java MS Excel
 iOS
iOS HTML
HTML CSS
CSS Android
 Python
 C Programming
 C++
C++ C#
C# MongoDB
 MySQL
MySQL Javascript
 PHP
PHP
- Selected Reading
- UPSC IAS Exams Notes
- Developer's Best Practices
- Questions and Answers
- Effective Resume Writing
- HR Interview Questions
- Computer Glossary
- Who is Who
How to create Animated Gradient Background in android.
Before getting into example, we should know what is Gradient color. According to Wikipedia, In computer graphics, a color gradient (sometimes called a color ramp or color progression) specifies a range of position-dependent colors, usually used to fill a region. For example, many window managers allow the screen background to be specified as a gradient.
This example demonstrate about how to create Animated Gradient Background in android.
Step 1 − Create a new project in Android Studio, go to File ⇒ New Project and fill all required details to create a new project.
Step 2 − Add the following code to res/layout/activity_main.xml.
<?xml version = "1.0" encoding = "utf-8"?>
<android.support.constraint.ConstraintLayout xmlns:android = "http://schemas.android.com/apk/res/android"
   xmlns:app = "http://schemas.android.com/apk/res-auto"
   xmlns:tools = "http://schemas.android.com/tools"
   android:id = "@+id/constraintLayout"
   android:layout_width = "match_parent"
   android:layout_height = "match_parent"
   android:background = "@drawable/gradient_animation "
   tools:context = ".MainActivity">
   <!-- Your layout here -->
   <TextView
      android:layout_width = "368dp"
      android:layout_height = "520dp"
      android:layout_marginBottom = "8dp"
      android:layout_marginLeft = "8dp"
      android:layout_marginRight = "8dp"
      android:layout_marginTop = "8dp"
      android:gravity = "center"
      android:text = "@string/app_name"
      android:textAlignment = "center"
      android:textColor = "@android:color/background_light"
      android:textSize = "30sp"
      android:textStyle = "bold"
      app:layout_constraintBottom_toBottomOf = "parent"
      app:layout_constraintLeft_toLeftOf = "parent"
      app:layout_constraintRight_toRightOf = "parent"
      app:layout_constraintTop_toTopOf = "parent"
      tools:text = "@string/app_name"/>
</android.support.constraint.ConstraintLayout>
In the above code we have added background as gradient_animation in drawable. now create gradient_animation.xml in drawable folder and add the following code -
<?xml version = "1.0" encoding = "utf-8"?>
<animation-list xmlns:android = "http://schemas.android.com/apk/res/android">
   <item
      android:drawable = "@drawable/drawable_purple_gradient"
      android:duration = "3000" />
   <item
      android:drawable = "@drawable/drawable_amber_gradient"
      android:duration = "3000" />
   <item
      android:drawable = "@drawable/drawable_green_gradient"
      android:duration = "3000" />
   <item
      android:drawable = "@drawable/drawable_red_gradient"
      android:duration = "3000" />
</animation-list>
In the above animation-list, we have added 4 child drawables and added duration for each animation view, After time out, it will change the background. In drawable_purple_gradient, contain purple colored background so create a file called drawable_purple_gradient.xml in drawable folder and add the following code -
<?xml version = "1.0" encoding = "utf-8"?>
<shape xmlns:android = "http://schemas.android.com/apk/res/android">
   <gradient
      android:angle = "90"
      android:endColor = "#D500F9"
      android:startColor = "#4A148C" />
</shape>
As follows above step, create drawable_amber_gradient.xml, drawable_green_gradient.xml and drawable_red_gradient.xml in Drawable folder and add the following code as shown below -
drawable_amber_gradient.xml-
<?xml version = "1.0" encoding = "utf-8"?>
<shape xmlns:android = "http://schemas.android.com/apk/res/android">
   <gradient
      android:angle = "135"
      android:endColor = "#FFC400"
      android:startColor = "#FF6F00" />
</shape>
drawable_green_gradient.xml -
<?xml version = "1.0" encoding = "utf-8"?>
<shape xmlns:android = "http://schemas.android.com/apk/res/android">
   <gradient
      android:angle = "0"
      android:endColor = "#00E676"
      android:startColor = "#1B5E20"/>
</shape>
drawable_red_gradient.xml -
<?xml version = "1.0" encoding = "utf-8"?>
<shape xmlns:android = "http://schemas.android.com/apk/res/android">
   <gradient
      android:angle = "45"
      android:endColor = "#FF1744"
      android:startColor = "#B71C1C" />
</shape>
Step 3 − Add the following code to src/MainActivity.java-
package com.example.andy.myapplication;

import android.graphics.drawable.AnimationDrawable;
import android.support.constraint.ConstraintLayout;
import android.support.v7.app.AppCompatActivity;
import android.os.Bundle;

public class MainActivity extends AppCompatActivity {
   private ConstraintLayout constraintLayout;
   private AnimationDrawable animationDrawable;
   @Override
   protected void onCreate(Bundle savedInstanceState) {
      super.onCreate(savedInstanceState);
      setContentView(R.layout.activity_main);
      constraintLayout = (ConstraintLayout) findViewById(R.id.constraintLayout);
      animationDrawable = (AnimationDrawable) constraintLayout.getBackground();
      animationDrawable.setEnterFadeDuration(3000);
      animationDrawable.setExitFadeDuration(2000);
   }
   @Override
   protected void onResume() {
      super.onResume();
      if (animationDrawable ! = null && !animationDrawable.isRunning()) {
         animationDrawable.start();
      }
   }
   @Override
   protected void onPause() {
      super.onPause();
      if (animationDrawable ! = null && animationDrawable.isRunning()) {
         animationDrawable.stop();
      }
   }
}
Let's try to run your application. I assume you have connected your actual Android Mobile device with your computer. To run the app from android studio, open one of your project's activity files and click Run![]() icon from the toolbar. Select your mobile device as an option and then check your mobile device which will display your default screen −
icon from the toolbar. Select your mobile device as an option and then check your mobile device which will display your default screen −
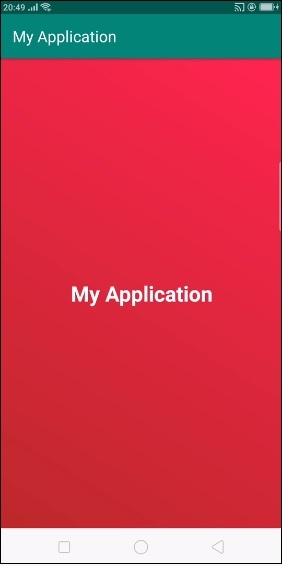
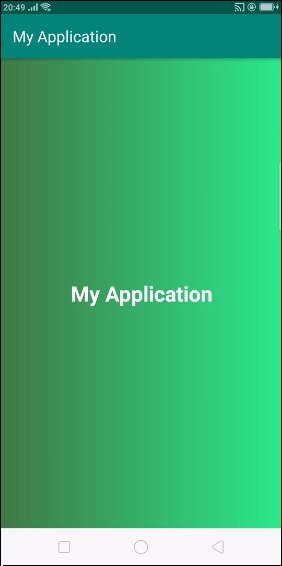
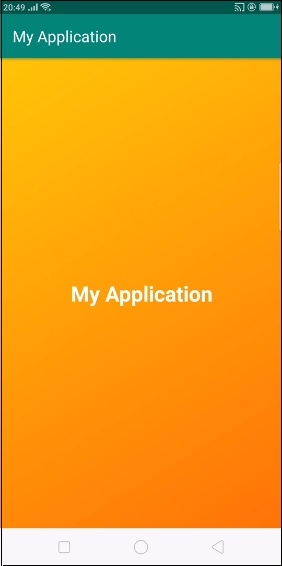
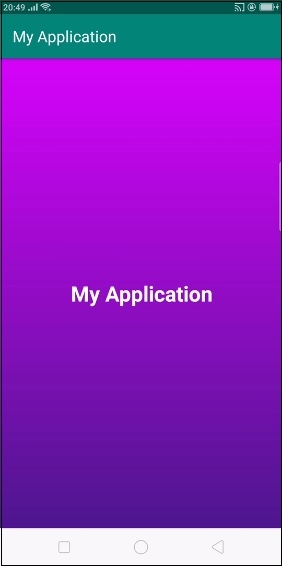
As shown the above result every 3 sec's. it will change the background color.
Click here to download the project code

954 Views
