
Article Categories
- All Categories
-
 Data Structure
-
 Networking
-
 RDBMS
RDBMS
-
 Operating System
-
 Java
Java
-
 MS Excel
-
 iOS
iOS
-
 HTML
HTML
-
 CSS
CSS
-
 Android
-
 Python
-
 C Programming
-
 C++
C++
-
 C#
C#
-
 MongoDB
-
 MySQL
MySQL
-
 Javascript
-
 PHP
PHP
-
 Economics & Finance
How to add Trailer for your YouTube channel?

YouTube have a second place among all the most popular social networks, having more than 2 billion active users, who view hours of content. To make a trending video even it needs videos to promote it. And here channel trailers come to the scene. These short videos are the first thing that the audience sees when they visit any channel.
Channel trailers make it easy for those viewers, who came to the to find out who you are and why they should subscribe to you. A YouTube channel trailer is a small video designed to help viewers quickly learn about the channel. When enabled, it is displayed at the top of the YouTube channel page and plays automatically for every non-subscribed visitor. How to Add YouTube Trailer to your Channel?
The steps to add the channel trailers are
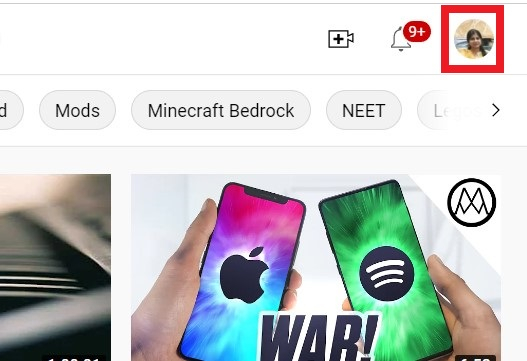
Step 1 ? Open the browser. Log in to your YouTube account and click on the profile picture.
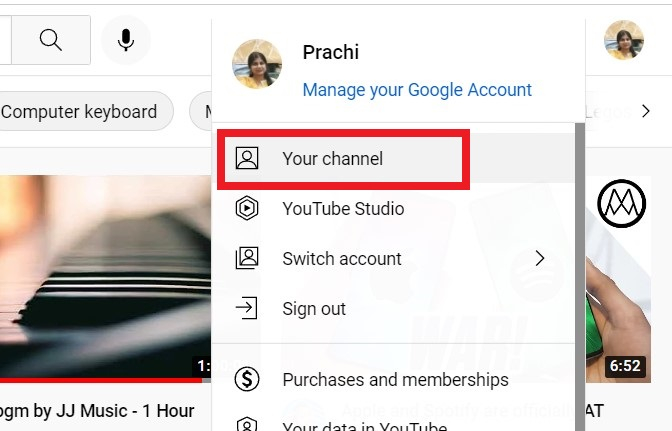
Step 2 ? Click on Your Channel.
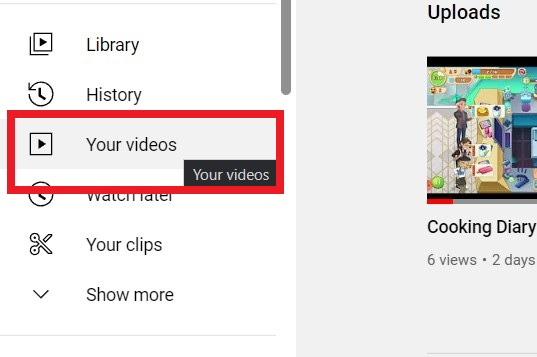
Step 3 ? Click on Your videos on the left-hand side of the screen.
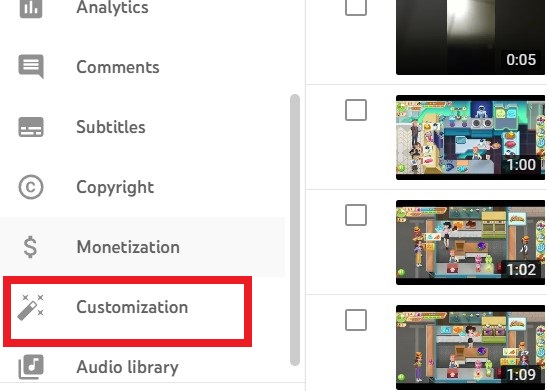
Step 4 ? Your video content page will open. To the left of the screen, scroll down and click Customization.
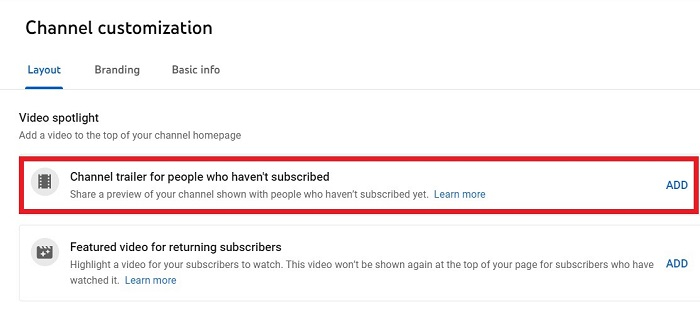
Step 5 ? You will see Channel Trailer Option. Click on ADD.
Step 6 ? Choose the Trailer from the list of videos and double-click it.

Step 7 ? The trailer will be uploaded. Click on Publish.

Step 8 ? The channel trailer is live for non-subscribers.

Final Result ?

Conclusion
Once the changes are published your Channel will display this trailer that will explain your audience about your channel in very brief way and it can attract them to subscribe to your channel and even hit the "Bell Icon" for getting all the updates about your channel.

1K+ Views
