
 Data Structure
 Networking
 RDBMS
RDBMS Operating System
 Java
Java MS Excel
 iOS
iOS HTML
HTML CSS
CSS Android
 Python
 C Programming
 C++
C++ C#
C# MongoDB
 MySQL
MySQL Javascript
 PHP
PHP
- Selected Reading
- UPSC IAS Exams Notes
- Developer's Best Practices
- Questions and Answers
- Effective Resume Writing
- HR Interview Questions
- Computer Glossary
- Who is Who
Adding Firebase to Android App
Introduction
Firebase is one of the famous cloud platform service providers of Google which provides services such as Database, storage, hosting and other cloud services for Android, IOS and Web applications. In this article we will take a look on How to add Firebase to Android Application.
There are 2 ways to integrate Firebase in our Android application.
Integrating Firebase from Android Studio.
Manually integrating Firebase in Android Studio.
Integrating Firebase from Android Studio
We will be creating a simple android application in which we will be simply displaying two buttons and an image view. We will be using one button to pick the image and another button to upload the image to our Firebase Storage. We will be also using an image view in which we will be displaying the image view which is being picked by the user from the device. We will be following a step by step guide to implement a Firebase Storage within our Android application using Kotlin.
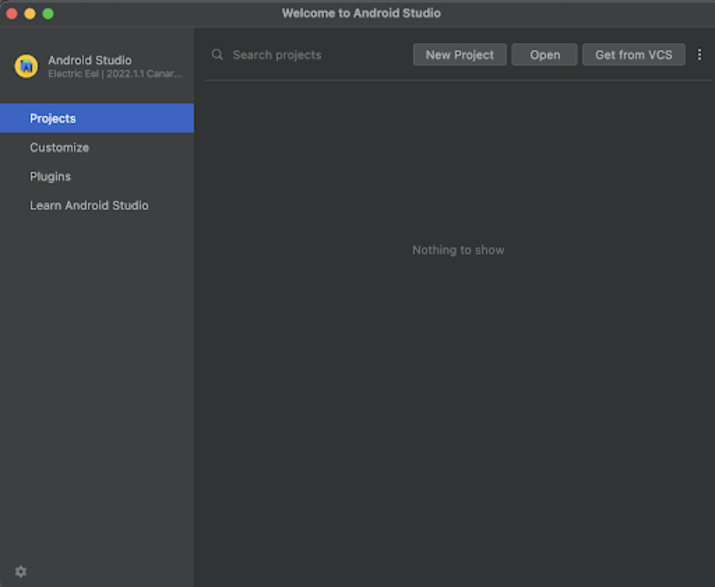
Step 1 : Creating a new project in Android Studio.
Navigate to Android Studio and click on New Project.
After clicking on New Project you will get to see the below screen.
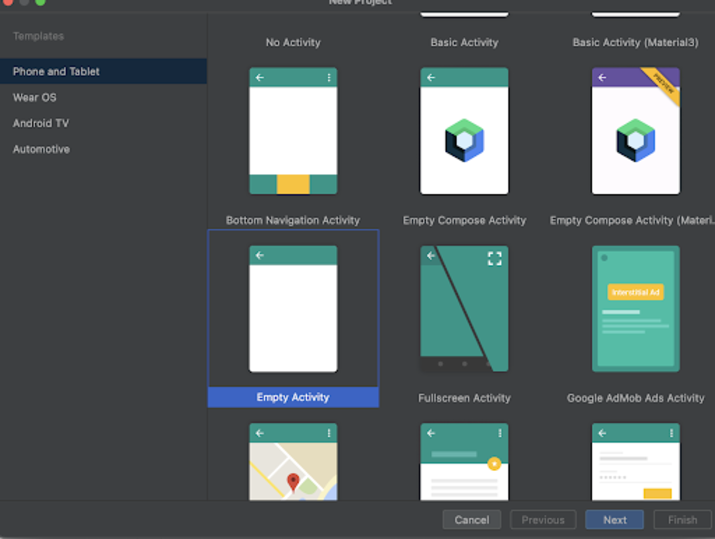
Inside this screen we have to simply select Empty Activity and click on Next. After clicking on next you will get to see the screen below.
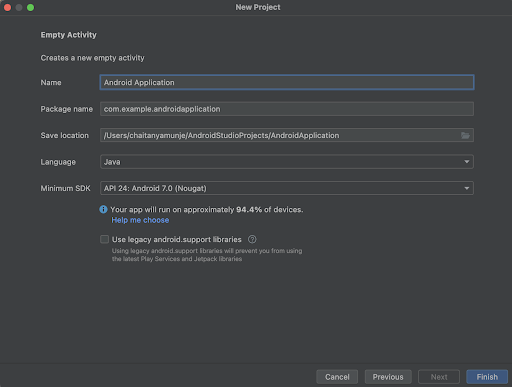
Inside this screen we have to simply specify the project name. Then the package name will be generated automatically.
Note ? Make sure to select the Language as Kotlin.
After specifying all the details click on Finish to create a new Android studio project.
Once our project has been created we will get to see 2 files which are open i.e activity_main.xml and MainActivity.kt file.
Step 2 : Connecting your project to Firebase Storage.
Once your project has been created. Navigate to the Tools tab in the Android Studio Toolbar which appears on top of Android Studio. Inside that click on Firebase> Then click on Firebase Storage you will get to see the screen below.
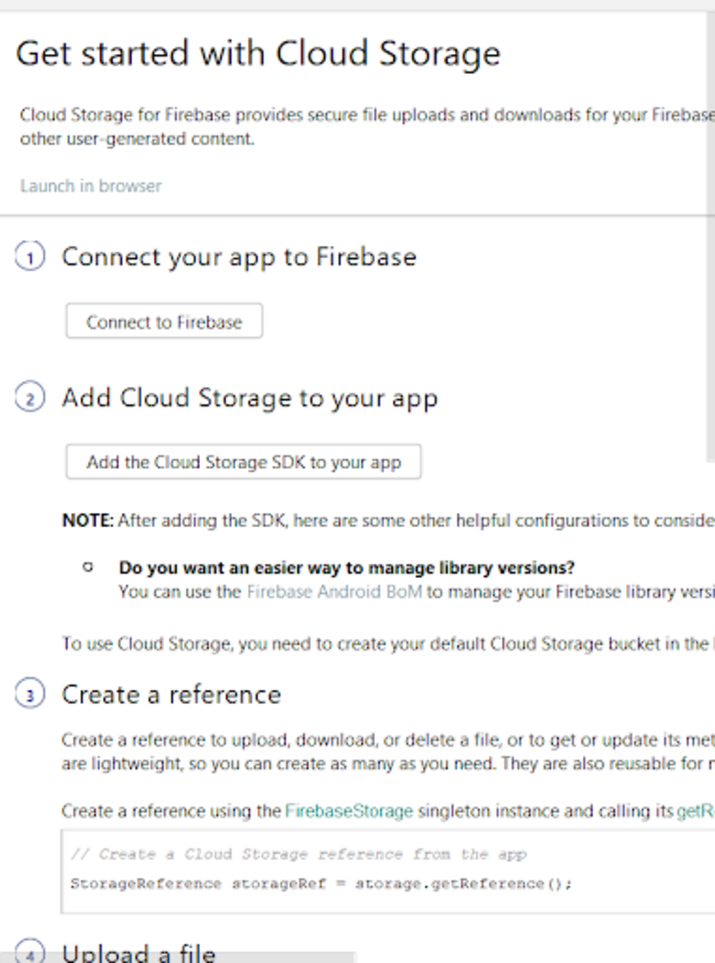
After that you have to simply click on Connect to Firebase to connect your application to Firebase. Then you have to click on Add cloud Storage to Firebase to add Firebase Storage dependencies to it. After clicking on both of these buttons you will get to see the screen below.
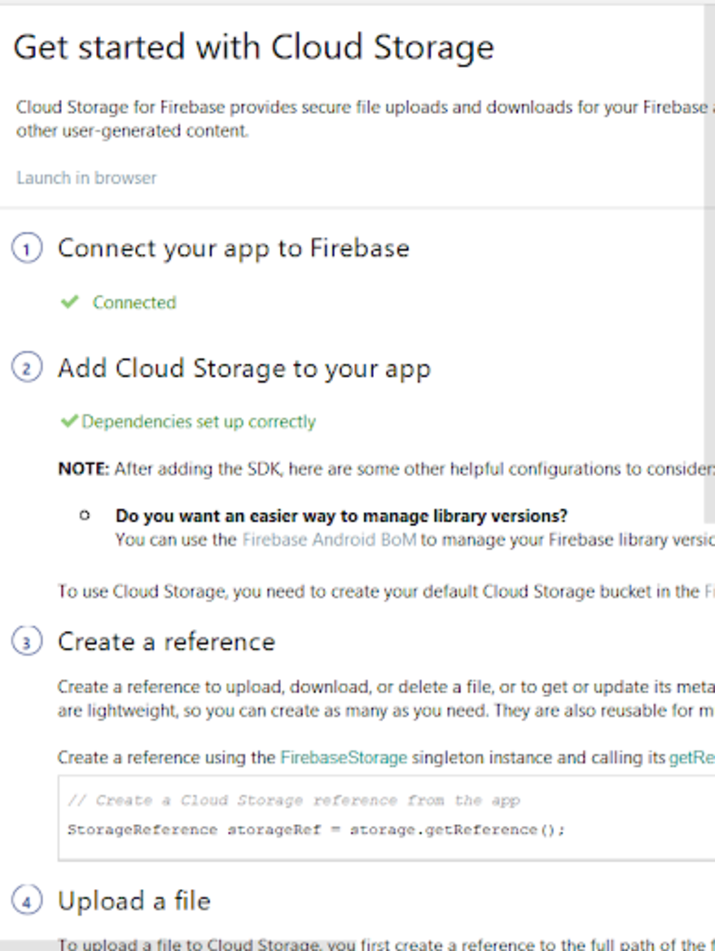
Now our application has been connected to Firebase. You can now login to firebase console with the same Google Account which you have used to log in into Android Studio. Inside the Firebase console you will get to see the new firebase project will be created with your application name.
Manually integrating Firebase in Android Studio Project.
To manually integrate Firebase in your android studio project you have to firstly navigate to the Firebase Console. Login with your Google Account. You will get to see below screen.
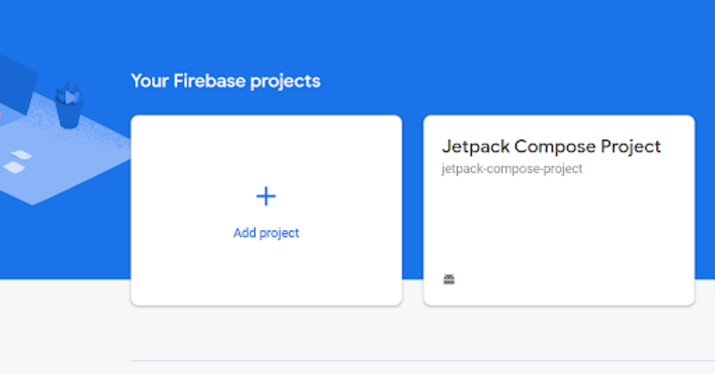
Inside this simply click on Add Project to create a new Firebase Project you will get to see below screen.
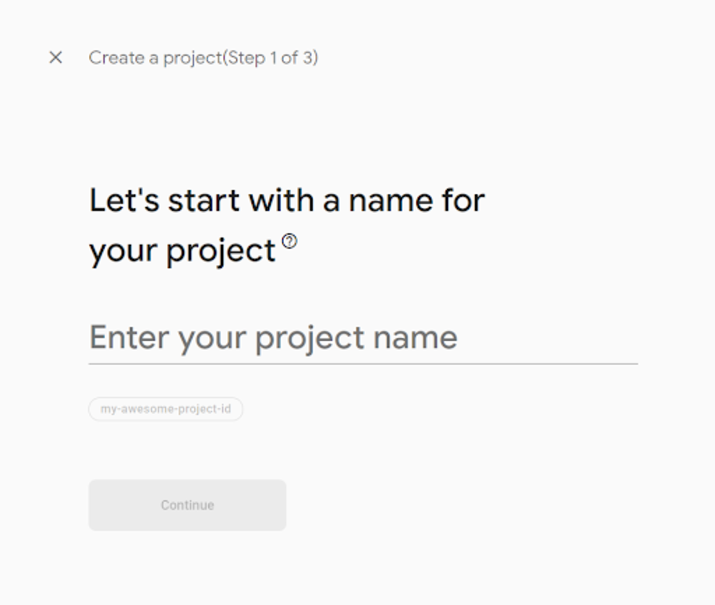
In this screen specify the project name and then click on Continue. You will get to see the screen below.
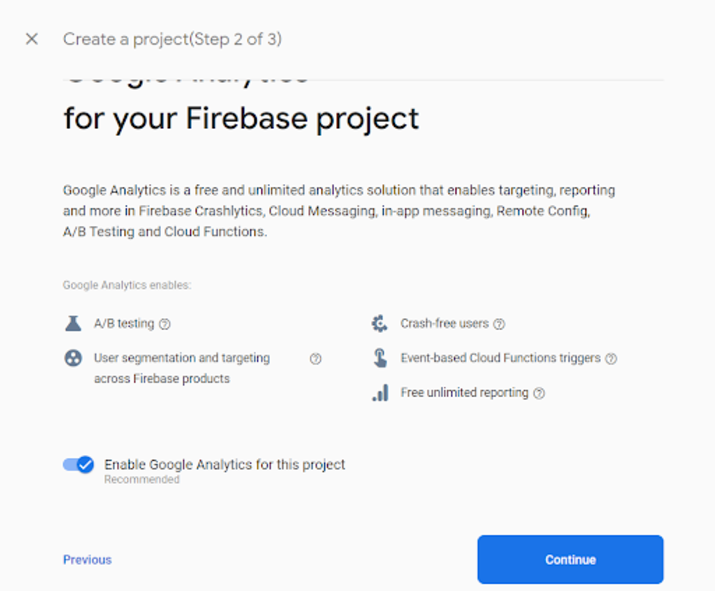
In this screen Enable Google Analytics in the project and then click on Continue to go to the next step. You will get to see the screen below.
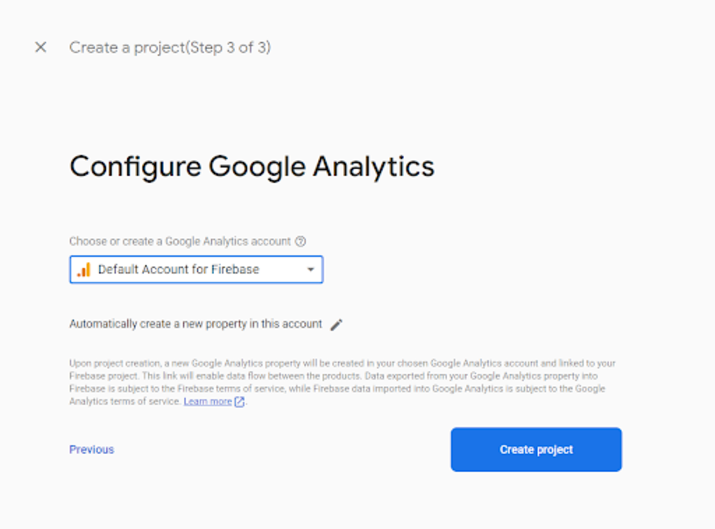
In this window simply select the Default Account for Firebase and then click on Create Project to Create your Firebase Project. Once your project has been created you will get to see below screen.
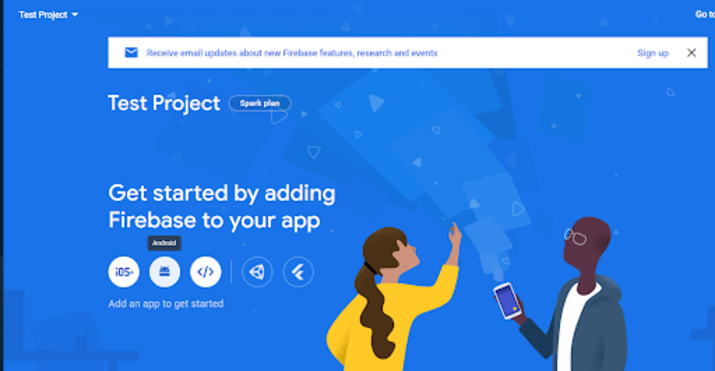
Inside this screen click on Android to add your android application to Firebase. You will get to see the screen below.
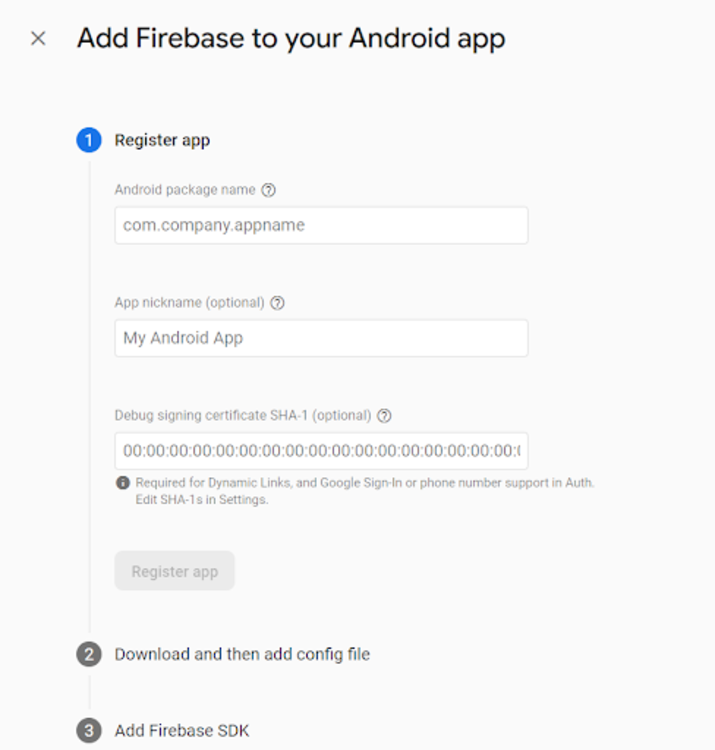
Inside this screen simply specify the android package name for your application from your Android Studio Project. Package name can be found in app level build.gradle file. You will get to see a tag named as applicationId inside which your package name for the application is present. Copy that package name and add it in the Firebase Console. After that specify the App name and then you can simply click on Register app then Register your application. After that you will get to see the screen below.

In this window simply click on Download google-services.json file to download the file. Once you have downloaded that file. Navigate to your android studio project and change Android to Project from the top navigation bar. Then navigate to the app and paste the file which you have downloaded.
Note ? Make sure that the file name should be google-services.json otherwise the file will not work.
Adding dependencies in your project to add libraries for Firebase.
Navigate to project level build.gradle file and add below dependency in the dependencies section.
classpath 'com.google.gms:google-services:4.3.15'
After that simply add the dependency for the Firebase service which you have to use in your app level build.gradle file in the dependencies section. For example we are adding dependency for Firebase Storage.
implementation 'com.google.firebase:firebase-storage:20.1.0'
After adding the above dependencies simply sync your project to install it. Then in your Firebase console you have to simply click on Continue to Console option to navigate to your Firebase Console and now your android studio project has been added in the Firebase console.
Conclusion
In the above tutorial we have taken a look at the different ways to integrate Firebase within our android application.

855 Views
